Schools Tender Snowplough kit")
")
 Conflat D kit")


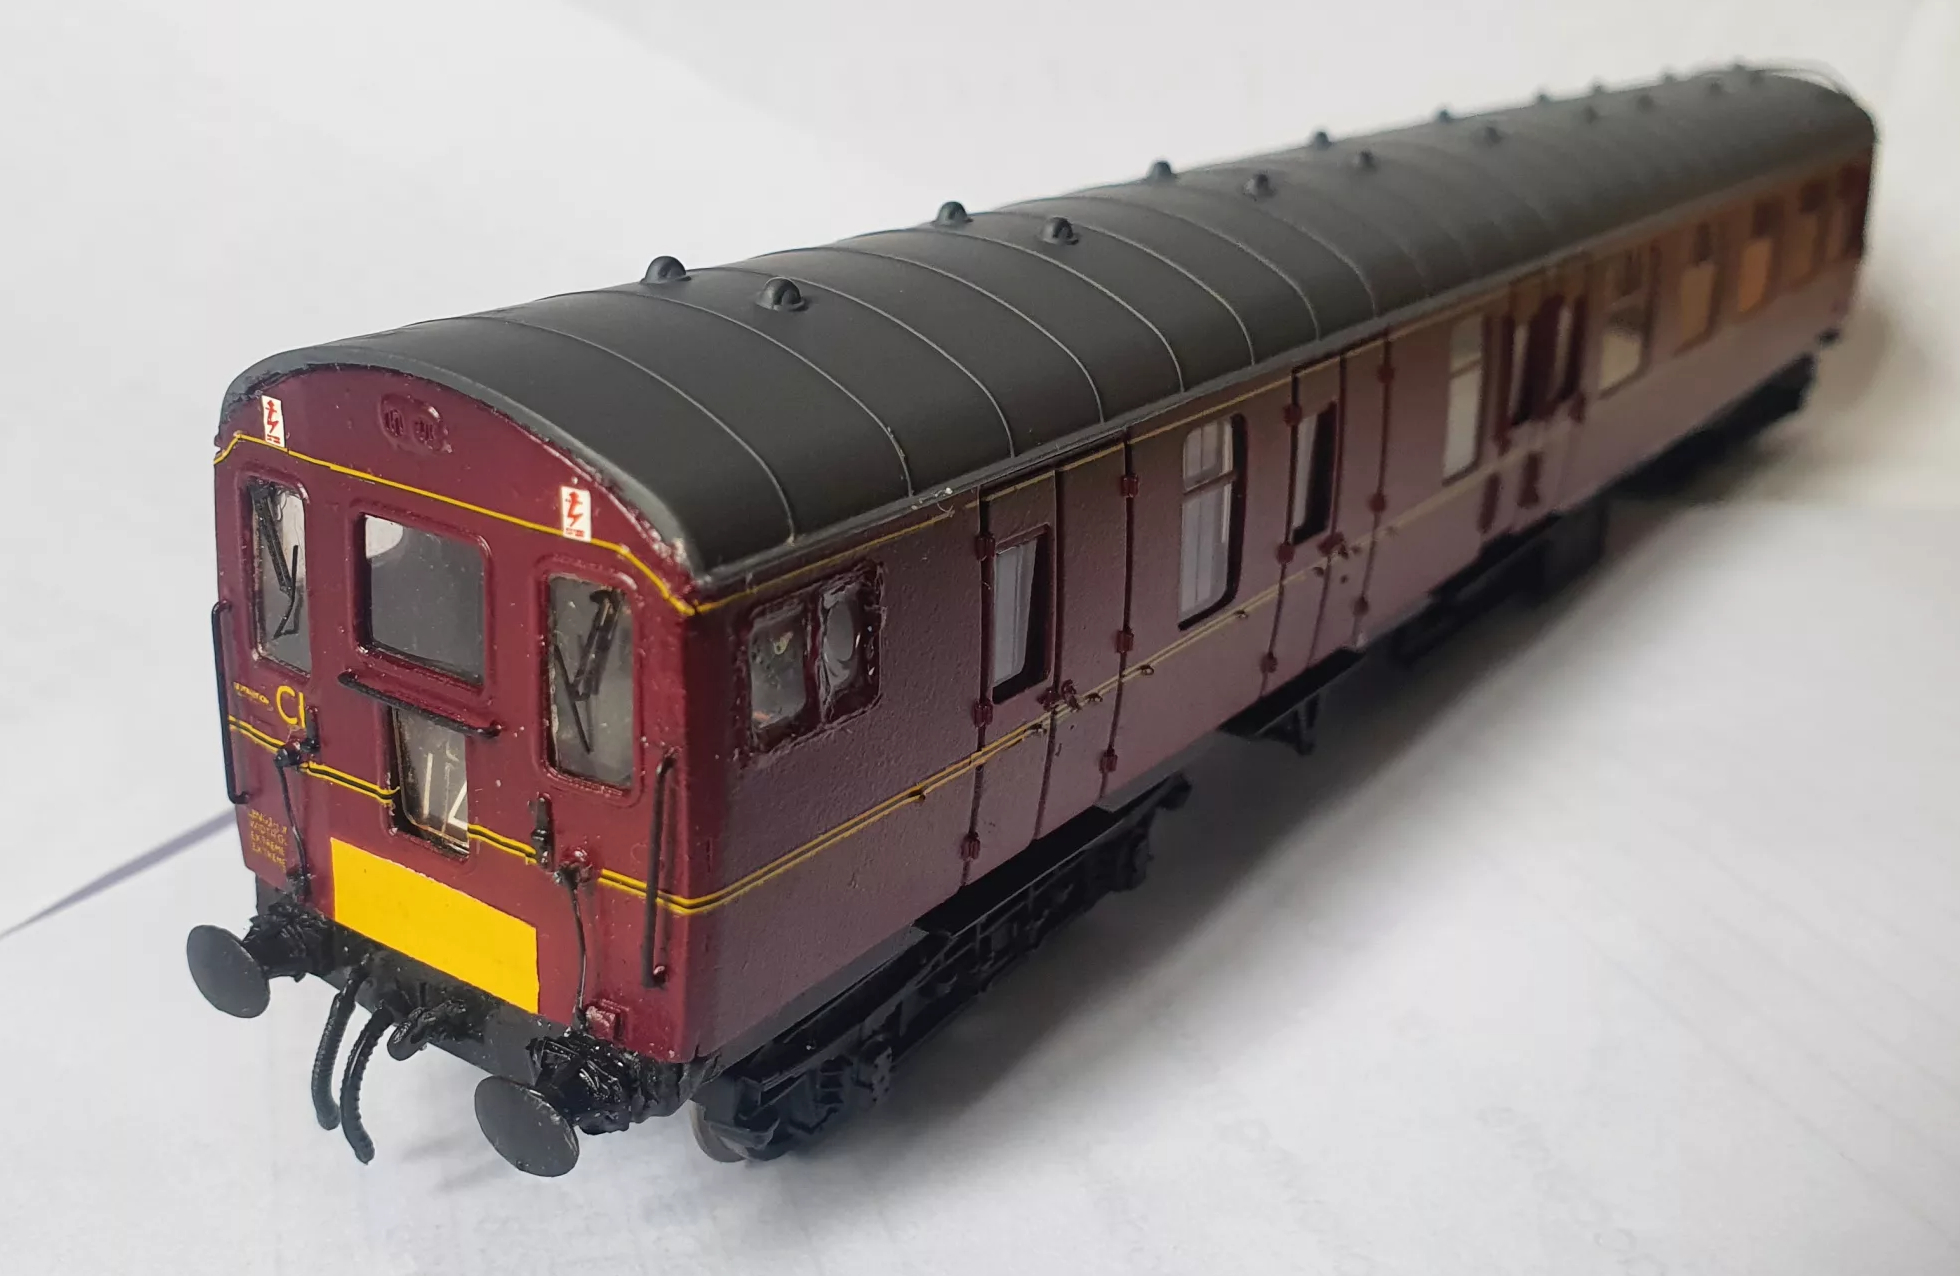
Always on the lookout for a bargain, I found this unloved coach in a heap for sale at a recent show I attended. At £3 it was too good to resist and thought there may be some extra mileage for this veteran.
The mk1 miniature buffet was introduced in the mid 1960’s as part of Triang Hornby’s new ‘scale length’ Mk1 coach range. In true Triang tradition, the ‘one-piece fits all’ mentality was adopted with the chassis / bogies being identical on all coach types offered! At least the buffet and sleeper coach were gifted a more correct looking roof.
Due to the constructed nature of these coaches they are easily dismantled, making conversions attractive, especially as these coaches can be picked up very often for a few pounds at toyfairs and shows.
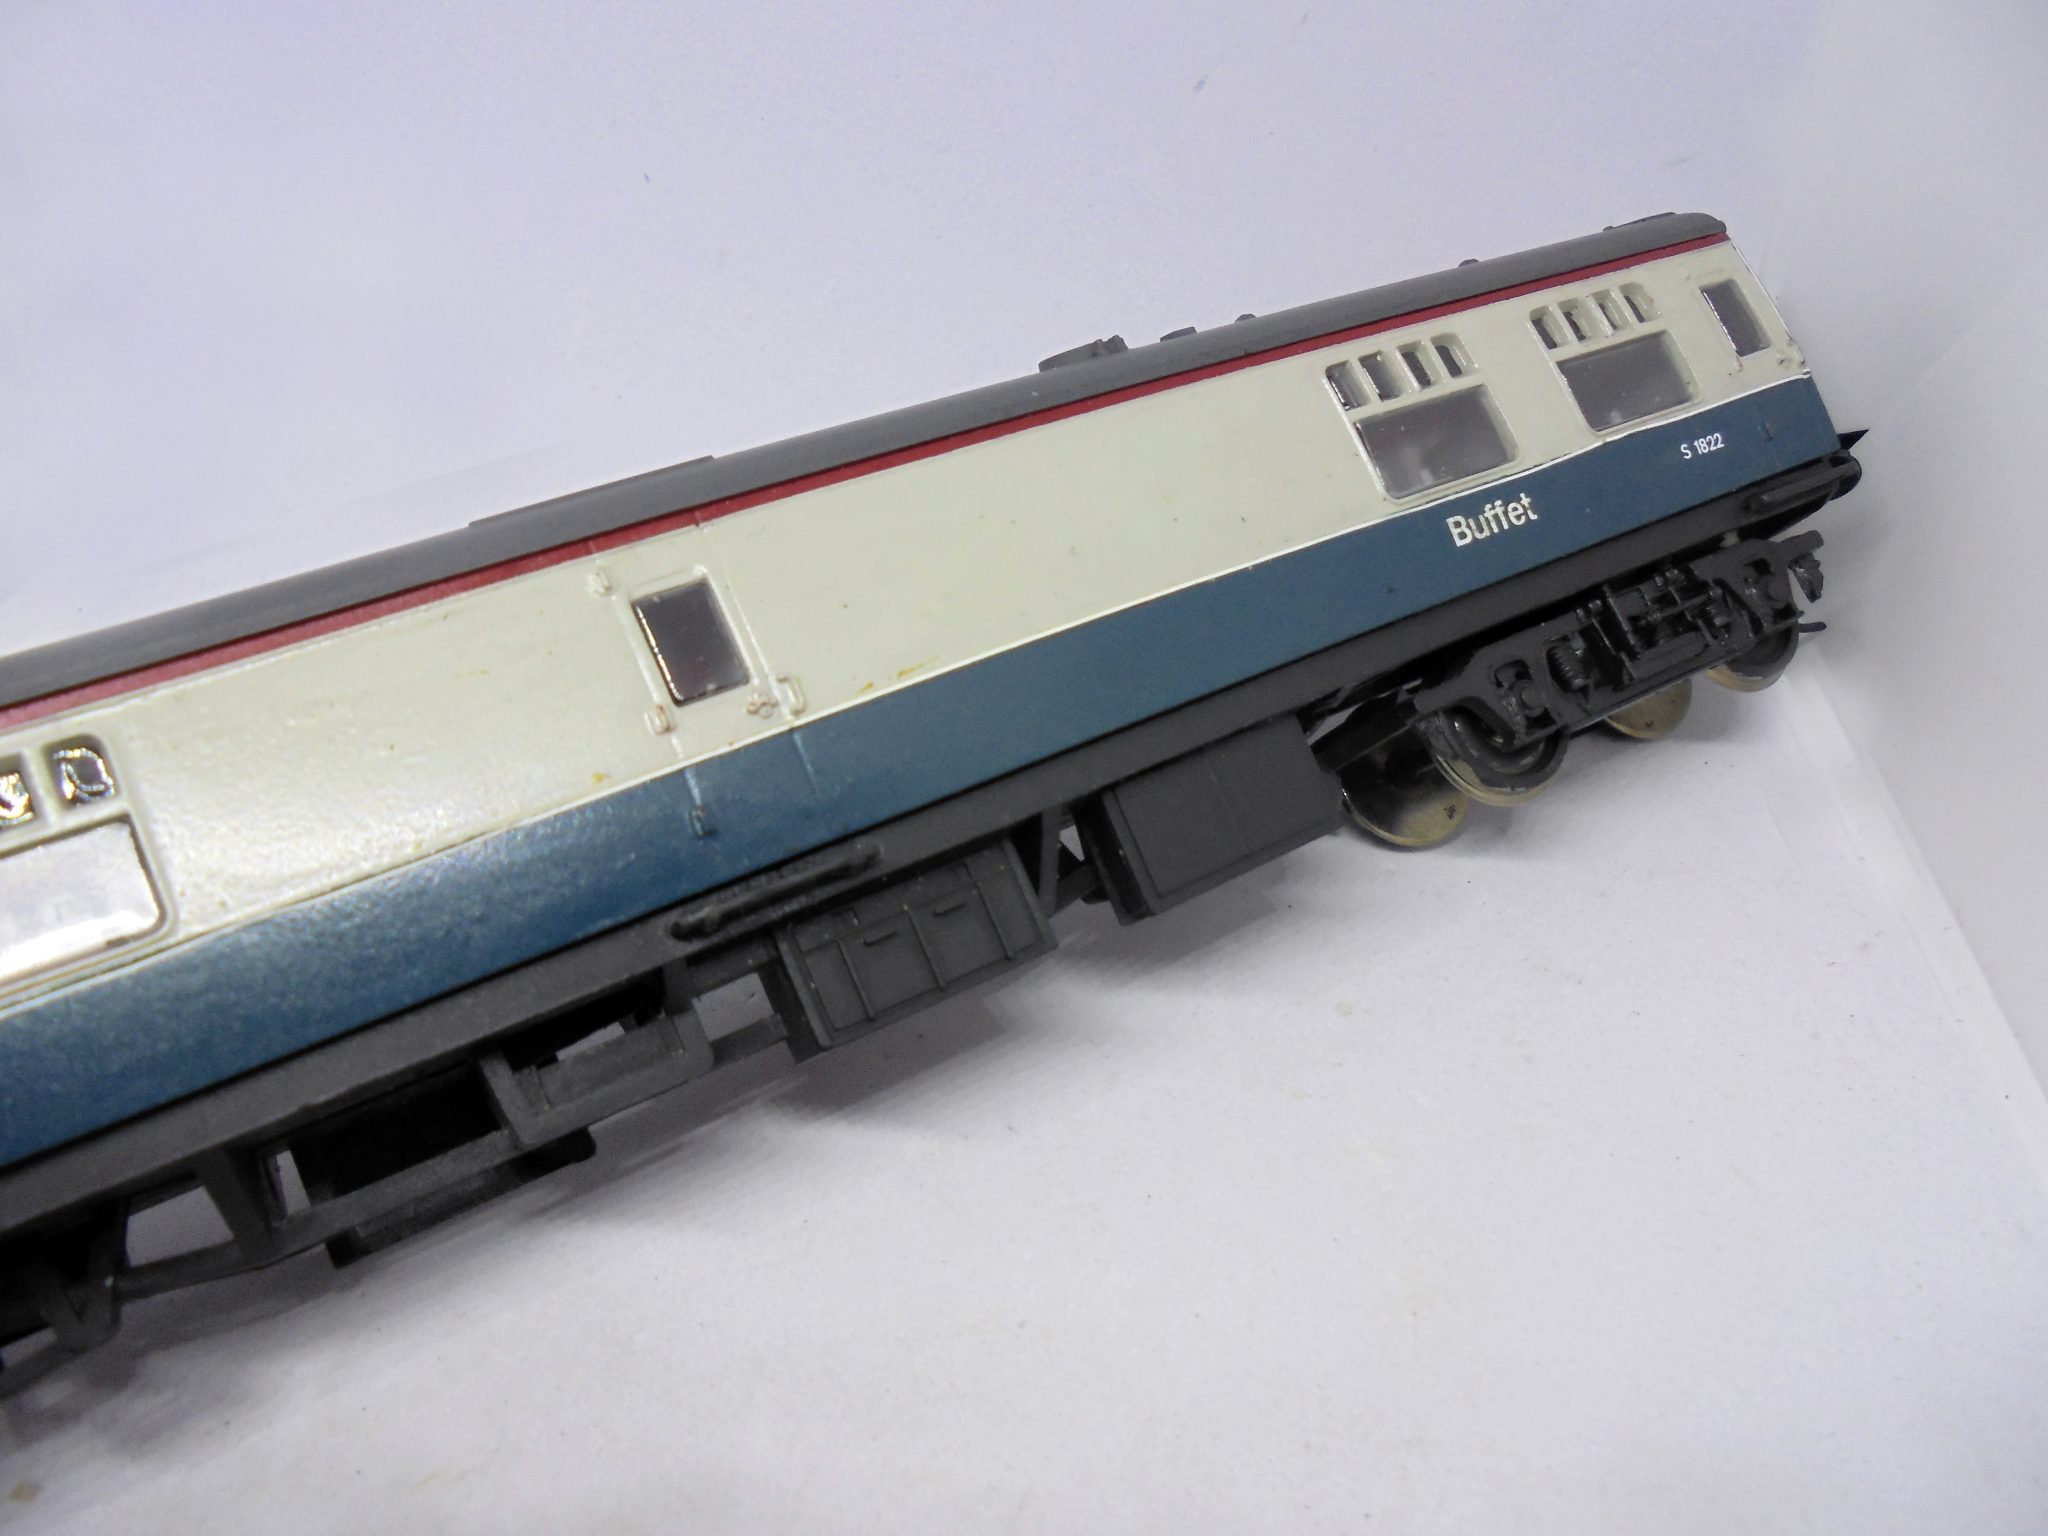
This coach was attractive as not only was it complete, but in addition a previous owner had nicely re-painted the rail blue and grey and also added the red ‘catering ‘stripe along the top.
Once home, the badly applied lettering and fictitious number were removed , along with the B4 bogies. This coach represents Diagram 99 so I could only find photos of BR1 or commonwealth types used. I had a spare set of Bachmann ones left over from a recent project so decided to use these to give the coach a different look. Removal of the bogies is easy, either a clip fit (later types) or screw in (early types) . The new Bachmann bogies are refitted using suitable nuts and bolts (remember not to over tighten), and a dab of superglue or thread lock on the nut once you are happy with the fit and ride quality. You may need to add a washer or two to correct the ride height.
I decided to fit Kadee couplings, which are standard for my stock, however if you are using tension lock couplings remember to check that there is enough clearance at the outer ends to couple to the next coach.
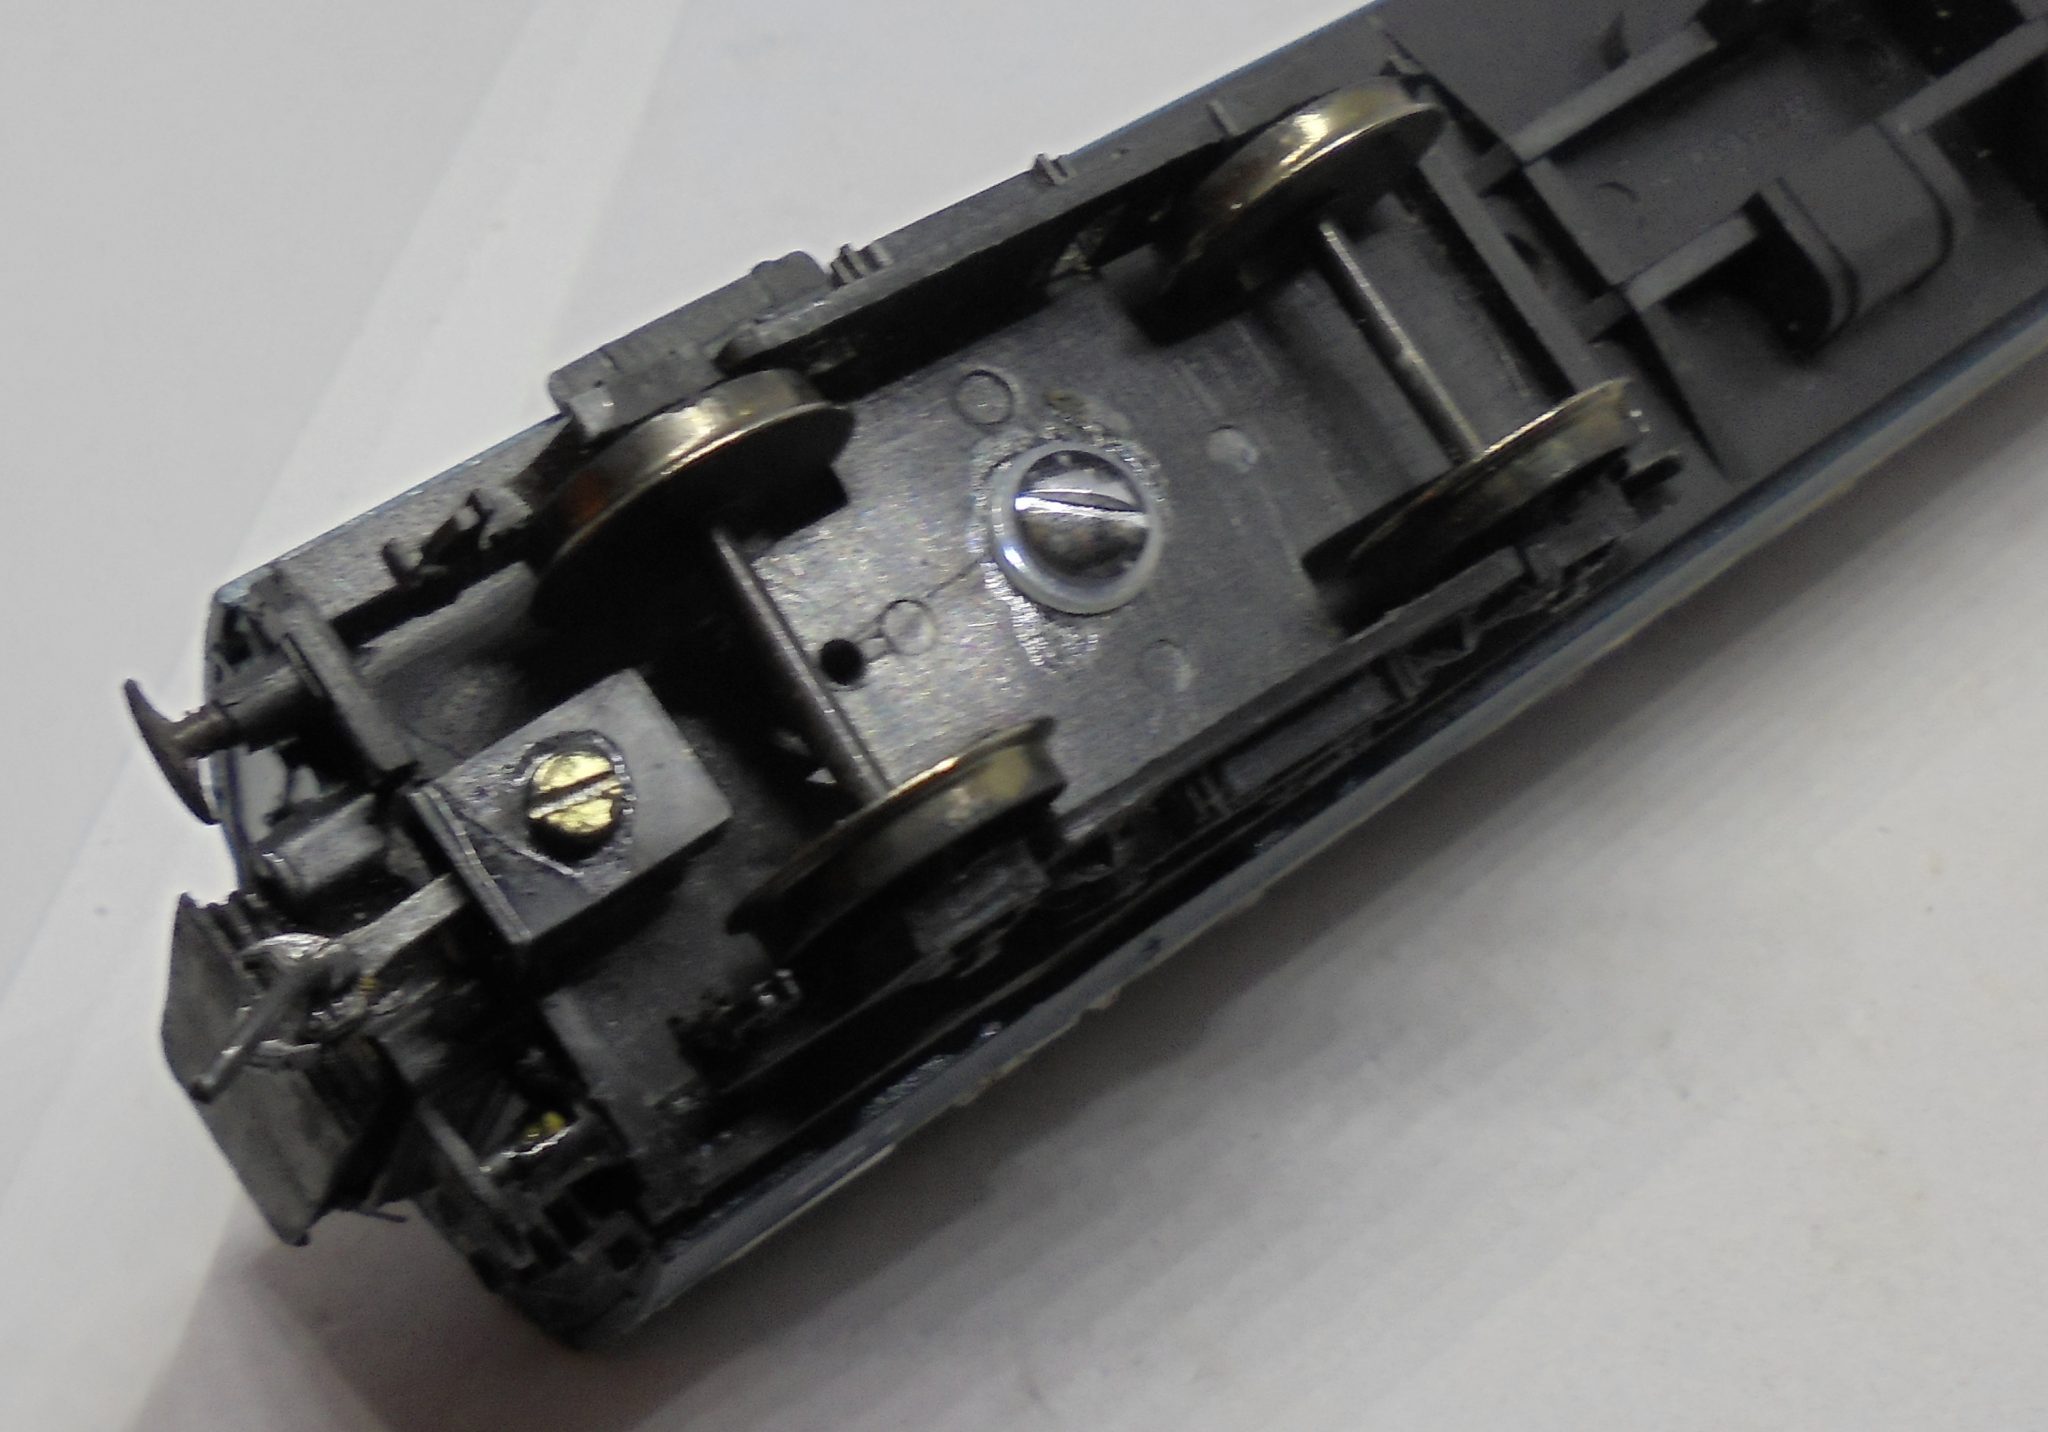
Referring to photos of the real thing cannot be emphasised enough as there is extra detail in the form of battery /equipment tanks to add on the underframe. These can be added using scrap parts left over from other projects. If you don’t have these, maybe chop up an old scrap coach or source from the many suppliers of these parts if you don’t want to make them yourself.
Door footboards were added from micro strip, which makes a massive difference to the look. A decent set of oval buffers also instantly transforms these elderly veterans. Choice of glue is down to you, I prefer plastic weld for plastic to plastic, good quality Cyano (Superglue) and an activator for anything else.
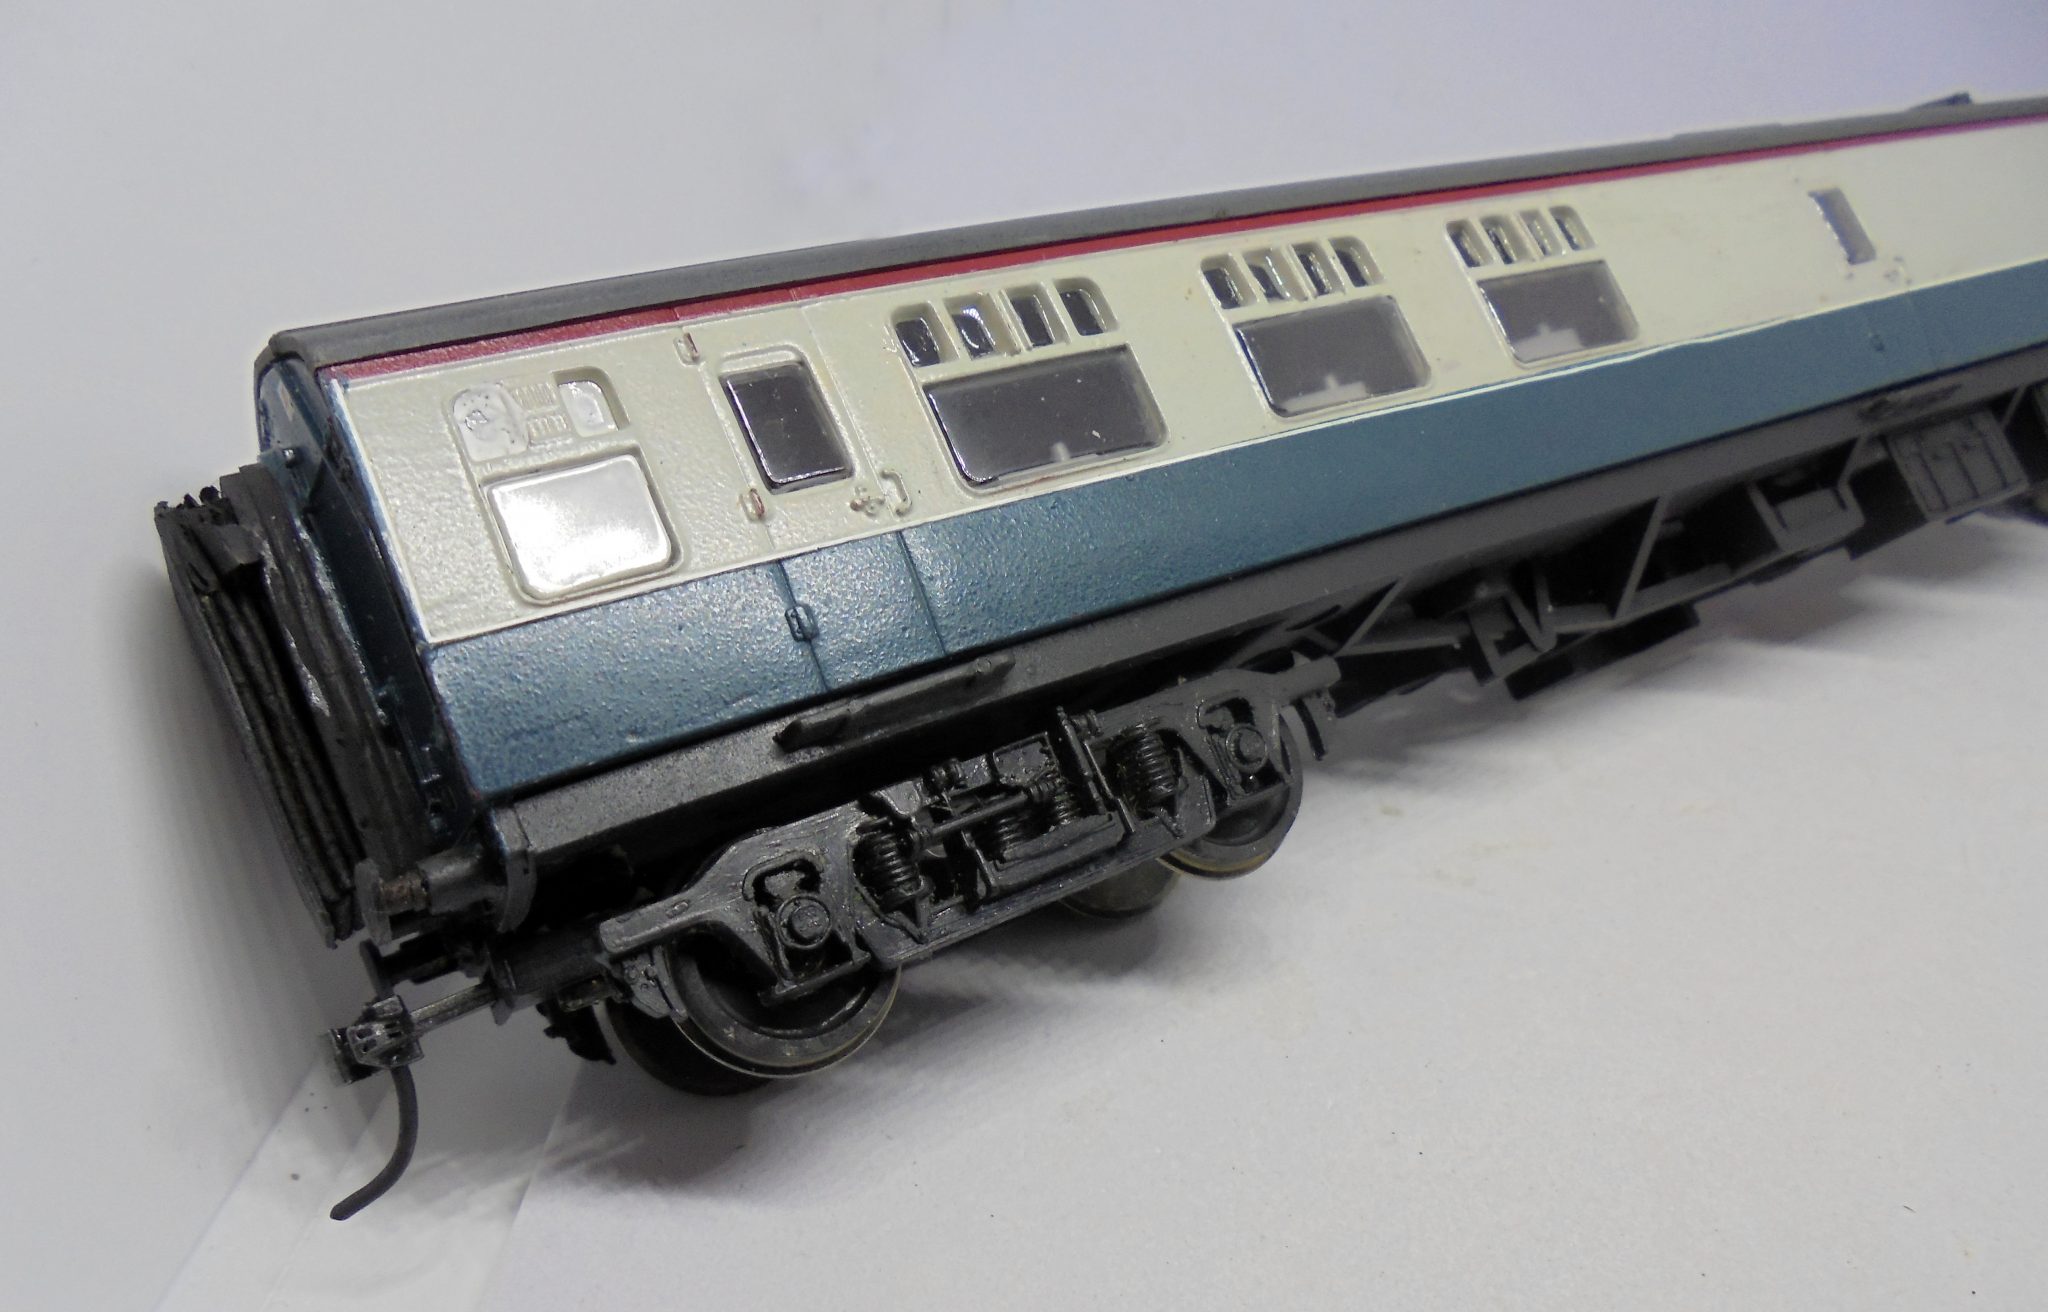
The coach ends were repainted into rail blue, and the ledge across the top of the corridor door removed with a sharp knife. These were removed on most mk1’s later in life, so again, please refer to photos!

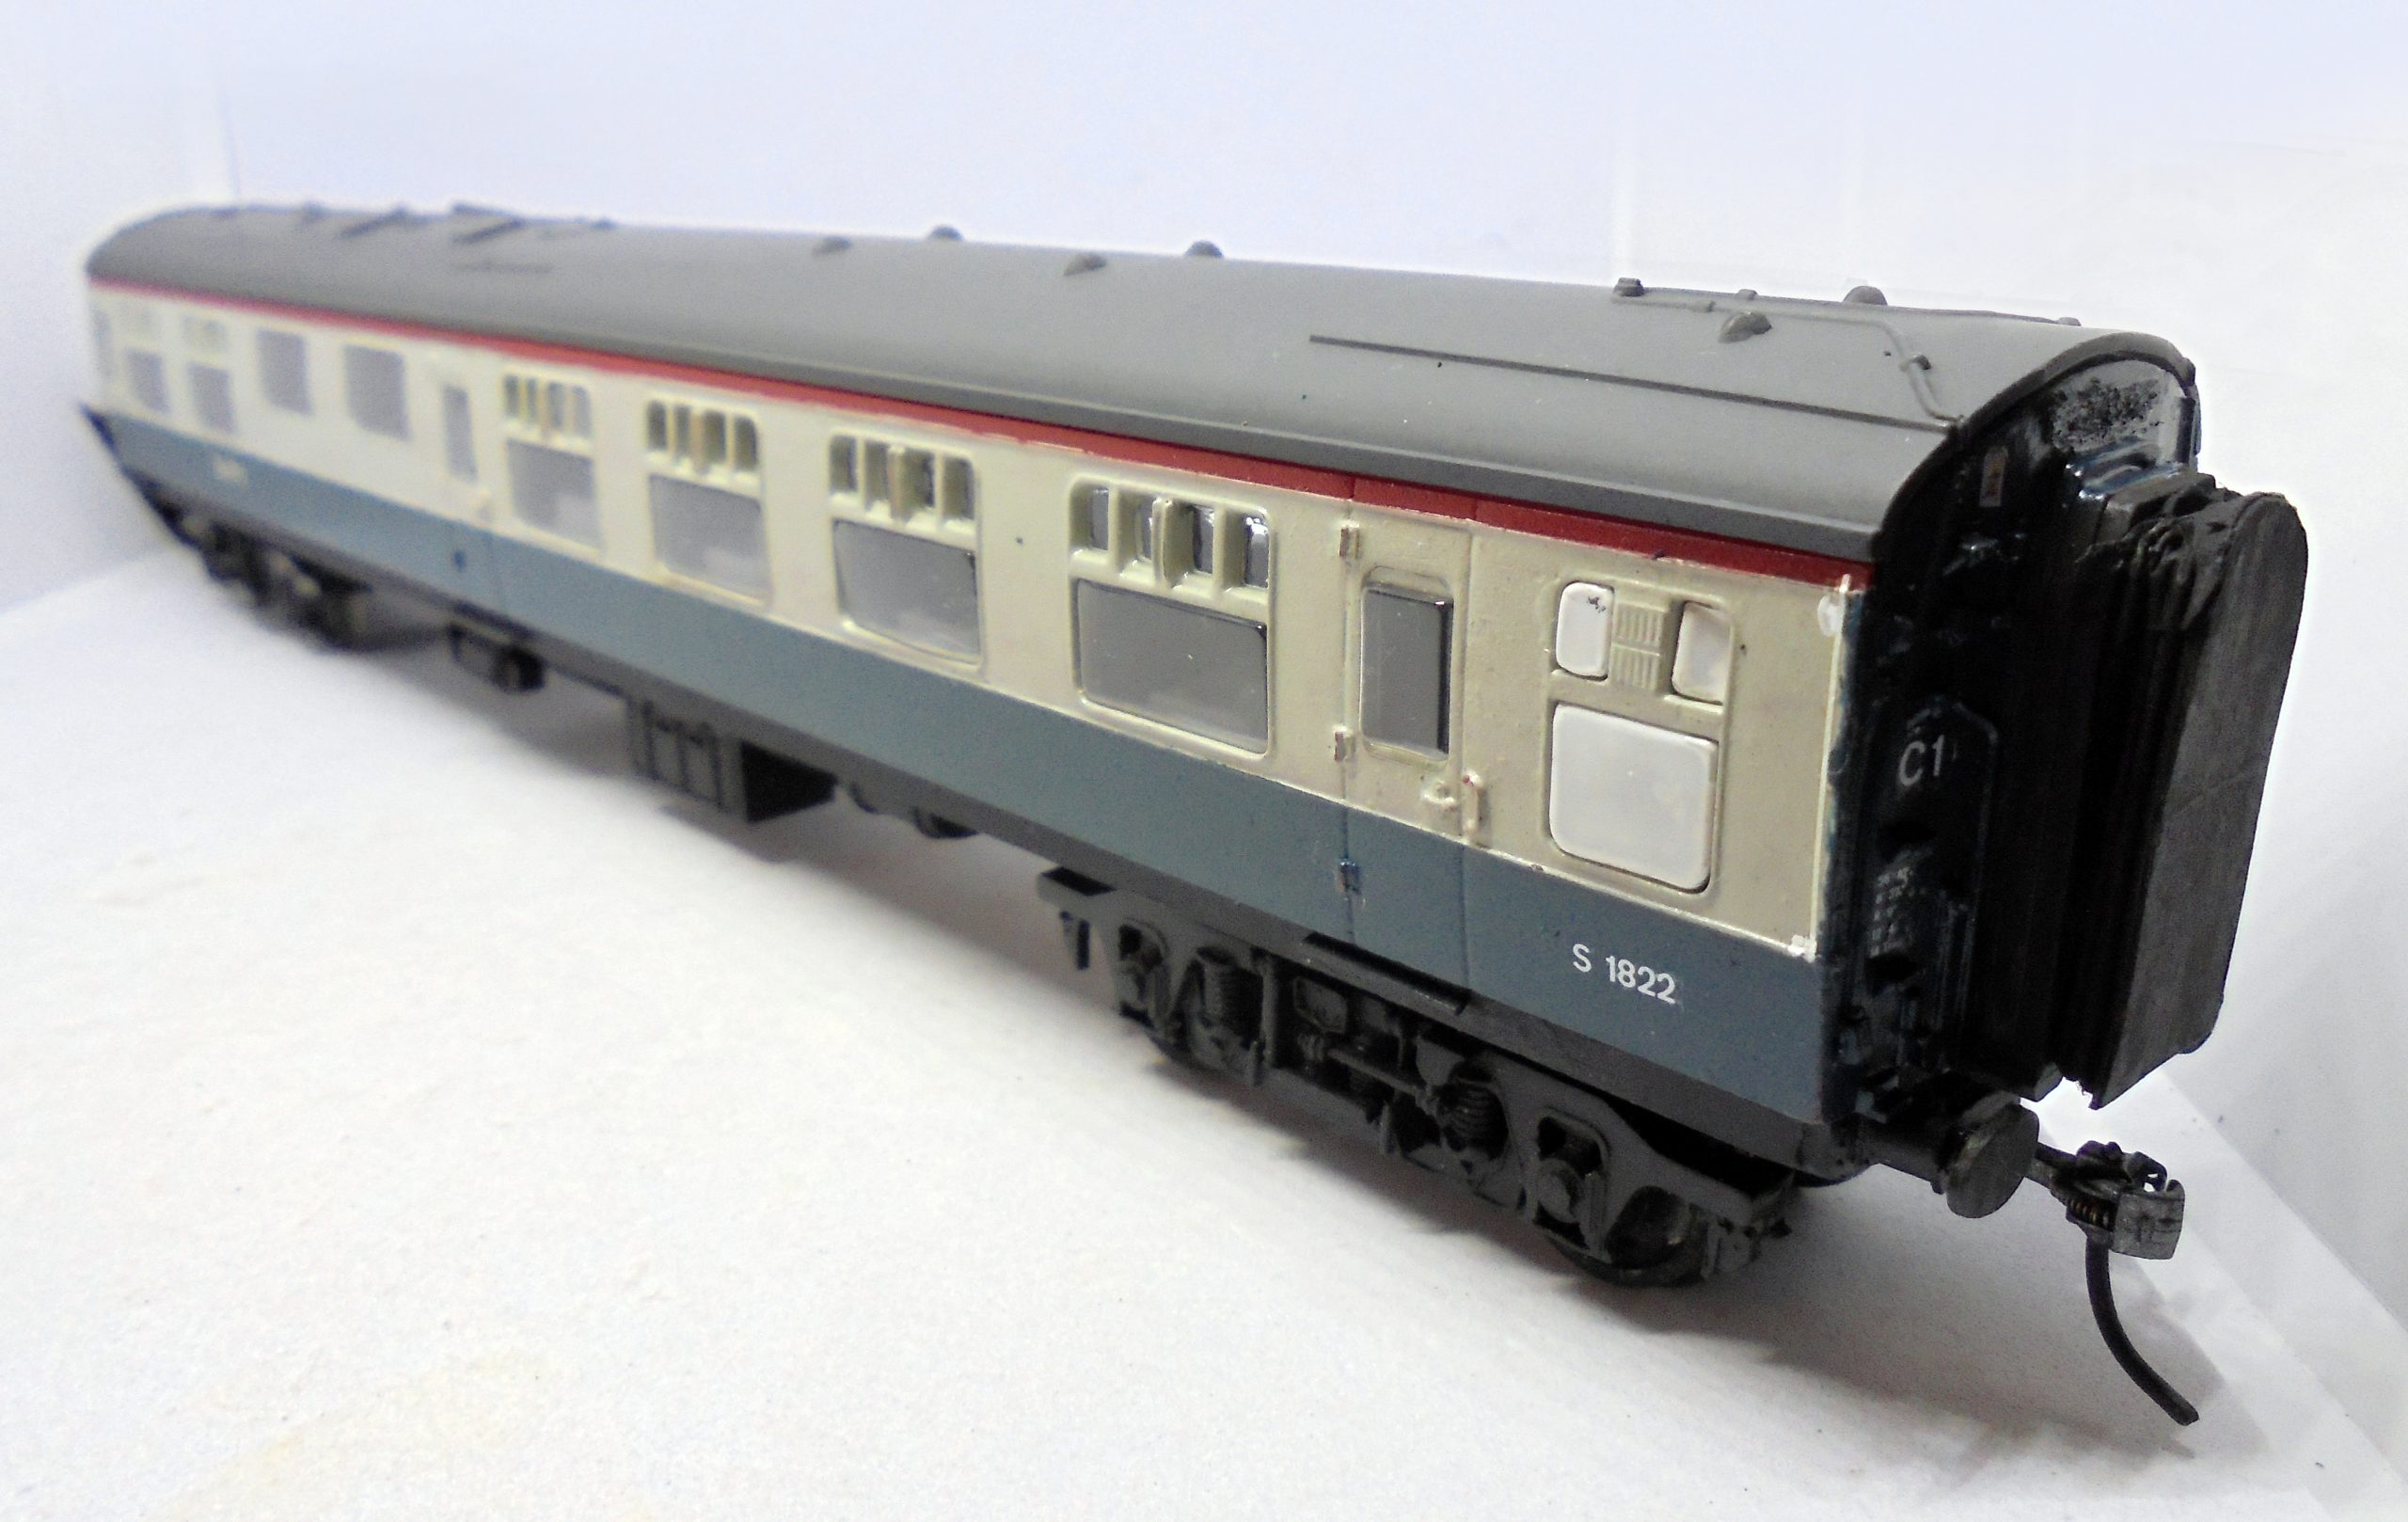
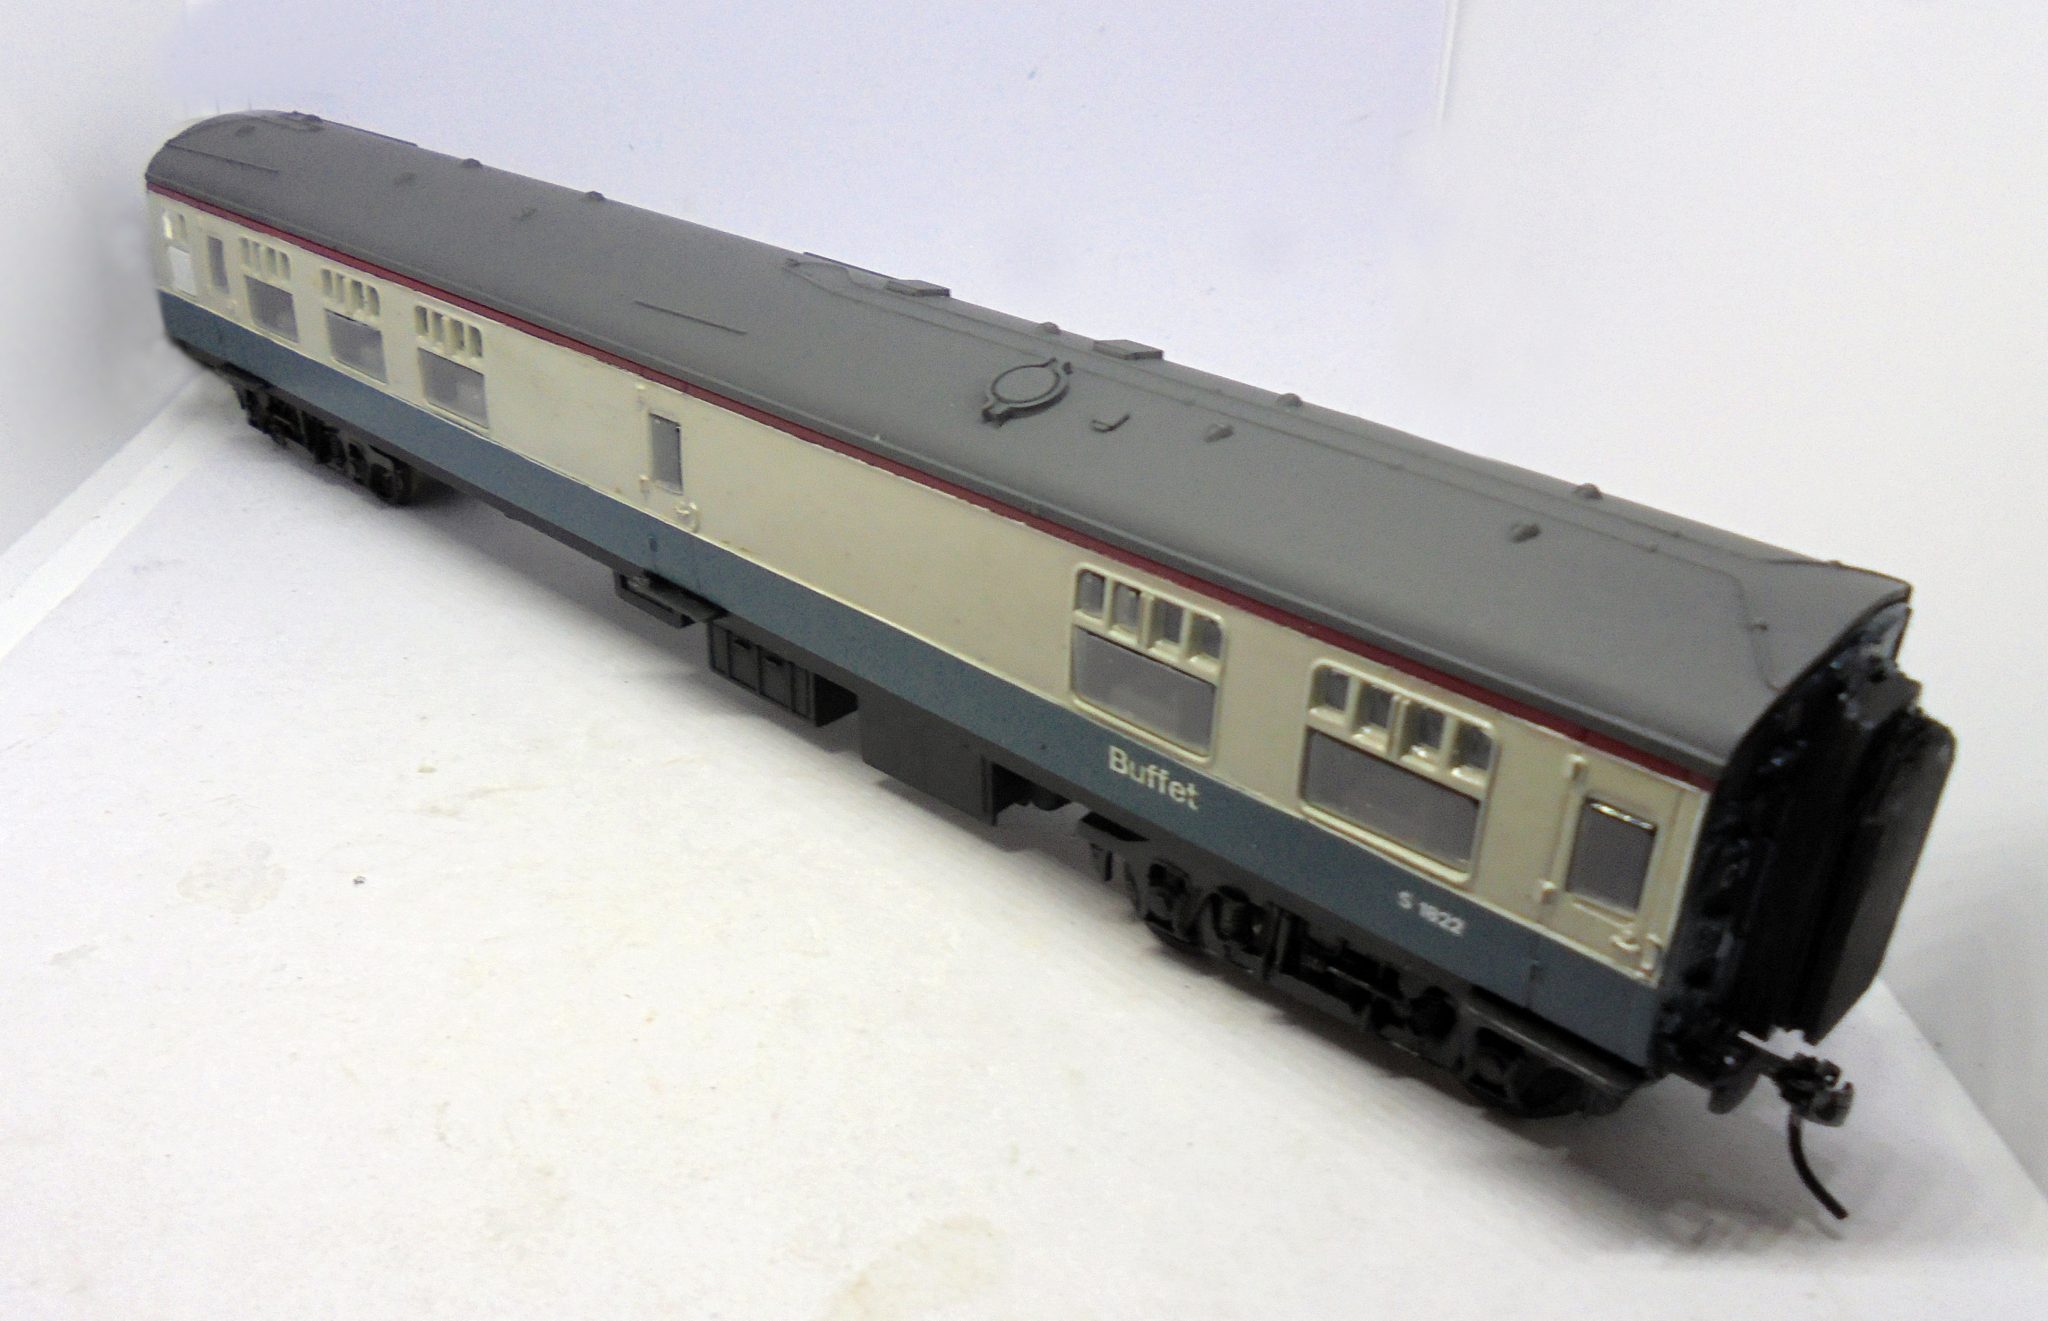
The coach side edges where also given a slight upright band of rail blue, as photos suggest the rail Grey did not extend to the end. The moulded line along the coach ideally needs removing but this can be difficult around the door areas, so my approach is to ‘thin’ it by gentle scrapes of a scalpel, down to level where it is just visible. A good coat of gloss varnish is then sprayed to help with transfer adhesion and left to dry somewhere warm and dry. The trick here then is to apply the white line between the blue and grey using the thin visible guide created by thinning the banding. I used HMRS waterslide white lining, With a steady hand and patience, the rewards will pay dividends. Waterslide transfers were re-applied, along with a now correct number (S 1822). Using this number enables me to use this coach in an inter-regional train on a future planned layout!
The chassis was given a coat of matt black spray and the roof resprayed in Humbrol tank grey, which is my colour of choice for coach roofs. Another light coat of gloss varnish to seal the decals on the sides and ends was applied, and once dry, a coat of matt varnish was applied to remove the shine – a personal choice but I hate shiny coaches…!!
I purchased a SE finecast flushglaze window pack (SE-28) for £4 from ebay . Please note, from past experience I never use all the ‘impossible’ small top windows as they never fit correctly. Inside I use liquid glue and glaze which I also use to glue the main window pieces in – NEVER SUPERGLUE!
I resprayed the interior a light grey – at the moment it is running ‘empty stock’ until I find some suitable occupants.
Once reassembled, I fitted two corridor connection pieces , mainly to hide the ‘mysterious hole’ that seems to be on the later models. Again this is personal choice and will be dependant on layout curves etc.
So, for just over seven quid and a couple of evening’s work, I’ve got myself another catering vehicle (like I need more!). With the cost of items rising all the time maybe its time to revisit the past and look at some of the opportunities out there that some older items offer. Now, within a mixed rake it is hard to tell this coach from some more modern offerings at a fraction of the cost. The only thing noticeable is that it’s not weathered yet … but it will be at some point.