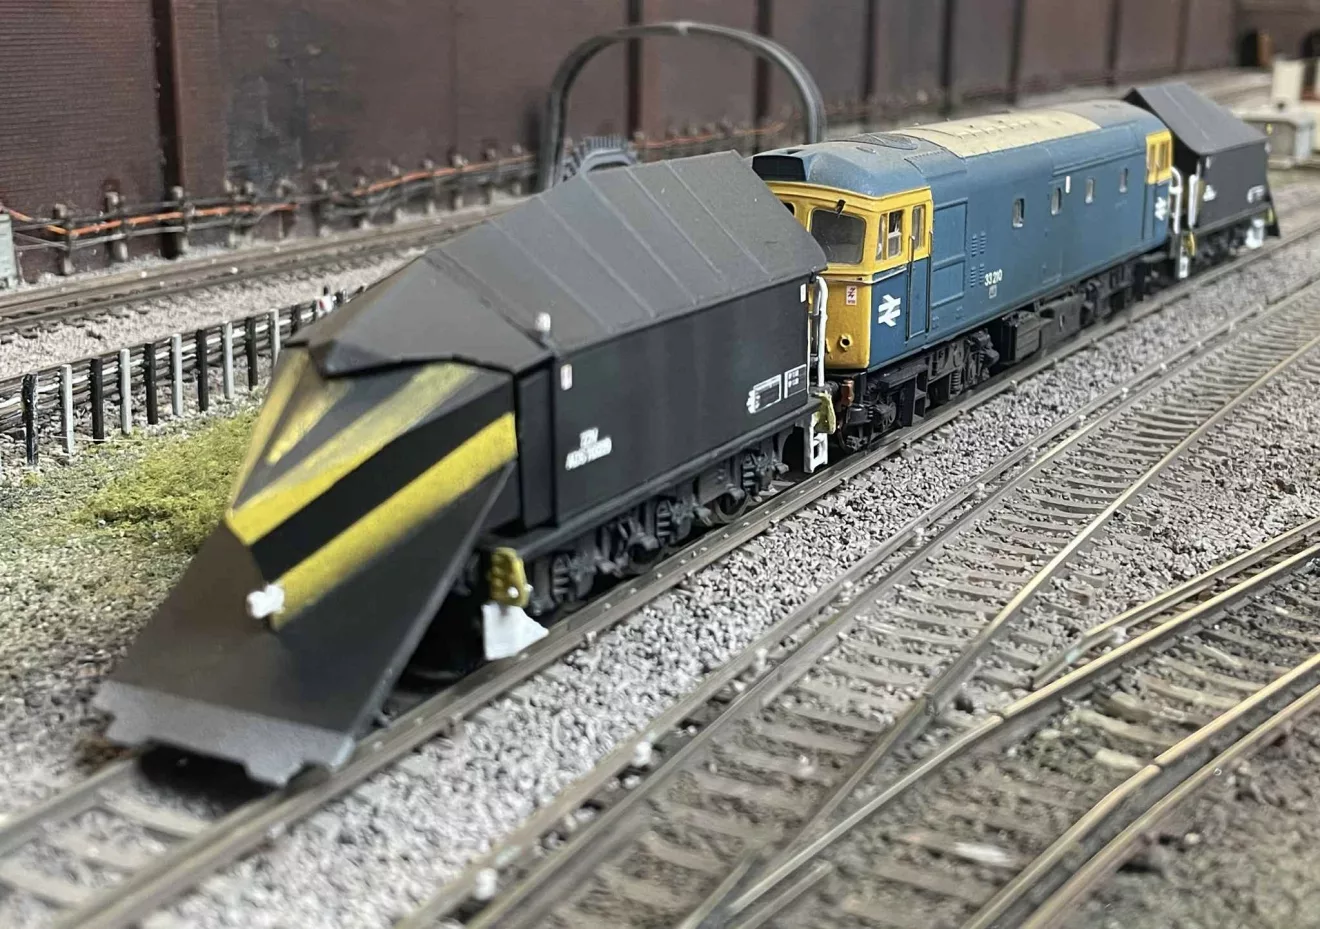

 Schools Tender Snowplough kit")
")
 Conflat D kit")


It always pays to take a look…
Recently, on the way home from work I decided at the last minute to call into a local swapmeet held on a Saturday. Usually, by the time I get there after lunchtime, all of the bargains have either gone or been snapped up by the dealers. However, on this occasion an item caught my eye. For the princely sum of £4 I obtained a Wrenn Fish van which was very nicely repainted in BR departmental yellow, fully lettered and with chevrons.
Despite being a nice and tidy job, the chassis was in dire need of some attention; missing/ broken buffers and undergear, and tension lock couplings that looked like they were held on with bubblegum. It remained in the carrier bag a few days along with a number of other items until I had a free modelling evening.
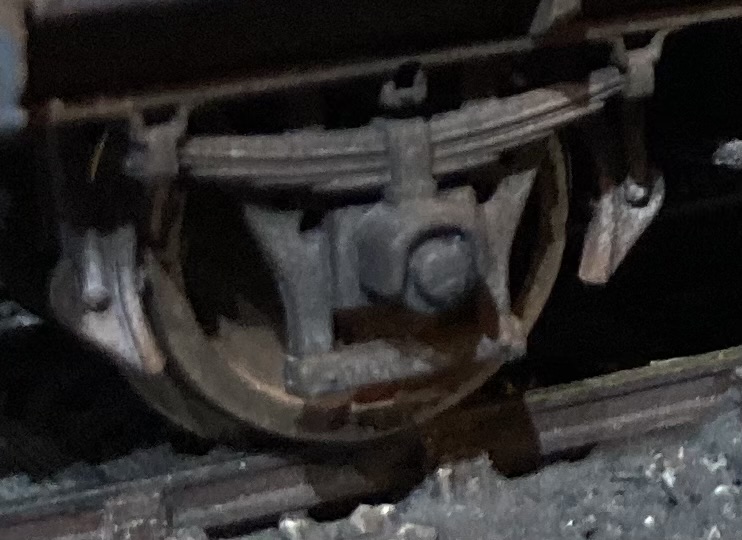
The first job was to remove the overscale “steam roller” type spoked wheels fitted by Wrenn many years ago and unsuitable for anything other than code 100 rail. These were replaced with some Hornby 3 hole 12mm wheels. A little reaming of the axle “bearing” holes was required to get a free running wheel but certainly not a major operation. It’s probably more like the years of muck and dust built up in the bearings to be honest.

Next job was to remove the brake shoes and hangers on the chassis moulding that are nowhere near the actual wheel. These were replaced by 12A Models’ excellent 3D printed hanger and brake shoe pieces (2 per axle/wheel) . The transformation is immediate and I certainly hope he releases these as part of his new venture in supplying 3D parts. (note from Kim – they are already available on Ebay here)

As most of the remaining undergear was smashed or badly broken it was decided to clean up this area of the underframe and fit some new steps for the middle doors. The ladder section was cut from some old Hornby grey footbridge railings, (never throw anything away!) and the step from a suitable strip of plasticard glued onto the bottom. The tension lock couplings were took off, in fact one actually fell off during the process and replaced with NEM pockets, glued in place and Kadee number 18s fitted. A new suitable buffer was sourced from my many spares and fitted to replace the broken one.
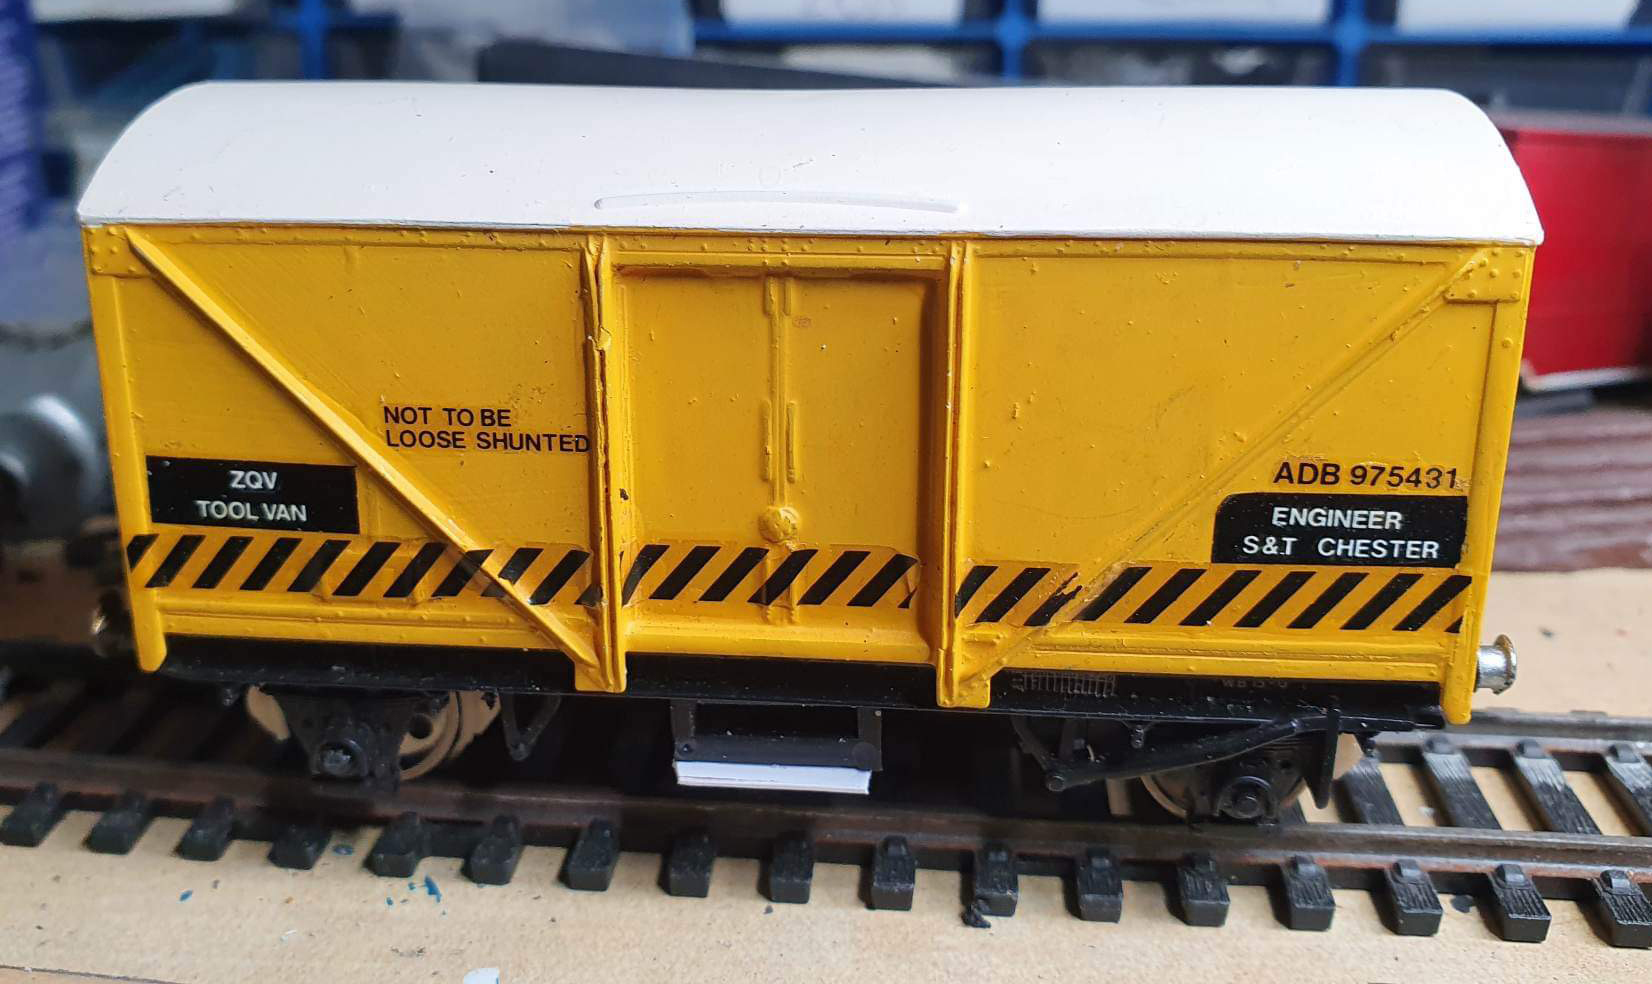
The chassis was then given a coat of matt black, the wheel centres blackened and some pipework fitted.
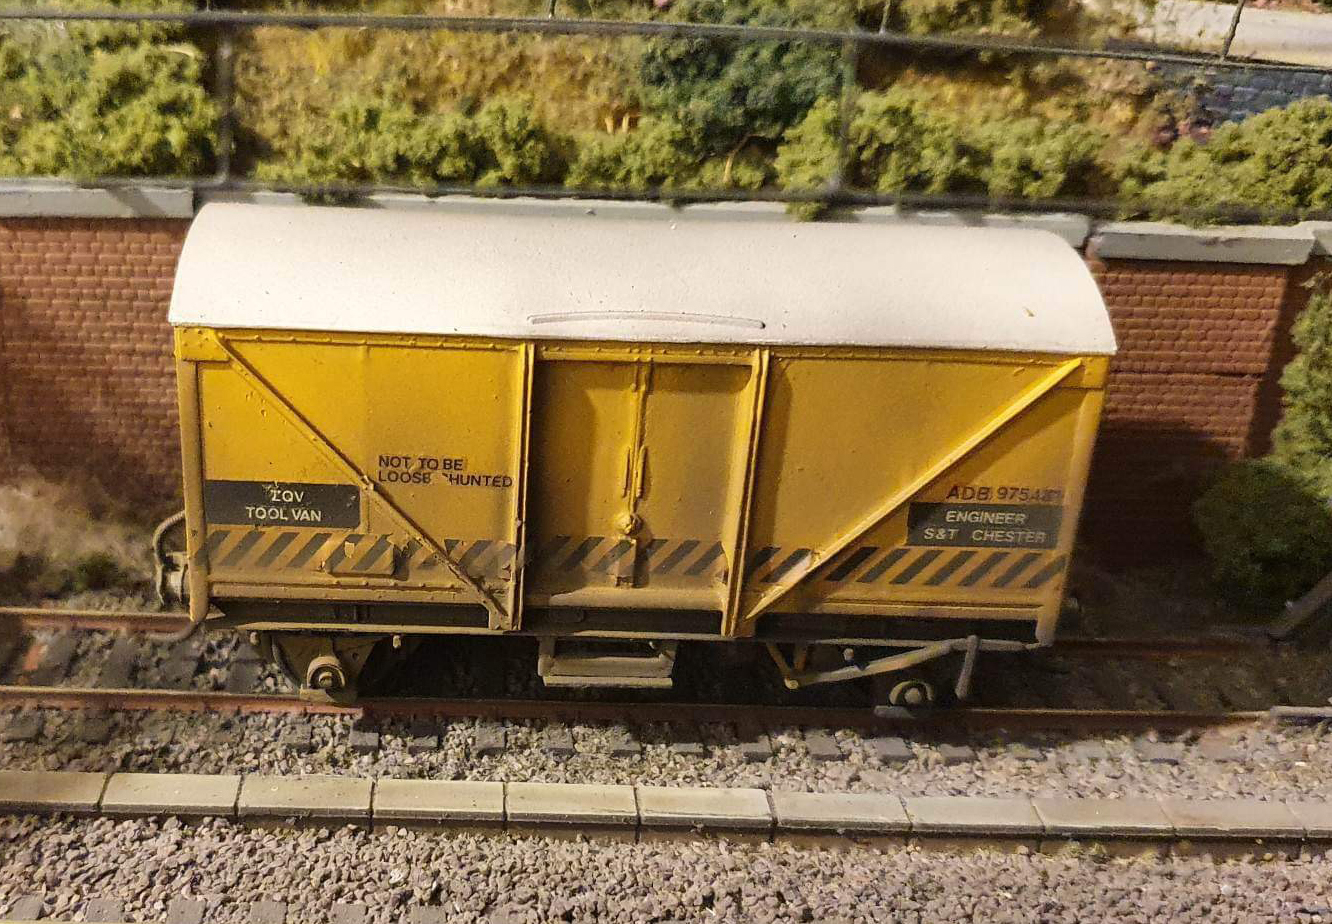
A couple of hours work (if that) and now that it’s weathered it really looks the part. For £4 and a few odd parts from the spares pile I consider it quite a bargain… They are still out there folks, we’ve just got to keep looking.