Schools Tender Snowplough kit")
")
 Conflat D kit")


A quick review of the recently released West Hill Wagon Works 3D printed pipework for detailing diesels.
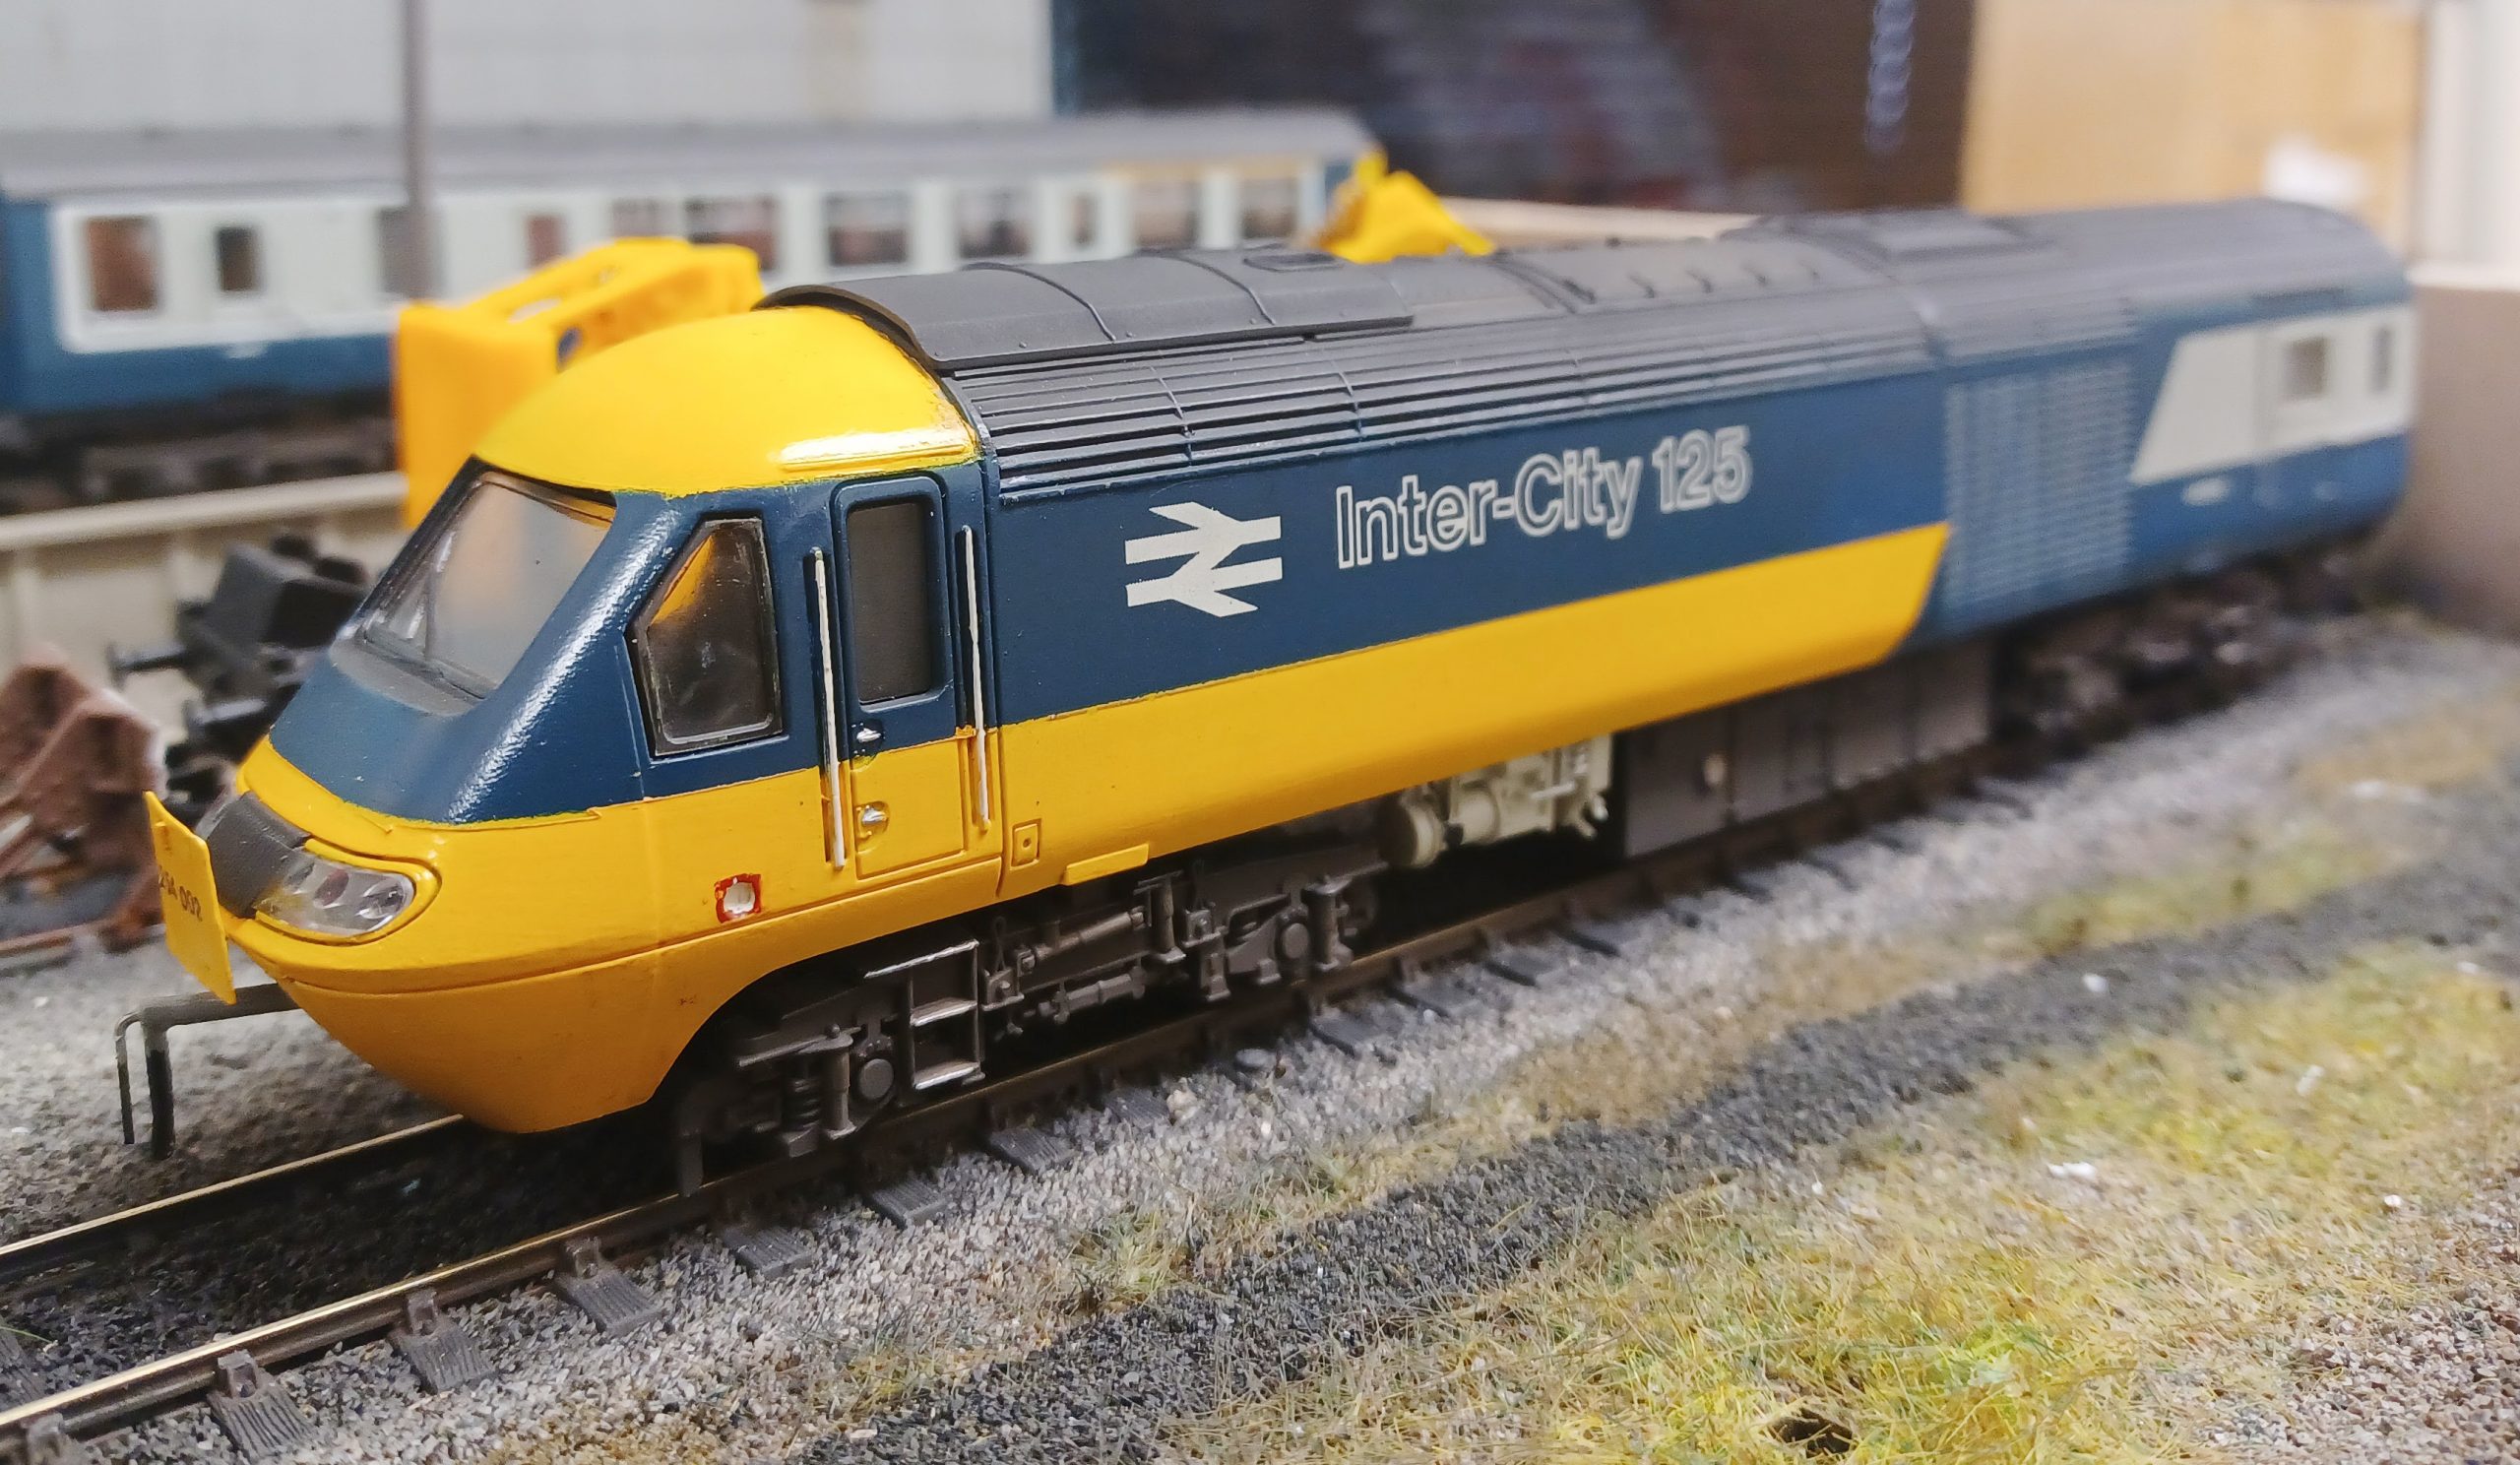
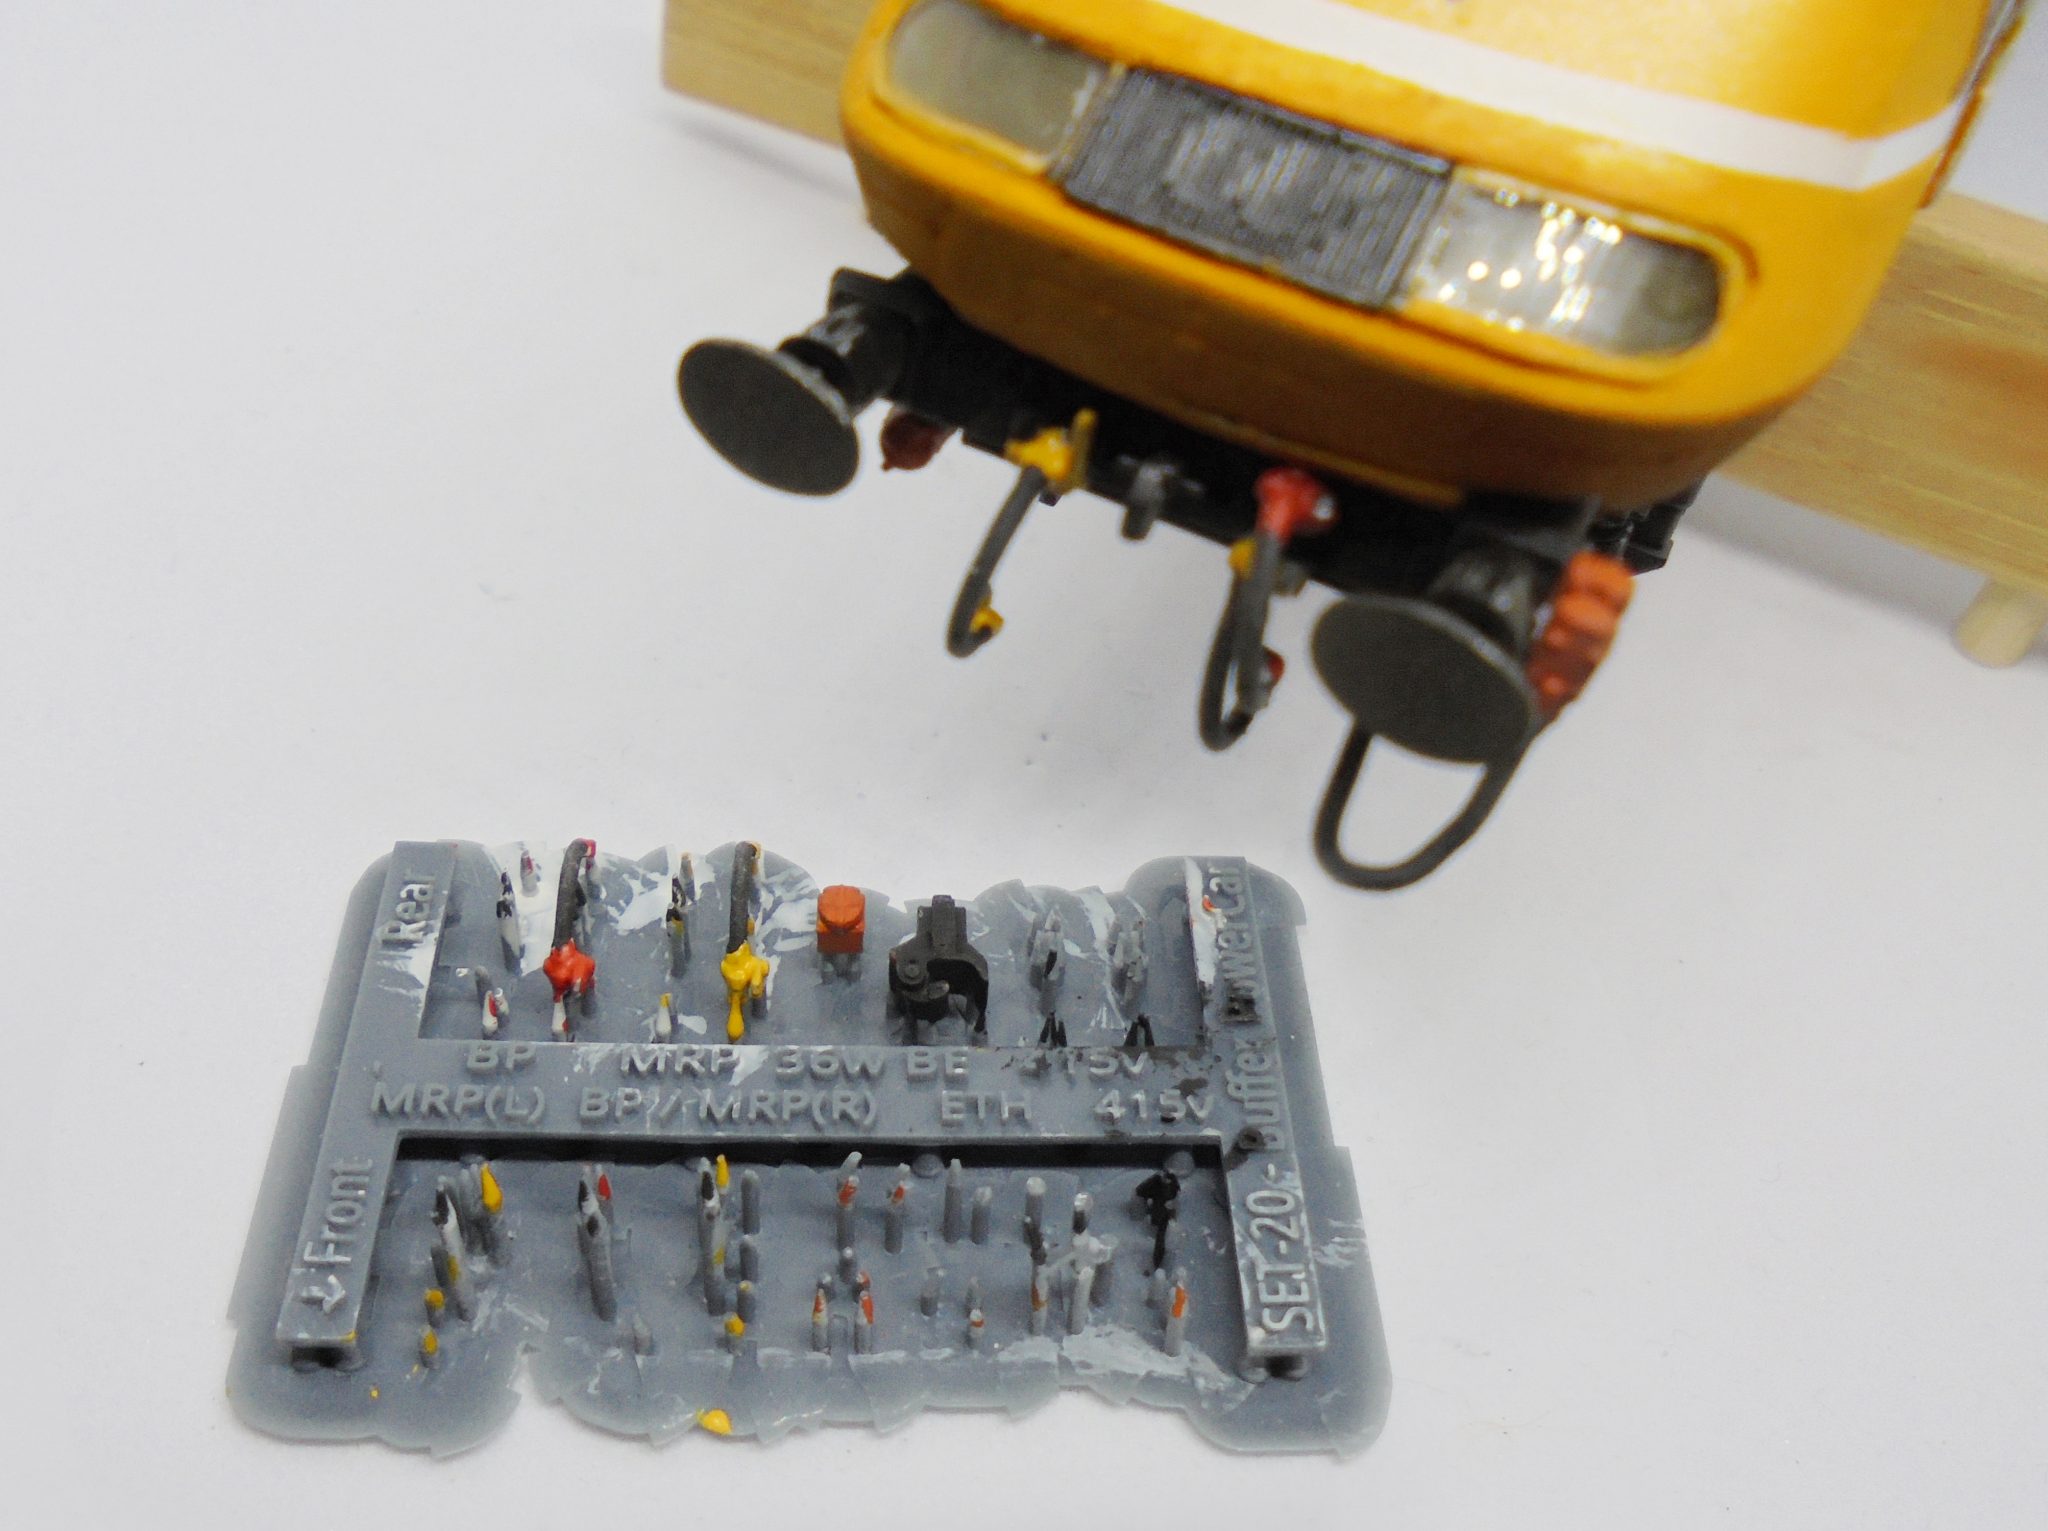
If, like me, you are at an age that can remember the excellent Craftsman Diesel parts and buffer beam detailing packs, then you will have welcomed the release of the West Hill Wagon range. I still scour the rummage boxes at shows and toy fairs for the Craftsman detailing packs, as most of the pipework was interchangeable between classes and, being made of white metal, was sturdy, looked great when painted, and easy to work with. Sadly, finding these is becoming rarer now, so it’s time to step out of the 1980s time machine and look at this range in 3D printed form. The pipework fitted for review was on a Hornby HST DVT style, but the good and bad points to be mentioned would represent any class or pack offered. Opening the pack finds a fine display of pipework finely printed on a sprue. On checking the WHWW online page, a painting diagram and parts explanation can be found. As the site tells you, it is advisable to paint all the parts on the sprue before removal and to check photographs of the item you are modeling. A light spray of grey or white primer is essential, especially as some of the stop taps and valves are yellow or white. Once the primer is dry, continue to paint with a small brush (00 or 000 is perfect) the stop taps, valves, ETH boxes, etc., in the various colors advised on the website. A couple of coats I would recommend, as it is easier to paint now rather than once fixed in place. Once dry, paint the pipework with a good coat of matte black, again covering all the pipes while it is on the sprue.
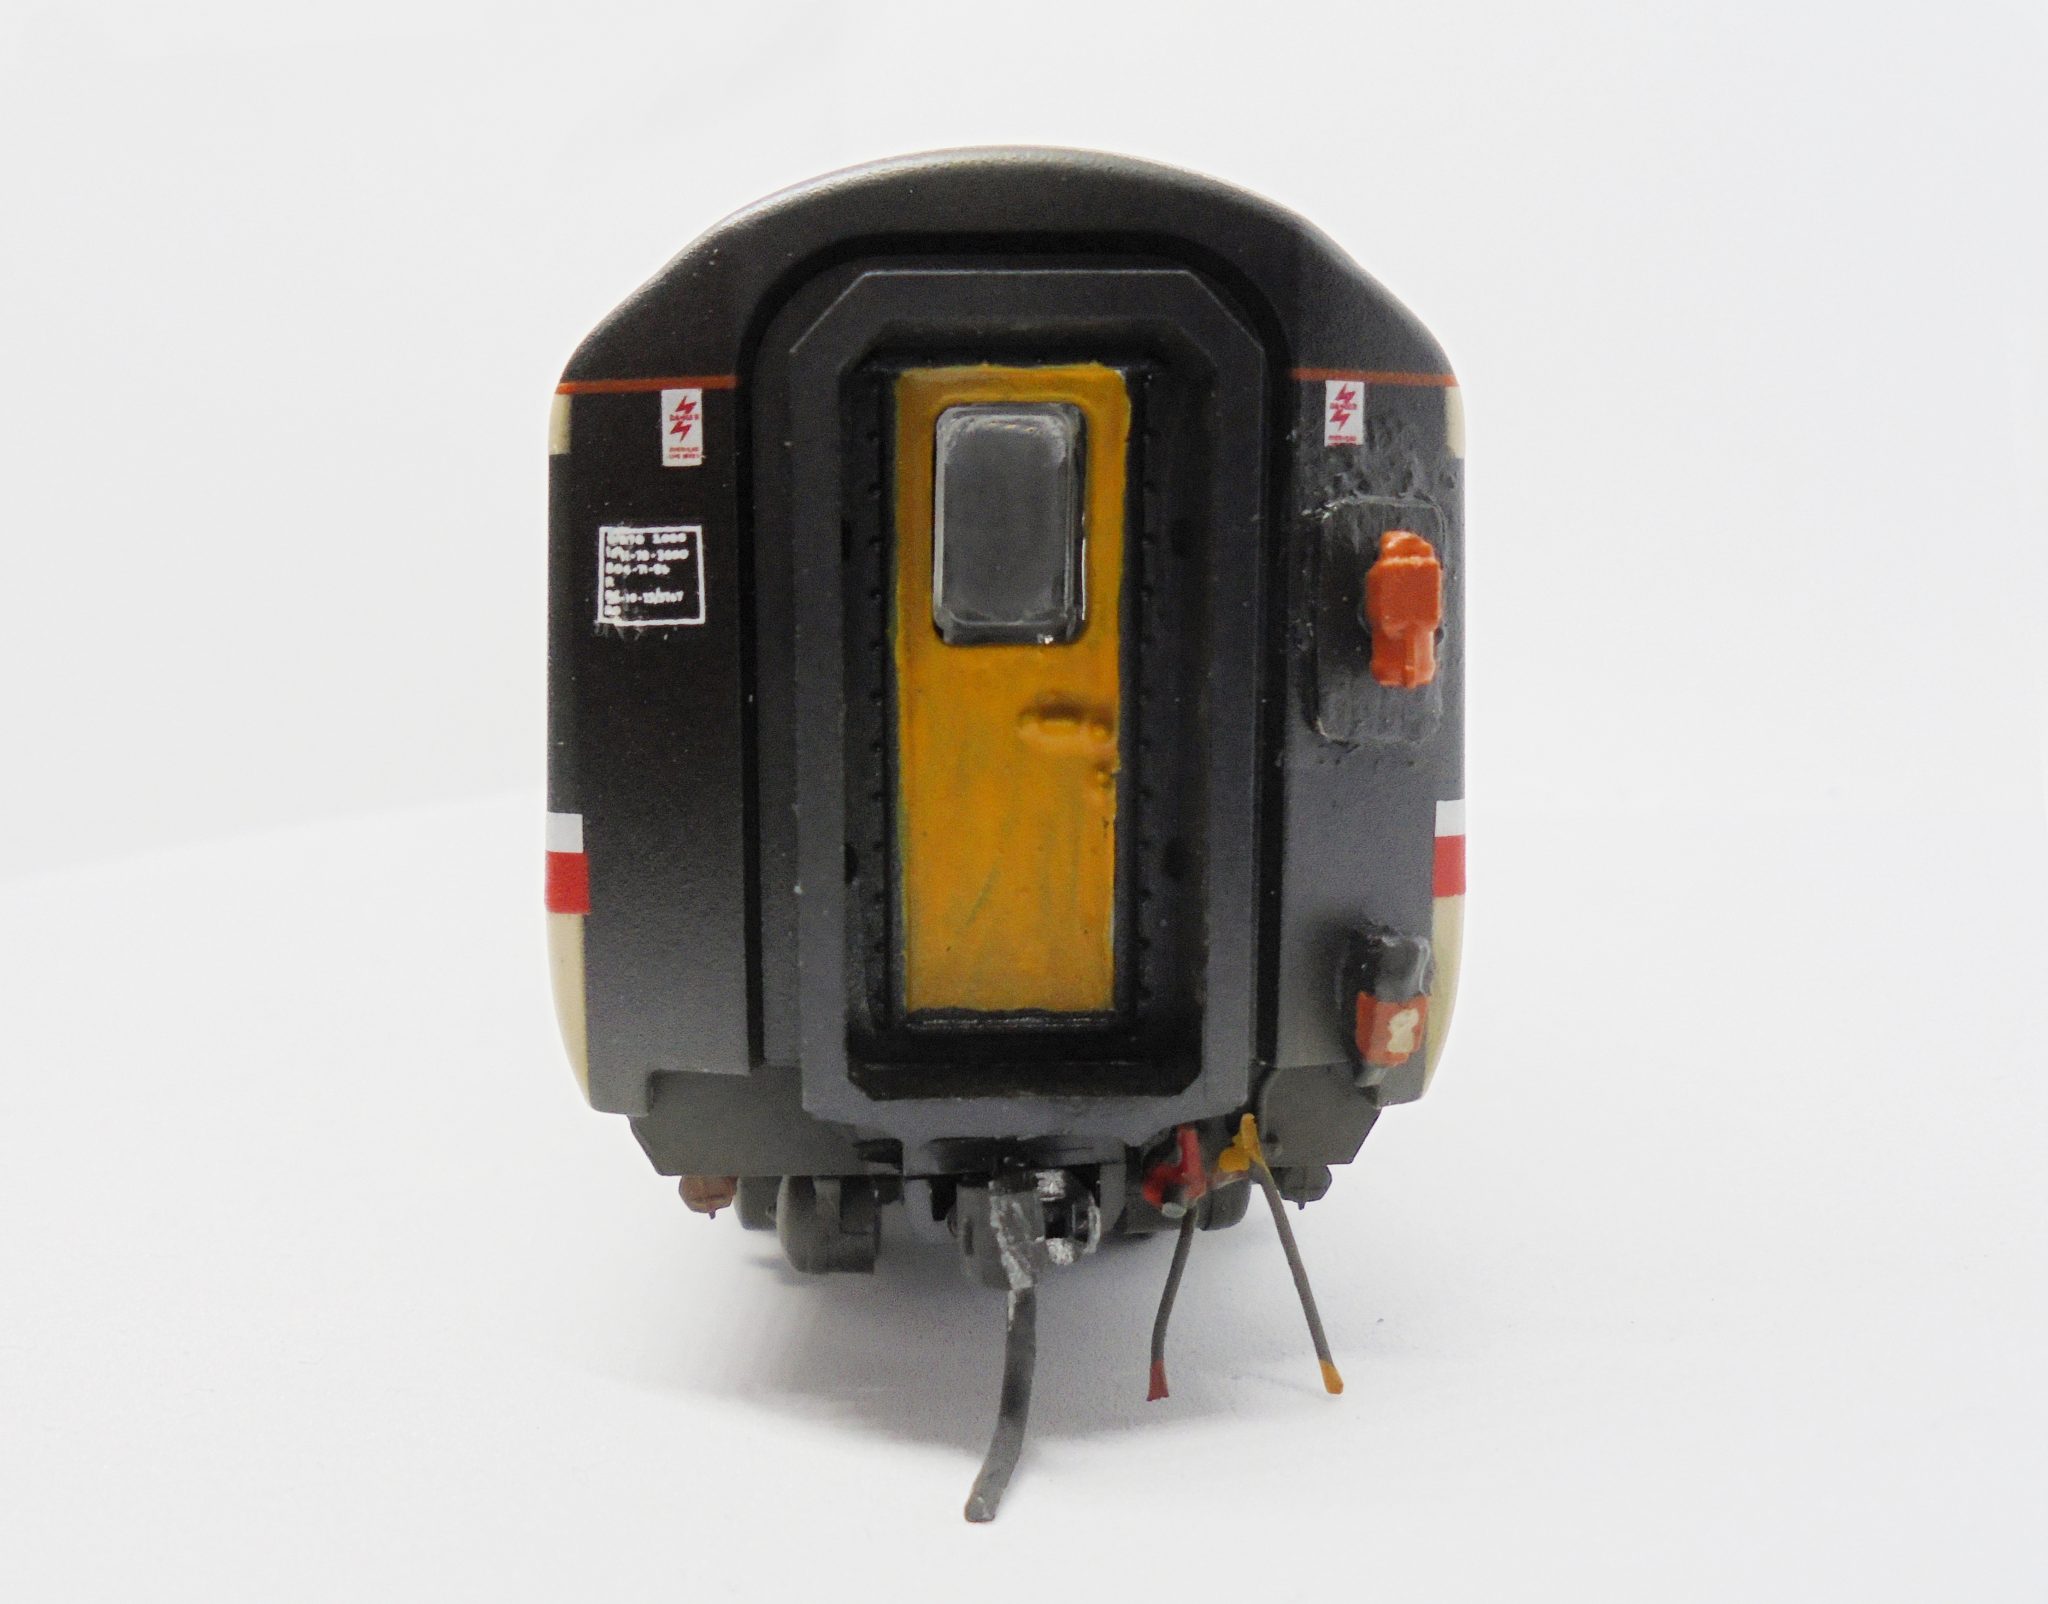
Before fixing, refer as always to photographs. Due to the nature of this product, they are quite fragile, so they require minimal handling, as I found when fixing the two pipes to the rear of the power car. I caught them slightly when refixing the body—Result… minus two pipes, but the stop tap/valve remained in place. Solution… drill a 0.4 mm hole in the bottom of the tap/valve and replace with microstrip/rod. Easily fixed in with met pak or superglue, and the micro rod is slightly more flexible. I also found drilling a slightly larger hole (most valves required a 0.5 hole drilling). I would advise a size or two above the recommended purely for the reason of avoiding pushing the pipe/valve into a tight/snug drilled hole to prevent damage if trying to force fit. Any slight movement will be filled when applying glue, and I found that using a superglue ‘gel’ type product ideal for this gluing where possible from behind the beam.
Once applied, they do look excellent, quite how resilient they will be to the rigors of exhibition use remains to be tested being quite fragile as already mentioned and sadly won’t take too many knocks before breaking. As mentioned above, one possible solution will be to replace the pipes with something more flexible if your models get a lot of handling or bad driving into buffer stops or derailments!
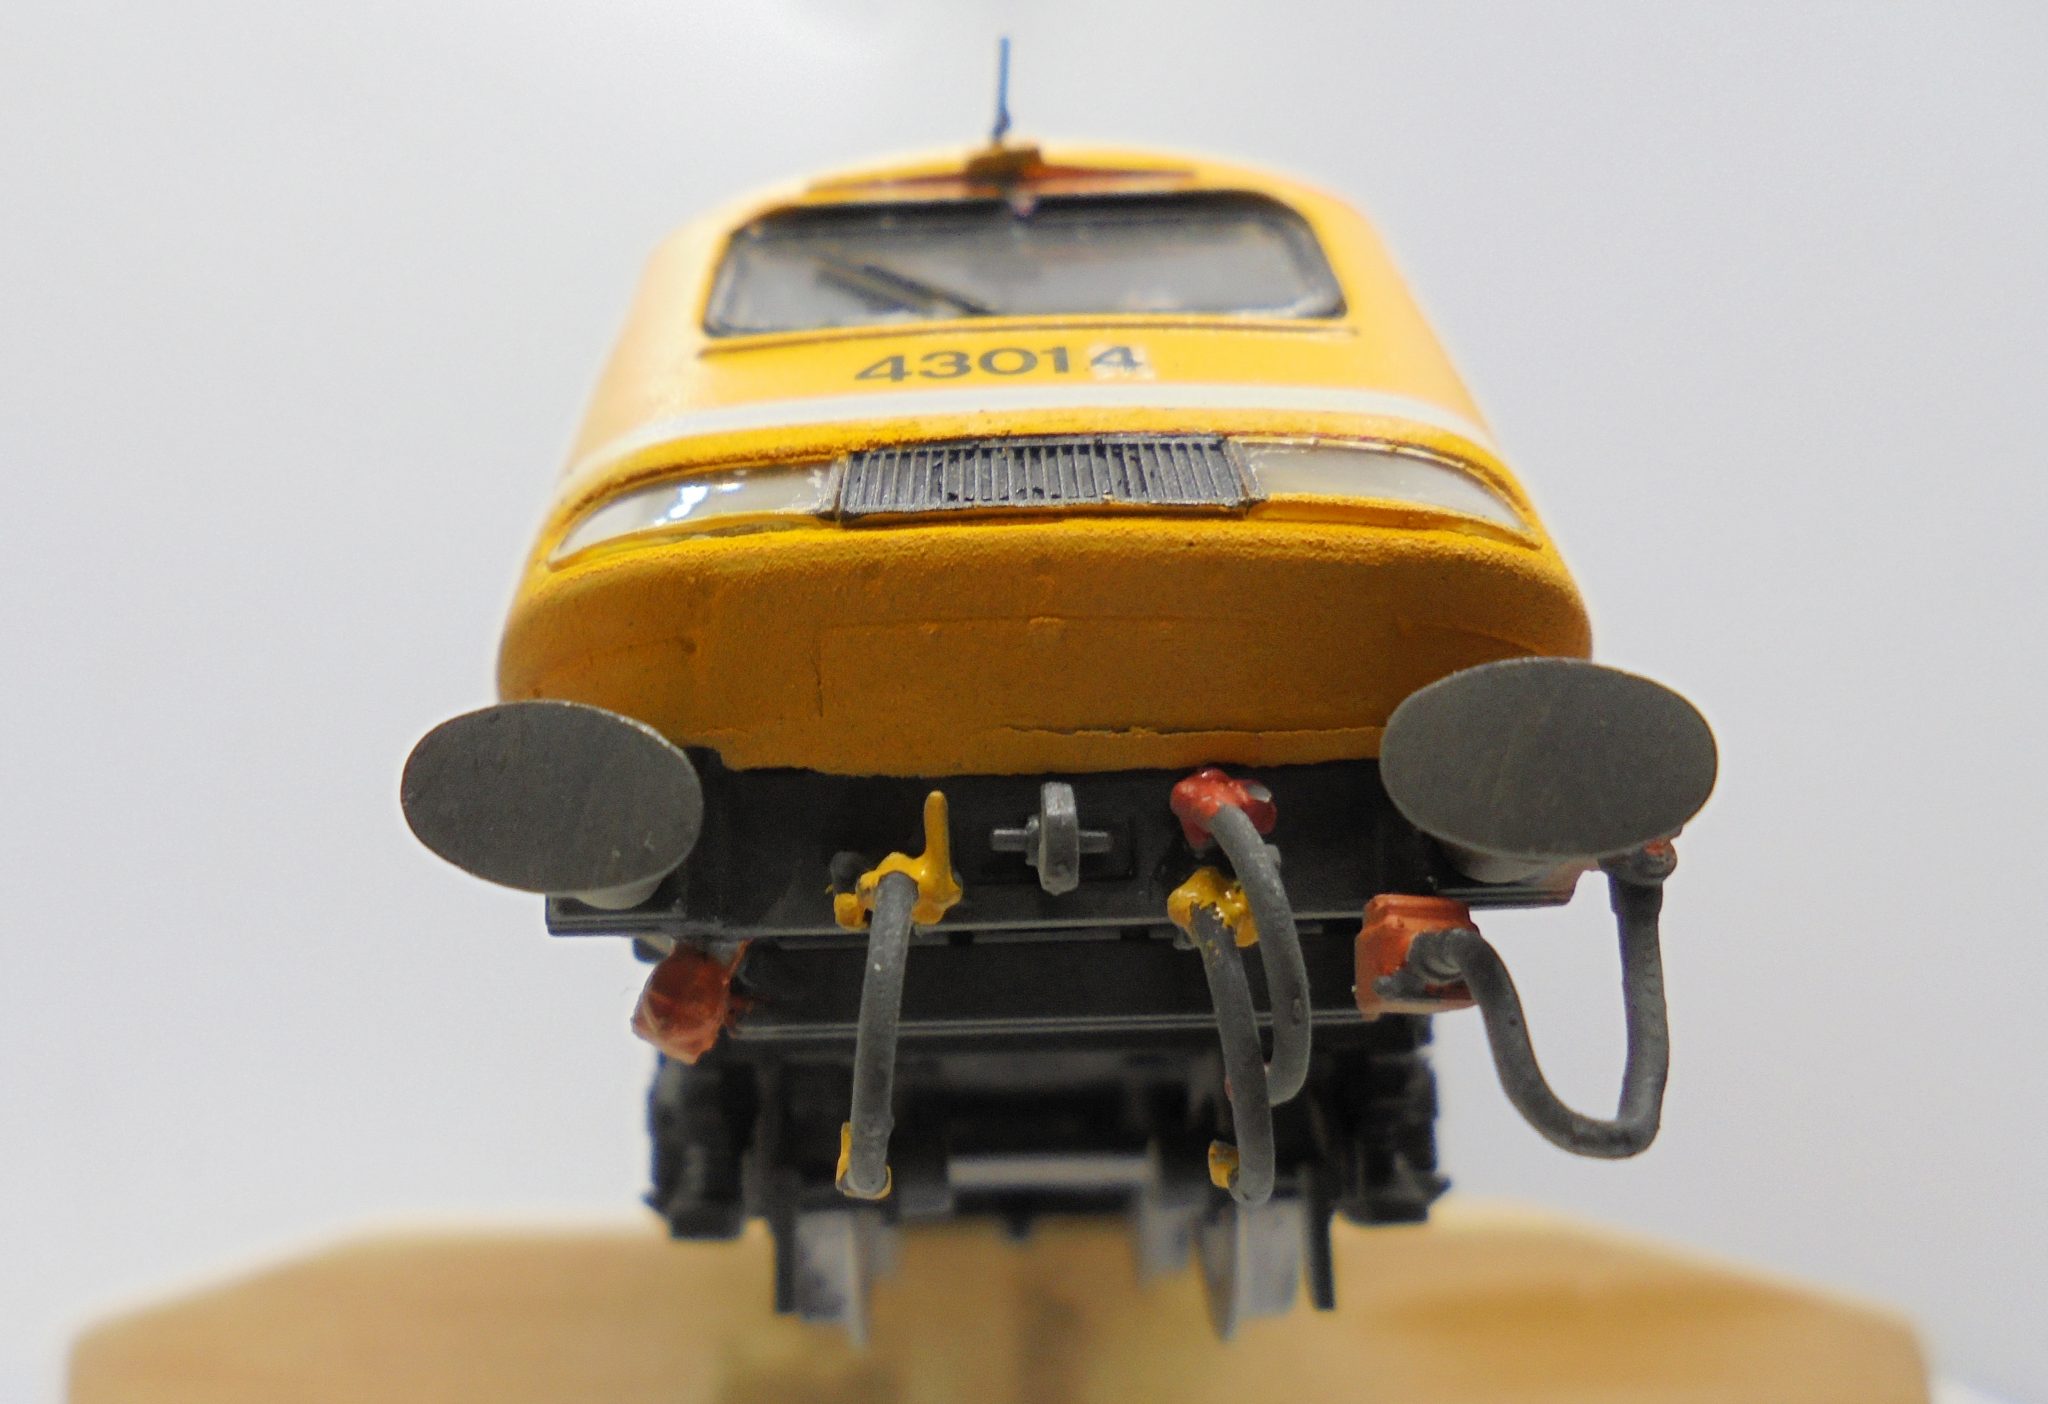
All in all, a great range, well detailed and priced with lots of online information, but remember it is a fragile material and needs to be treated as such.