
 Schools Tender Snowplough kit")
")
 Conflat D kit")


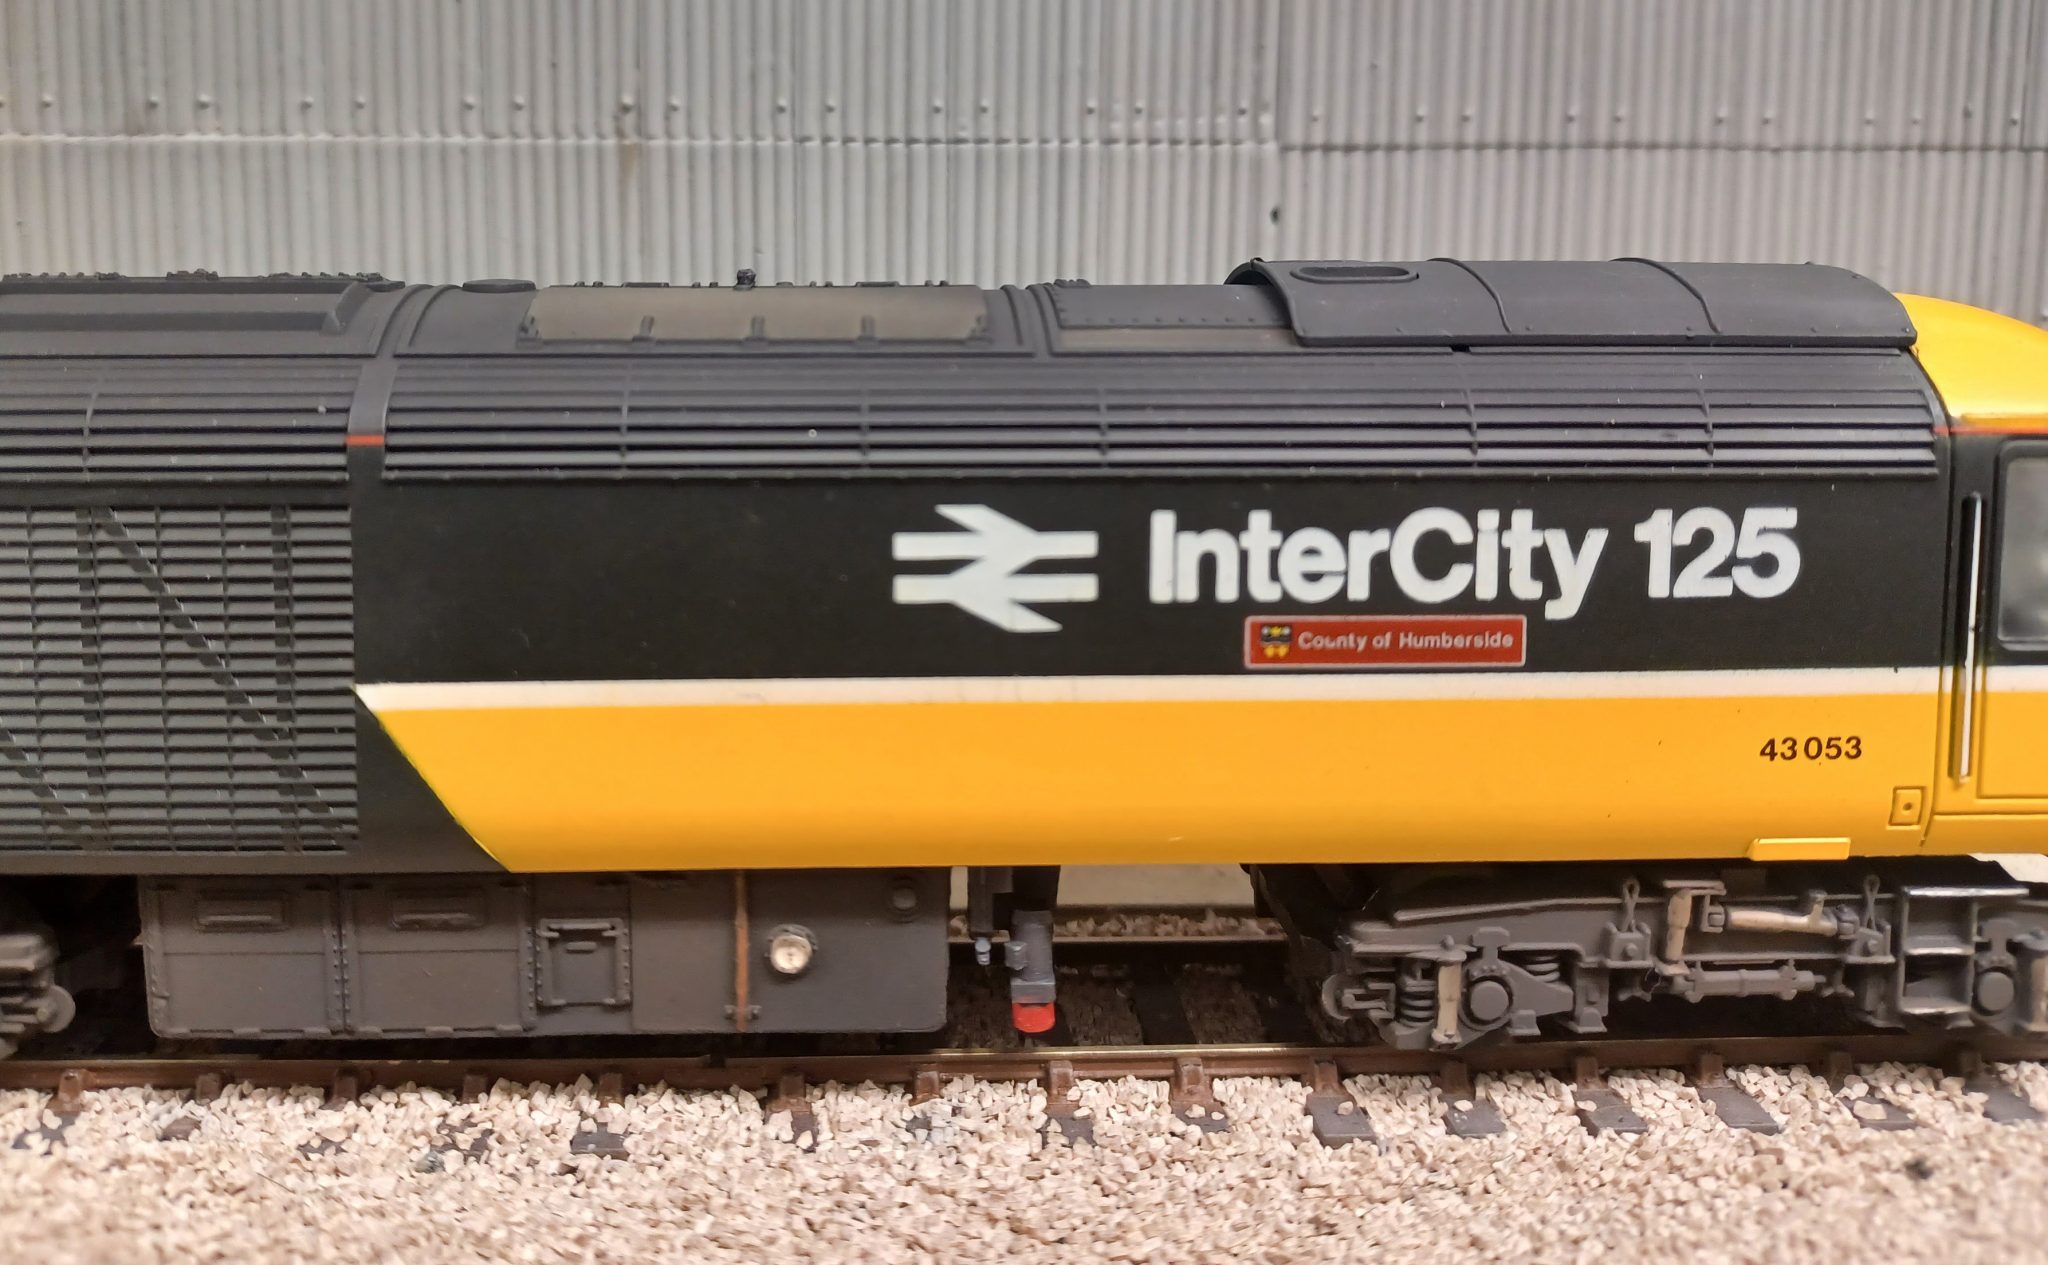
For their age the Lima HST Power Cars are still good models. They are easily and cheaply picked up on the secondhand market, and can also be found in the current Hornby Railroad range with a much improved motor mechanism, albeit with a slightly higher price tag.
The main body requires little improvement, other than a tidy up of the livery and a dose of weathering.
This article concentrates on cosmetic enhancements that can be made to the chassis, and is applicable to both the Lima and Hornby Railroad powered and dummy models.
This is a nice mini project that takes a little over an hour to complete, and requires only basic modelling skills.
For this project I have used 3D printed details available from ‘MIDLAND VALENTA 3D PRINTS’, which comprises of a replacement clip fit underslung Air Compressor, a Fuel Lift Pump, plus left and righthand 3 phase supply jumper cable sockets.
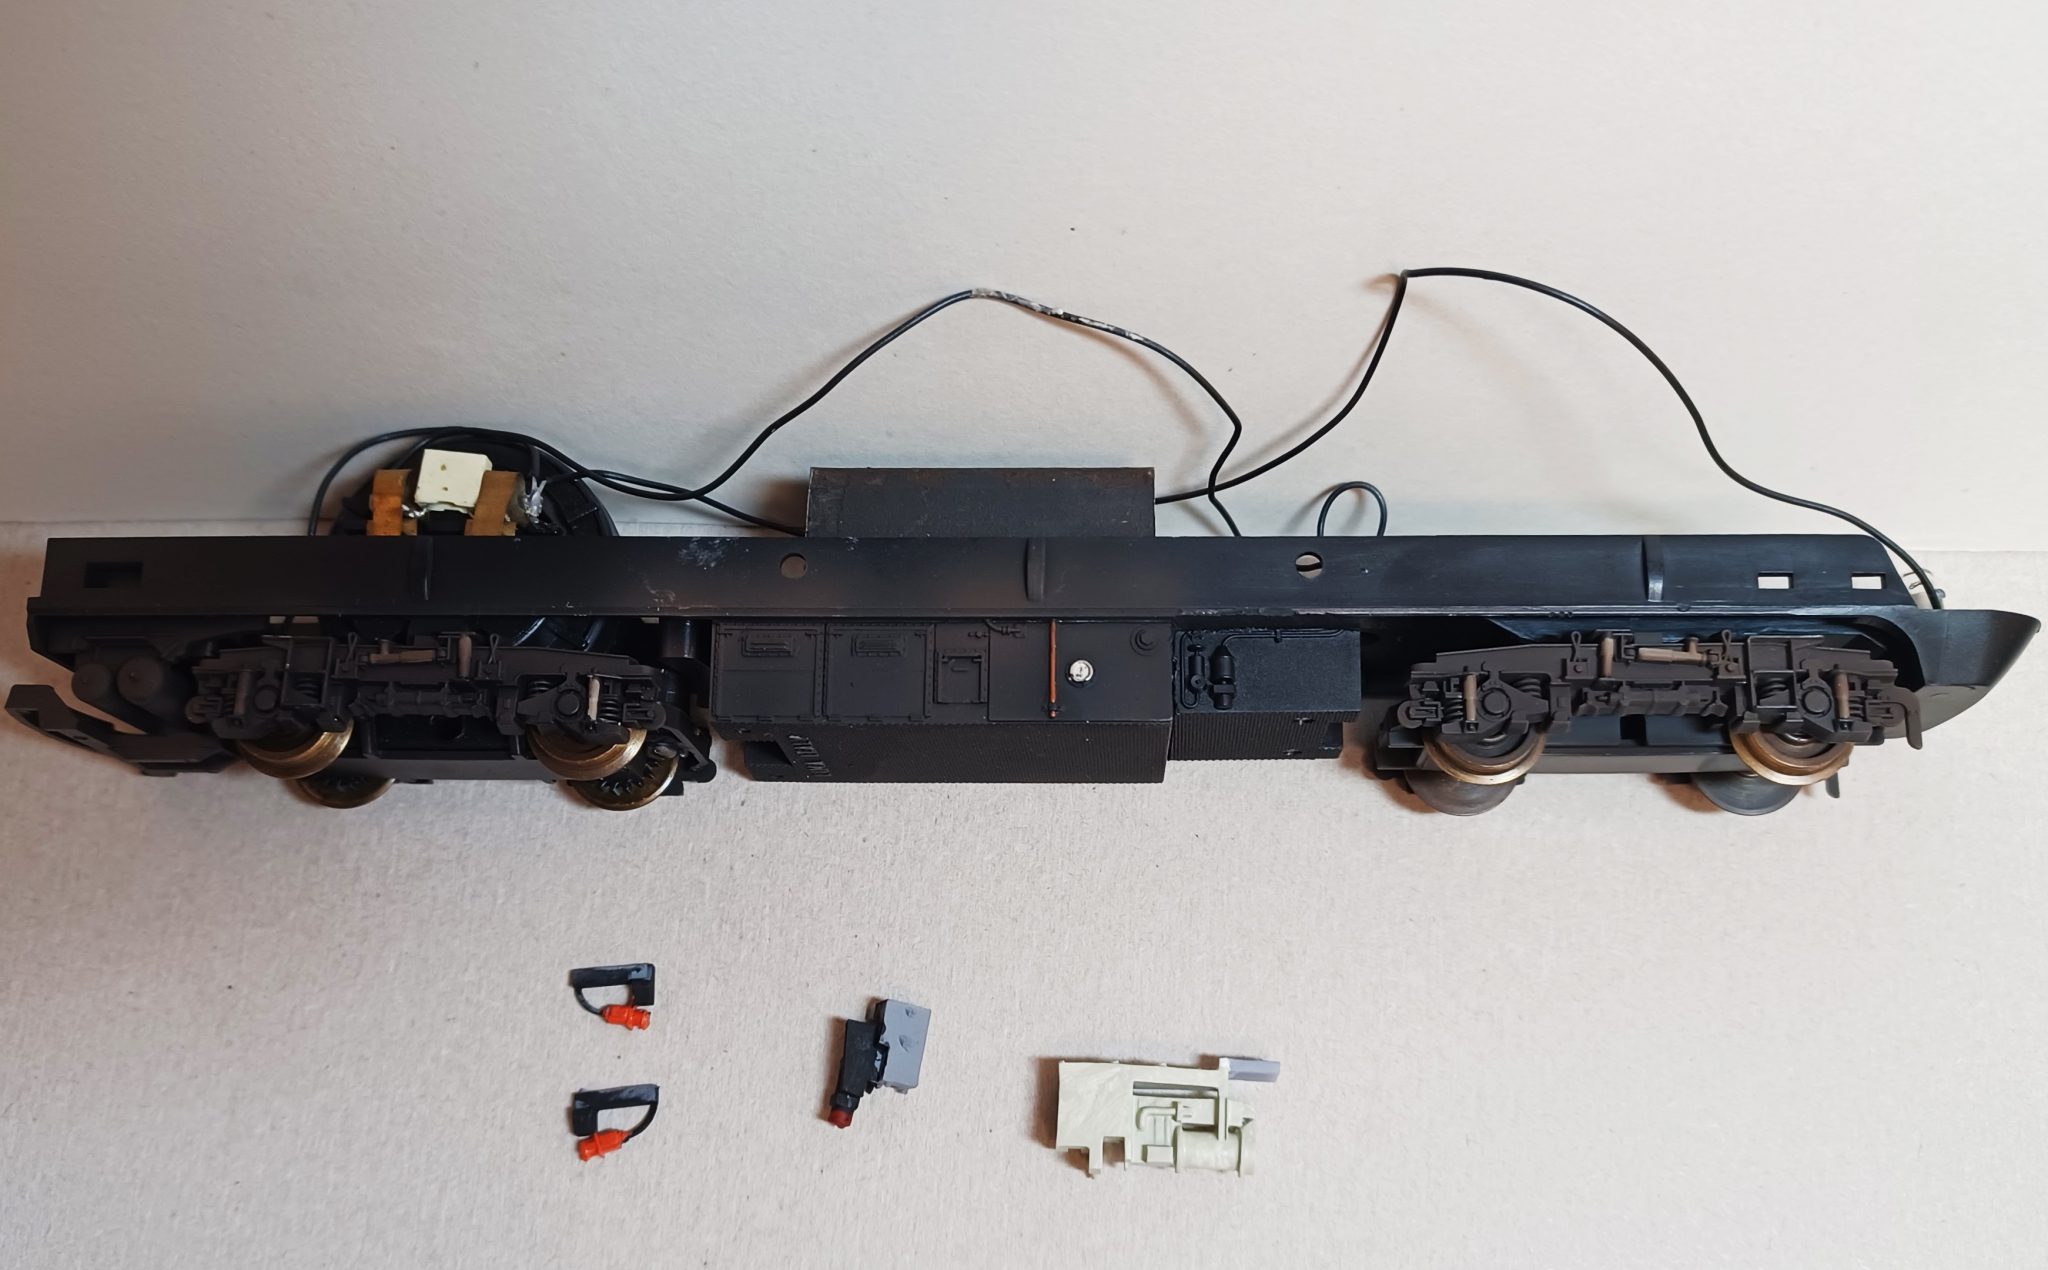
Firstly remove the body and place out of harms way, then break the chassis down to its component parts.
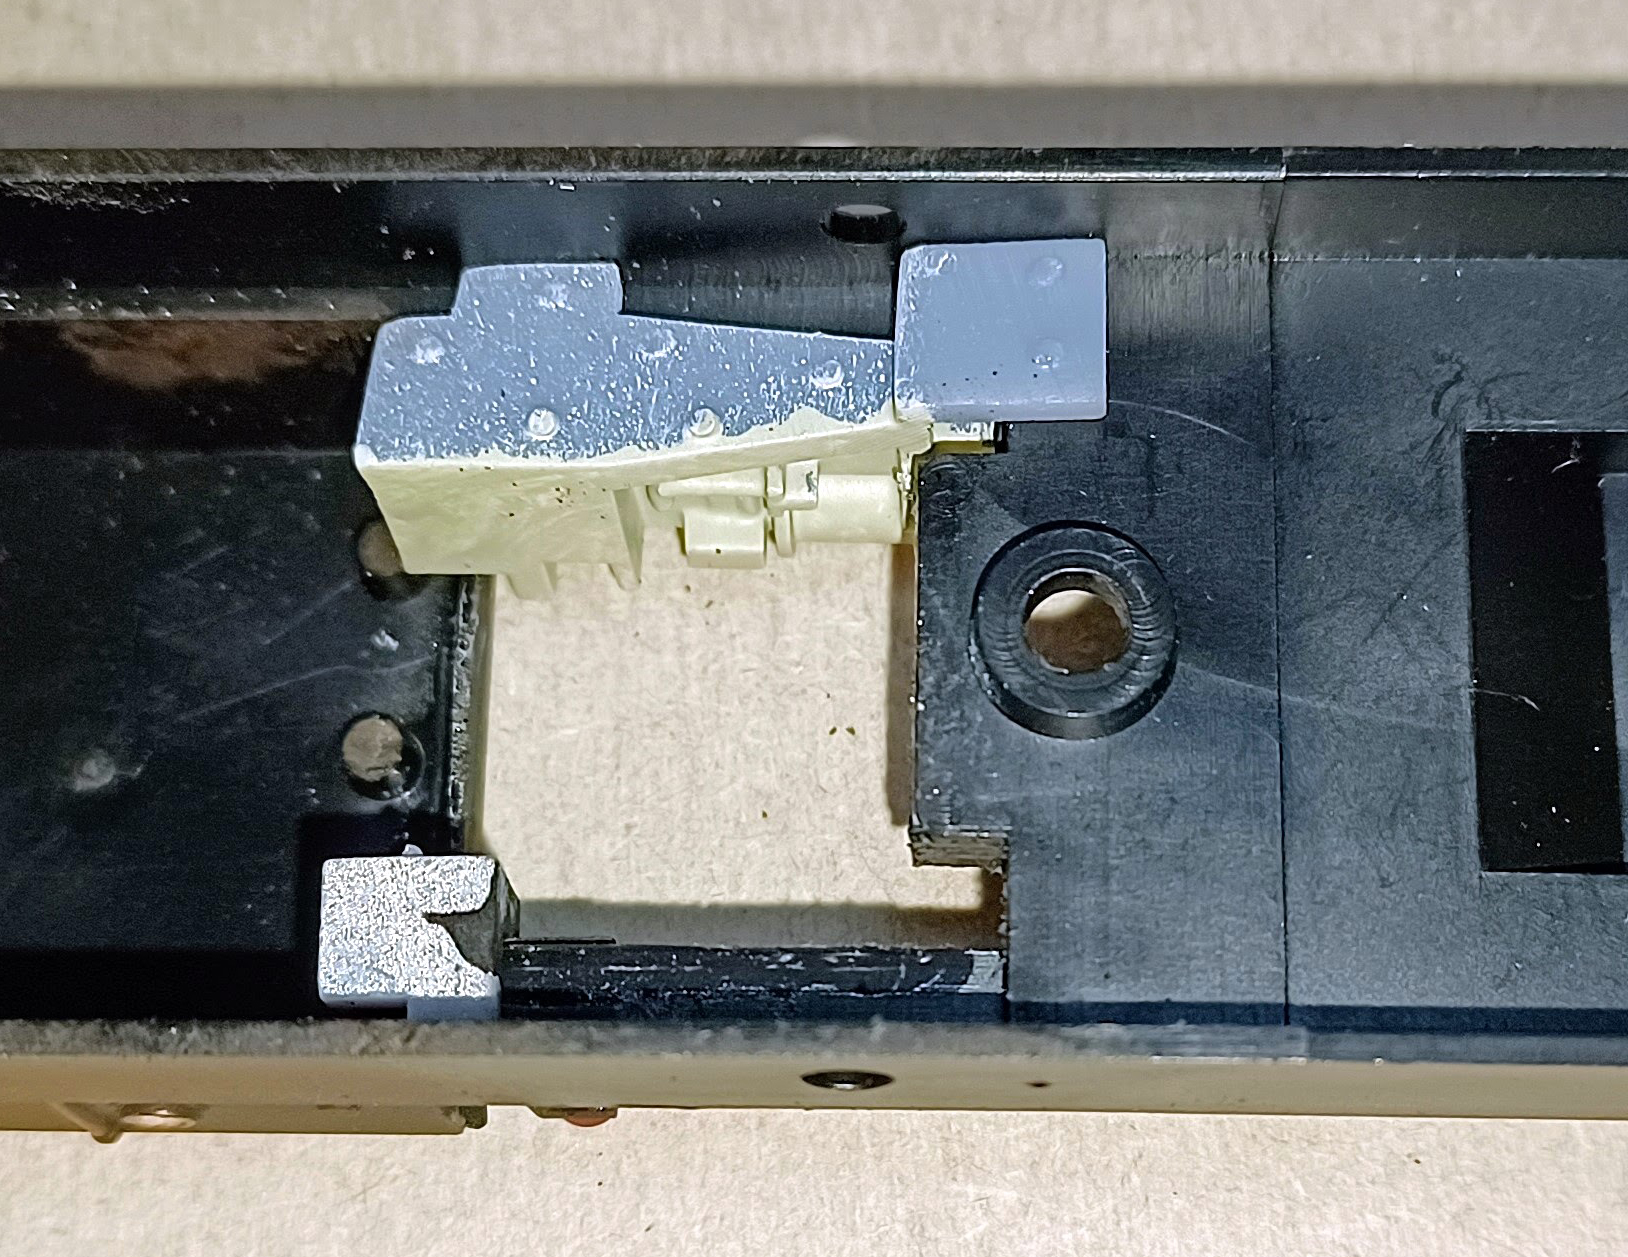
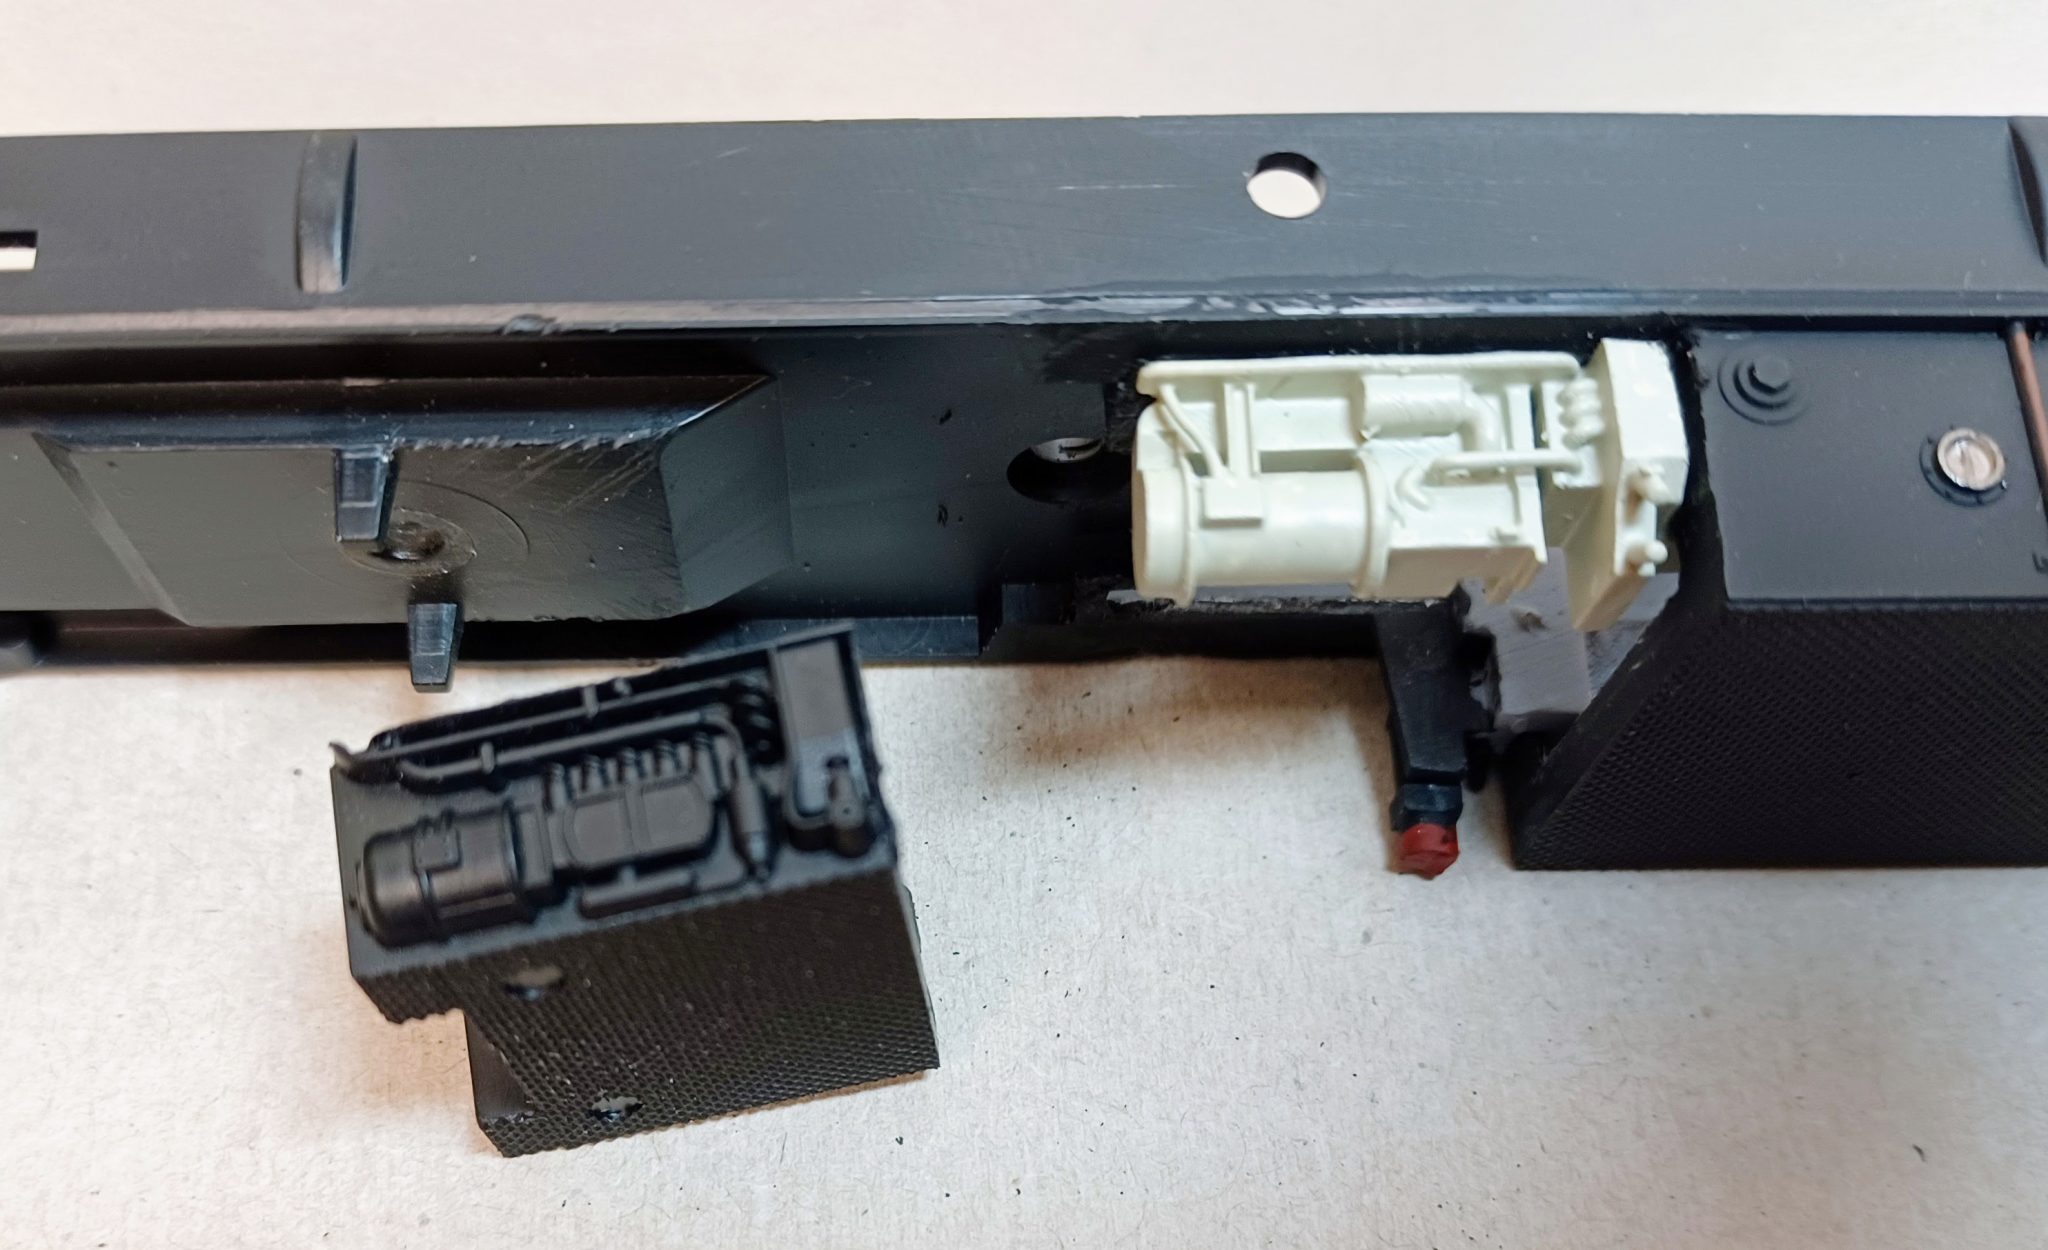
Using a razor saw, remove and discard the moulded block which has the compressor detail on one side and fuel pump on the other. This moulded block is situated directly in front of the battery box detail on the chassis (be aware that on the Hornby Railroad model, the 8pin decoder socket is fixed to this area of the chassis and will need to be re-sited).

Before fitting the detail parts I found it beneficial to pre-paint them.
By design, the replacement compressor and fuel pump simply clip into the void left by the removal of the moulded detail, with final securing with a spot of superglue.
The 3 phase jumper sockets are fitted to the rear end of the chassis, just above the Main Air Resevoirs.
These are again a simple clip fit, and slot into the space between the chassis and Main Air Resevoir mouldings, a tiny nick needs to be taken out of the Air Tank moulding to allow the 3 phase socket to sit flush and is secured permanently with a spot of superglue.

The chassis and bogie mouldings can be further enhanced with a little weathering.
The chassis is now ready for re-assembly.
Before re-uniting the chassis with the body, the large steel weight requires reducing in length by approximately 5mm to fit back in its space. This can be achieved with patient use of a hacksaw or bench grinder. Take care as the weight will get hot when cutting!
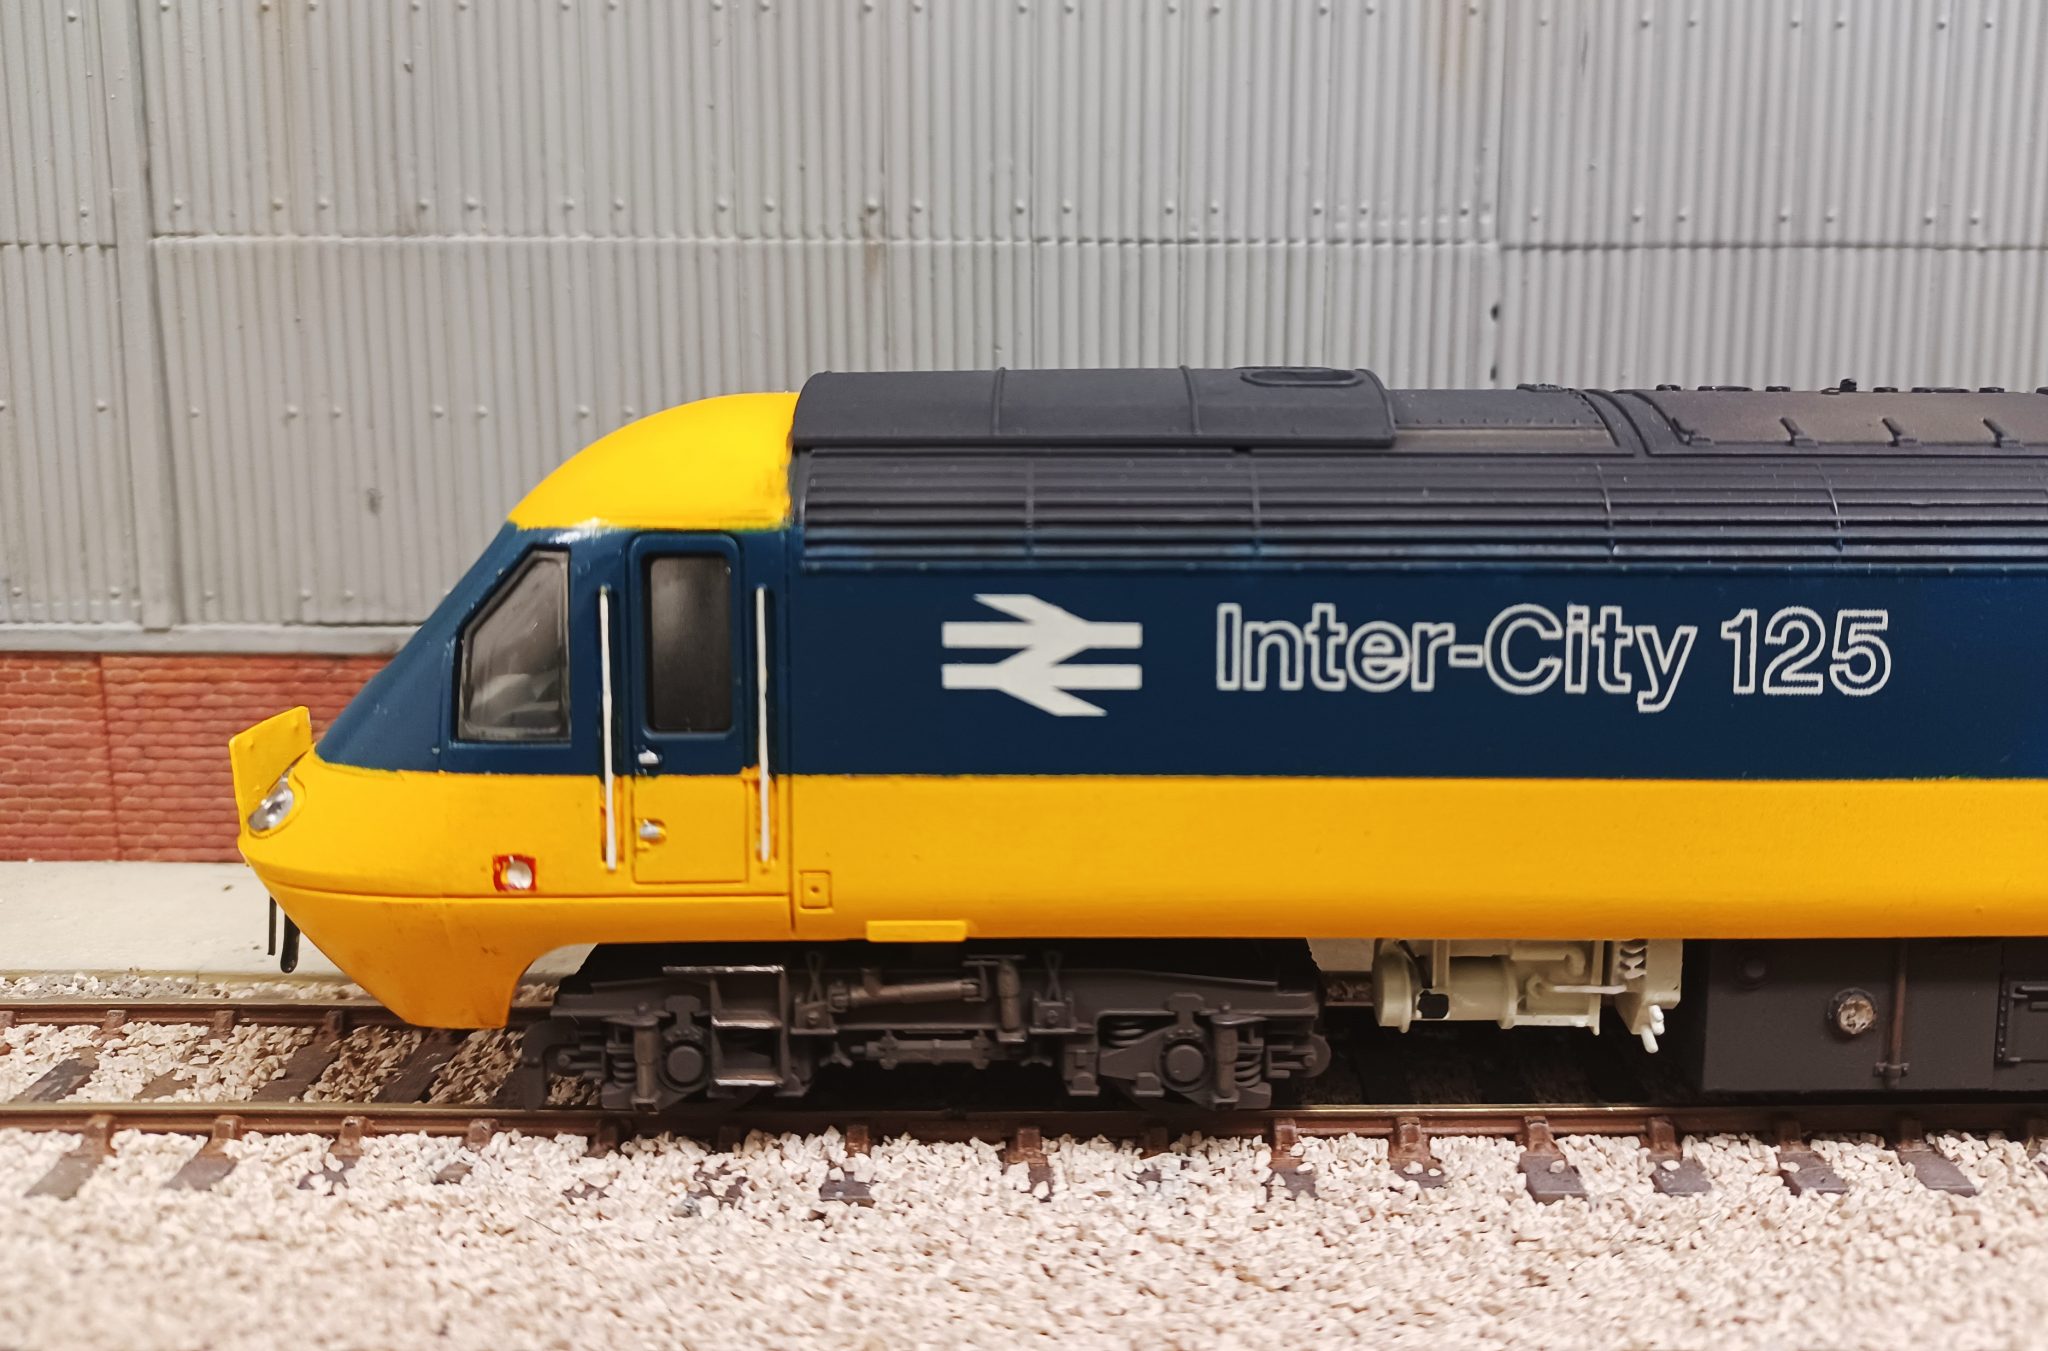
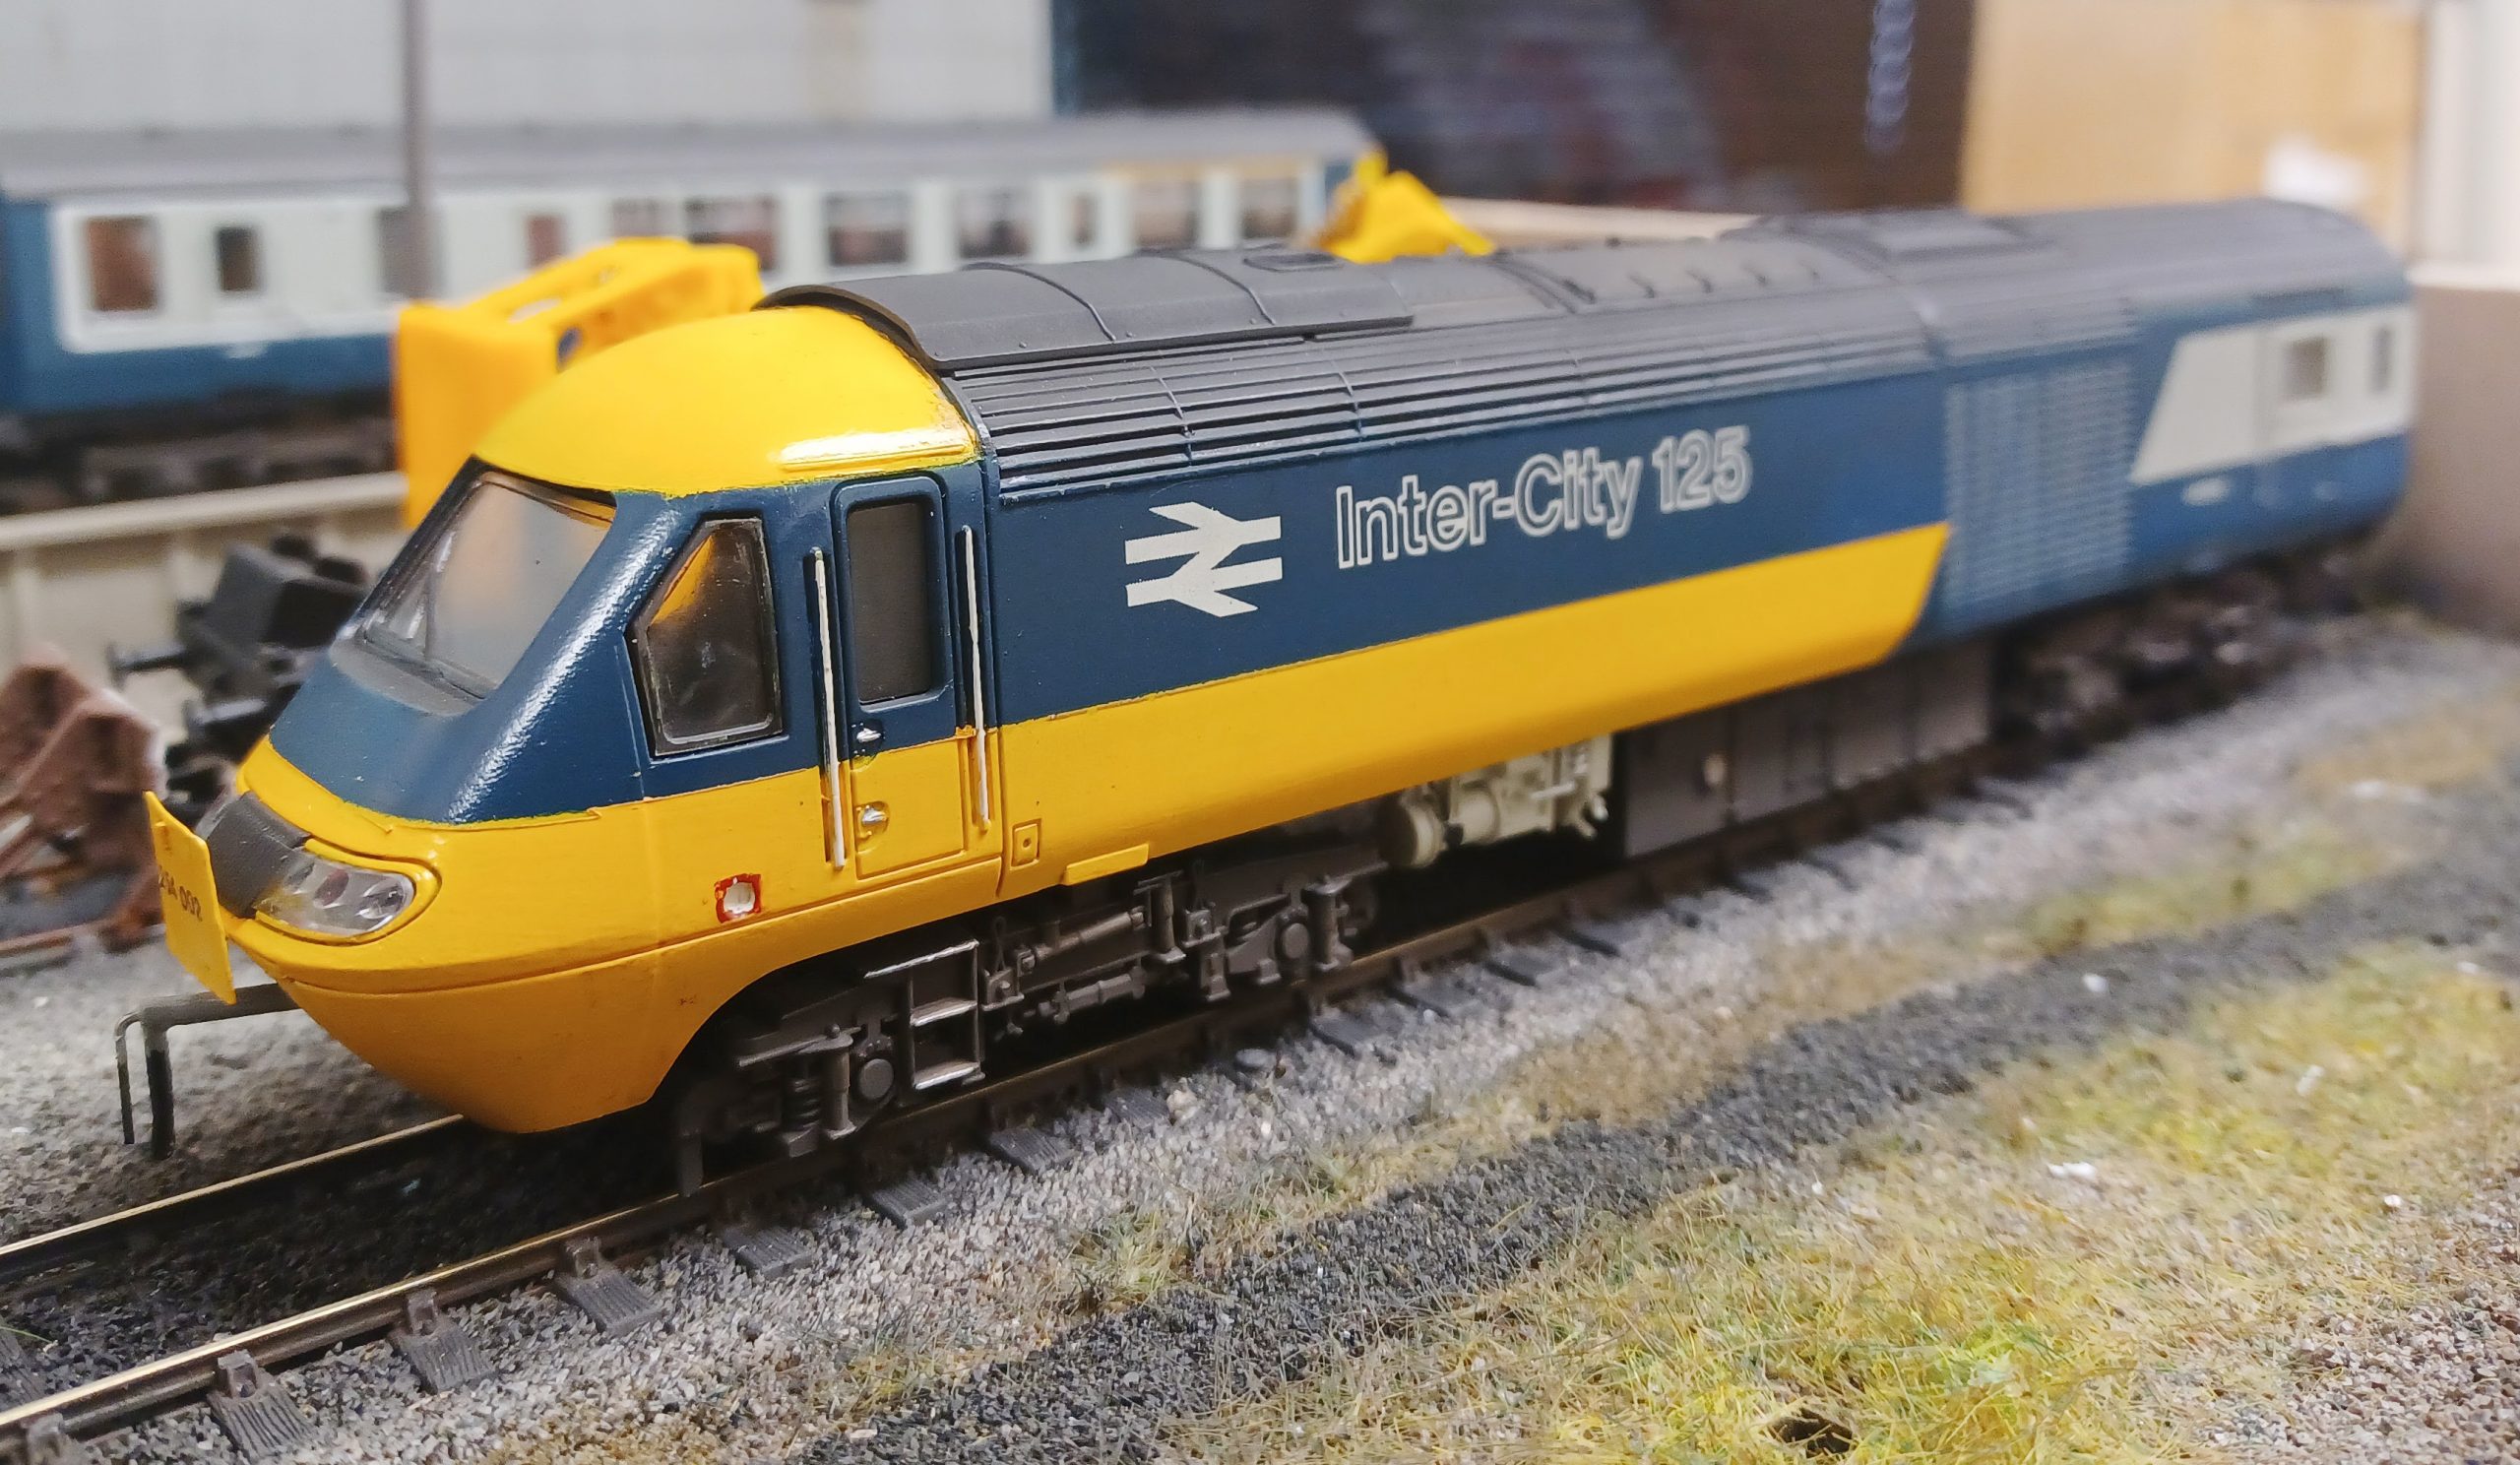
This completes the detailing. After a little work the look of the power car is really transformed – a nice little project that only takes a short while to complete, and to a budget.
Happy Modelling !