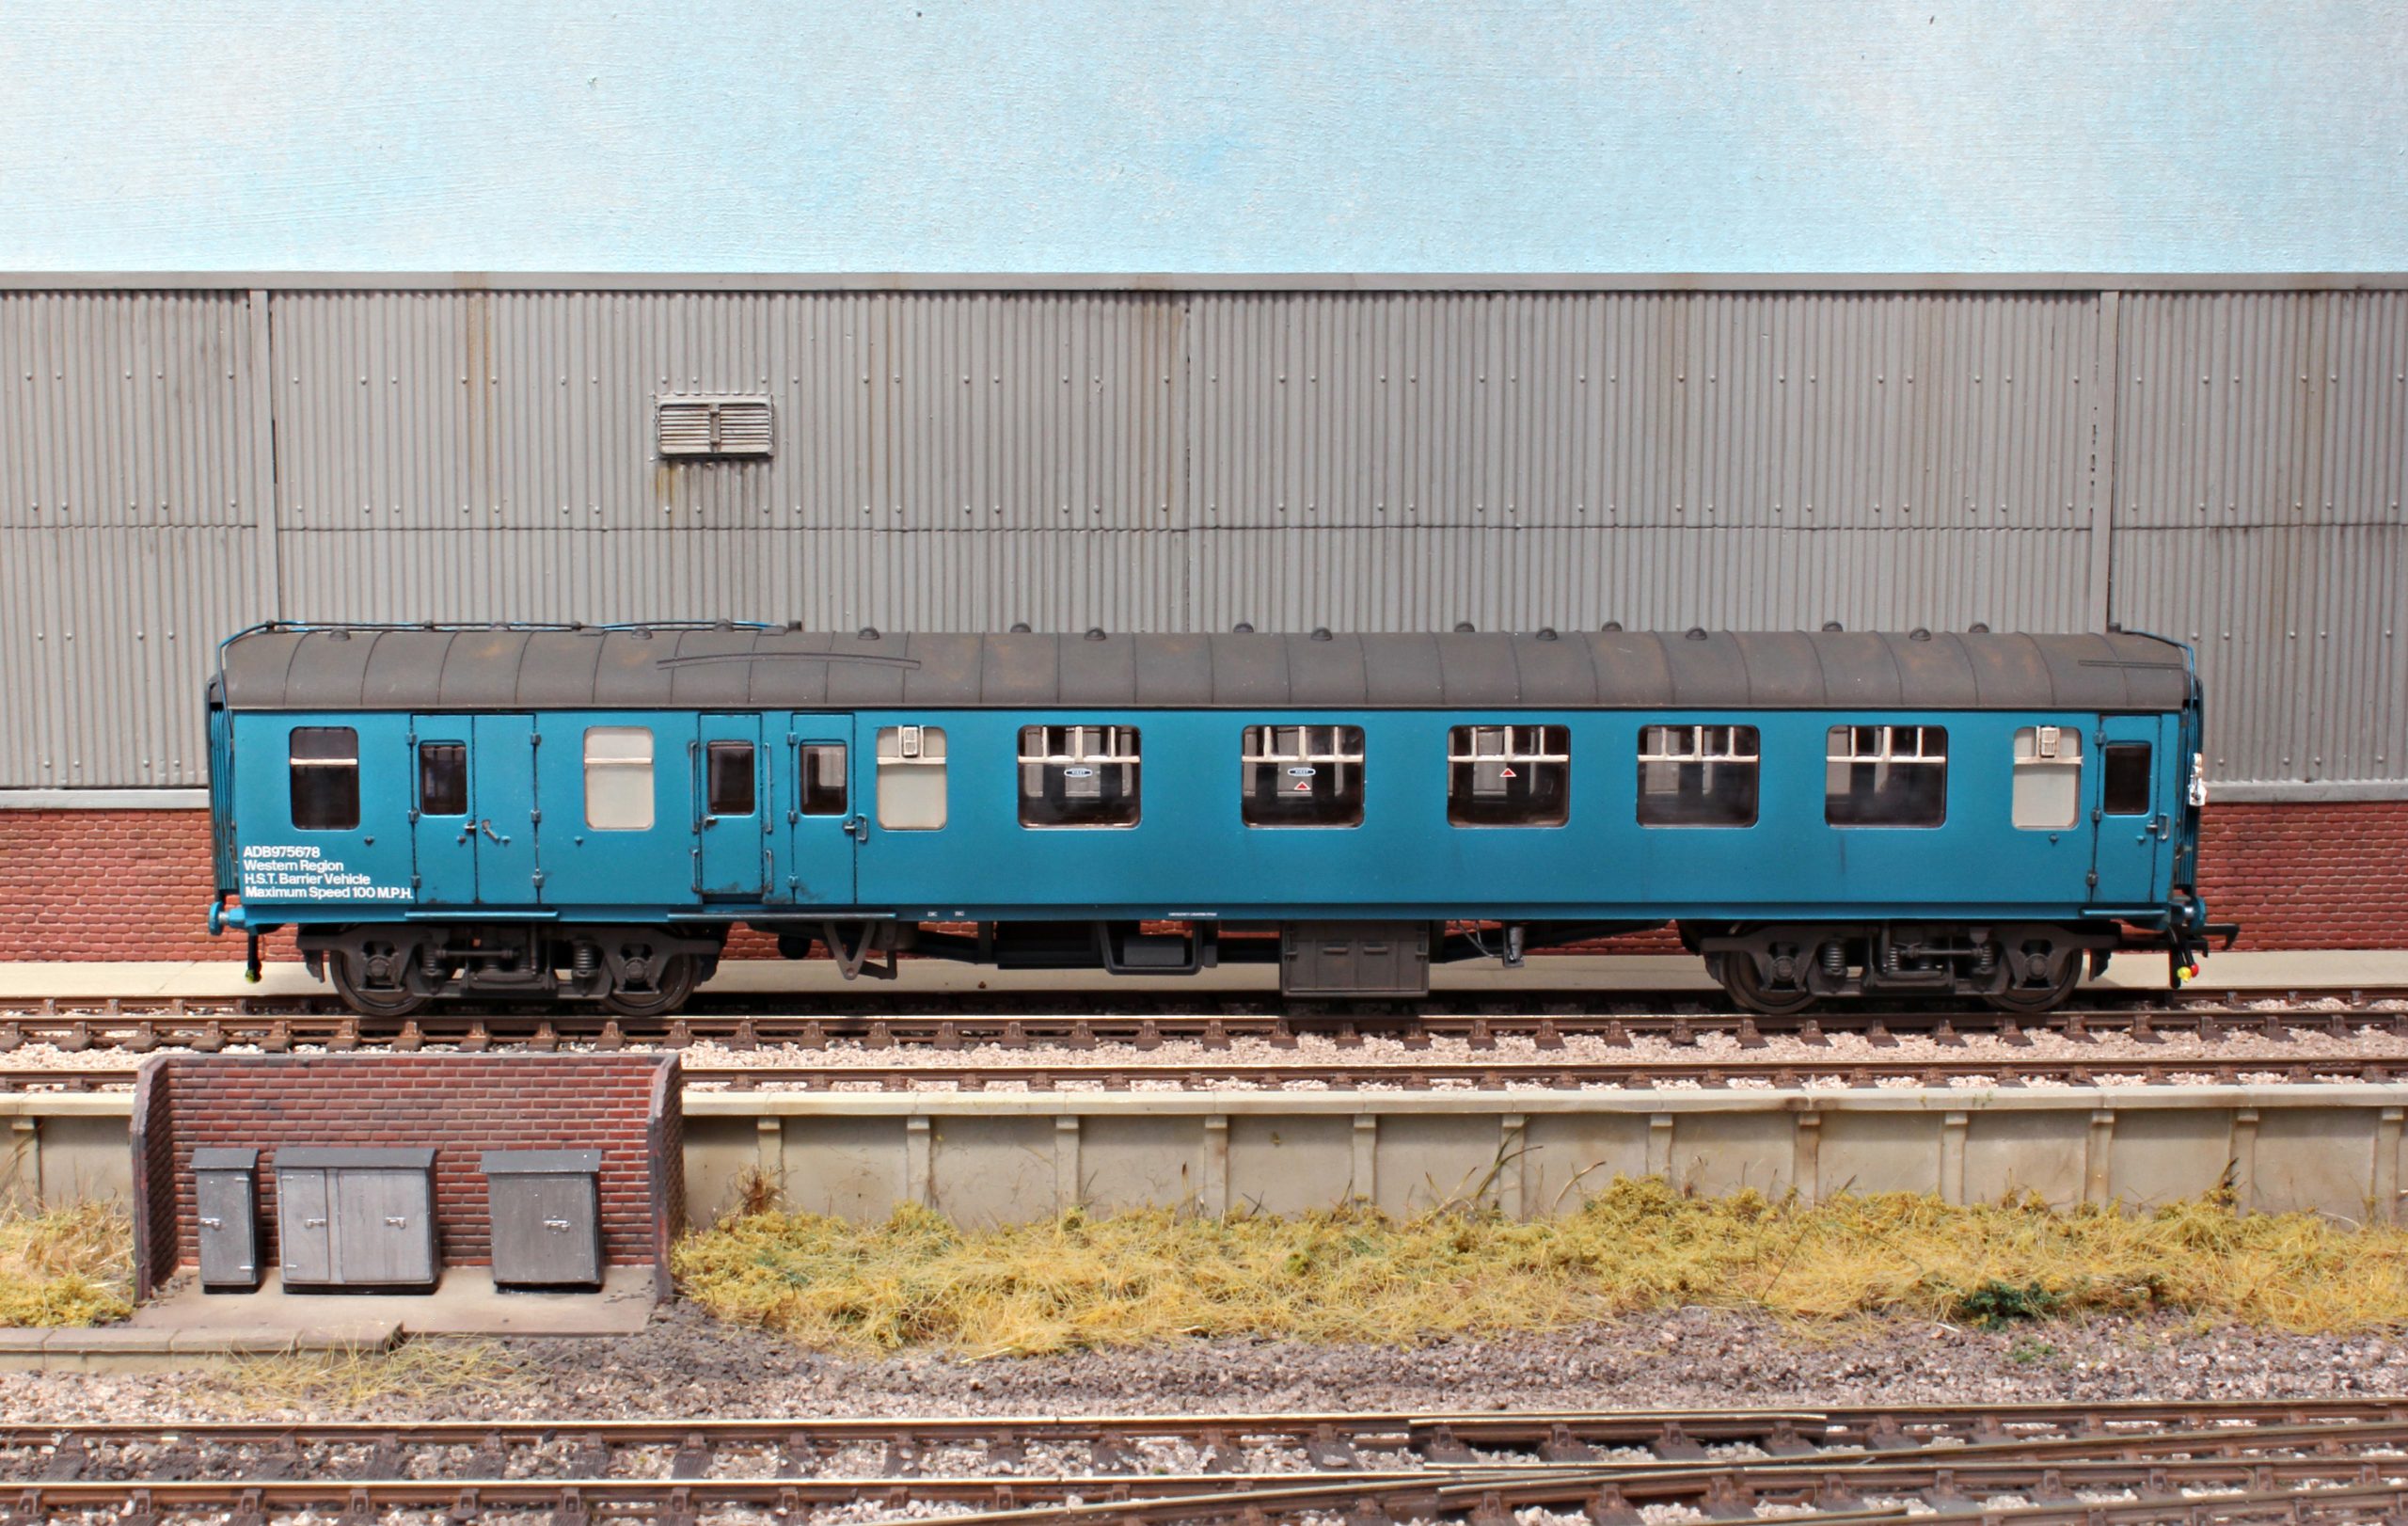
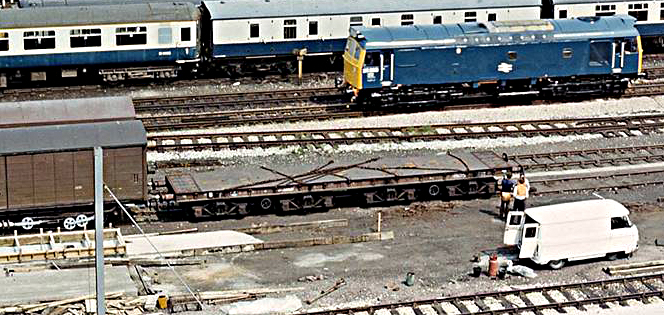
Little is known of this wagon, after asking several ‘people in the know’, the responses ranged from surprise of its existence to maybe it being from a military background. I only came across it by chance, from a photograph of the R.T.C sent to me. I can only assume the subject matter was the class 25 rather than the wagon or the activity around it. Unfortunately, I cannot credit the original photographer as I do not know.
The main part of this conversion uses a Triang R110 bogie bolster wagon with diamond frame bogies (preferably one with the later plastic closed axlebox types as it will easier to re-wheel. You will also need 2 more bogies of the same design- these came from a Triang track cleaning wagon picked up cheaply at a toyfair. There are around 10 types of Triang wagons that use these bogies so finding one or two shouldn’t prove difficult.
The firat job was to dismantle the wagon, pulling of the bolster top and drilling out the bogie rivets. Then off came the buffer heads and carefully carved off the plastic buffer shanks. I also removed all the underframe trussing and top bolster plastic pieces, resulting in a flat wagon baseplate.
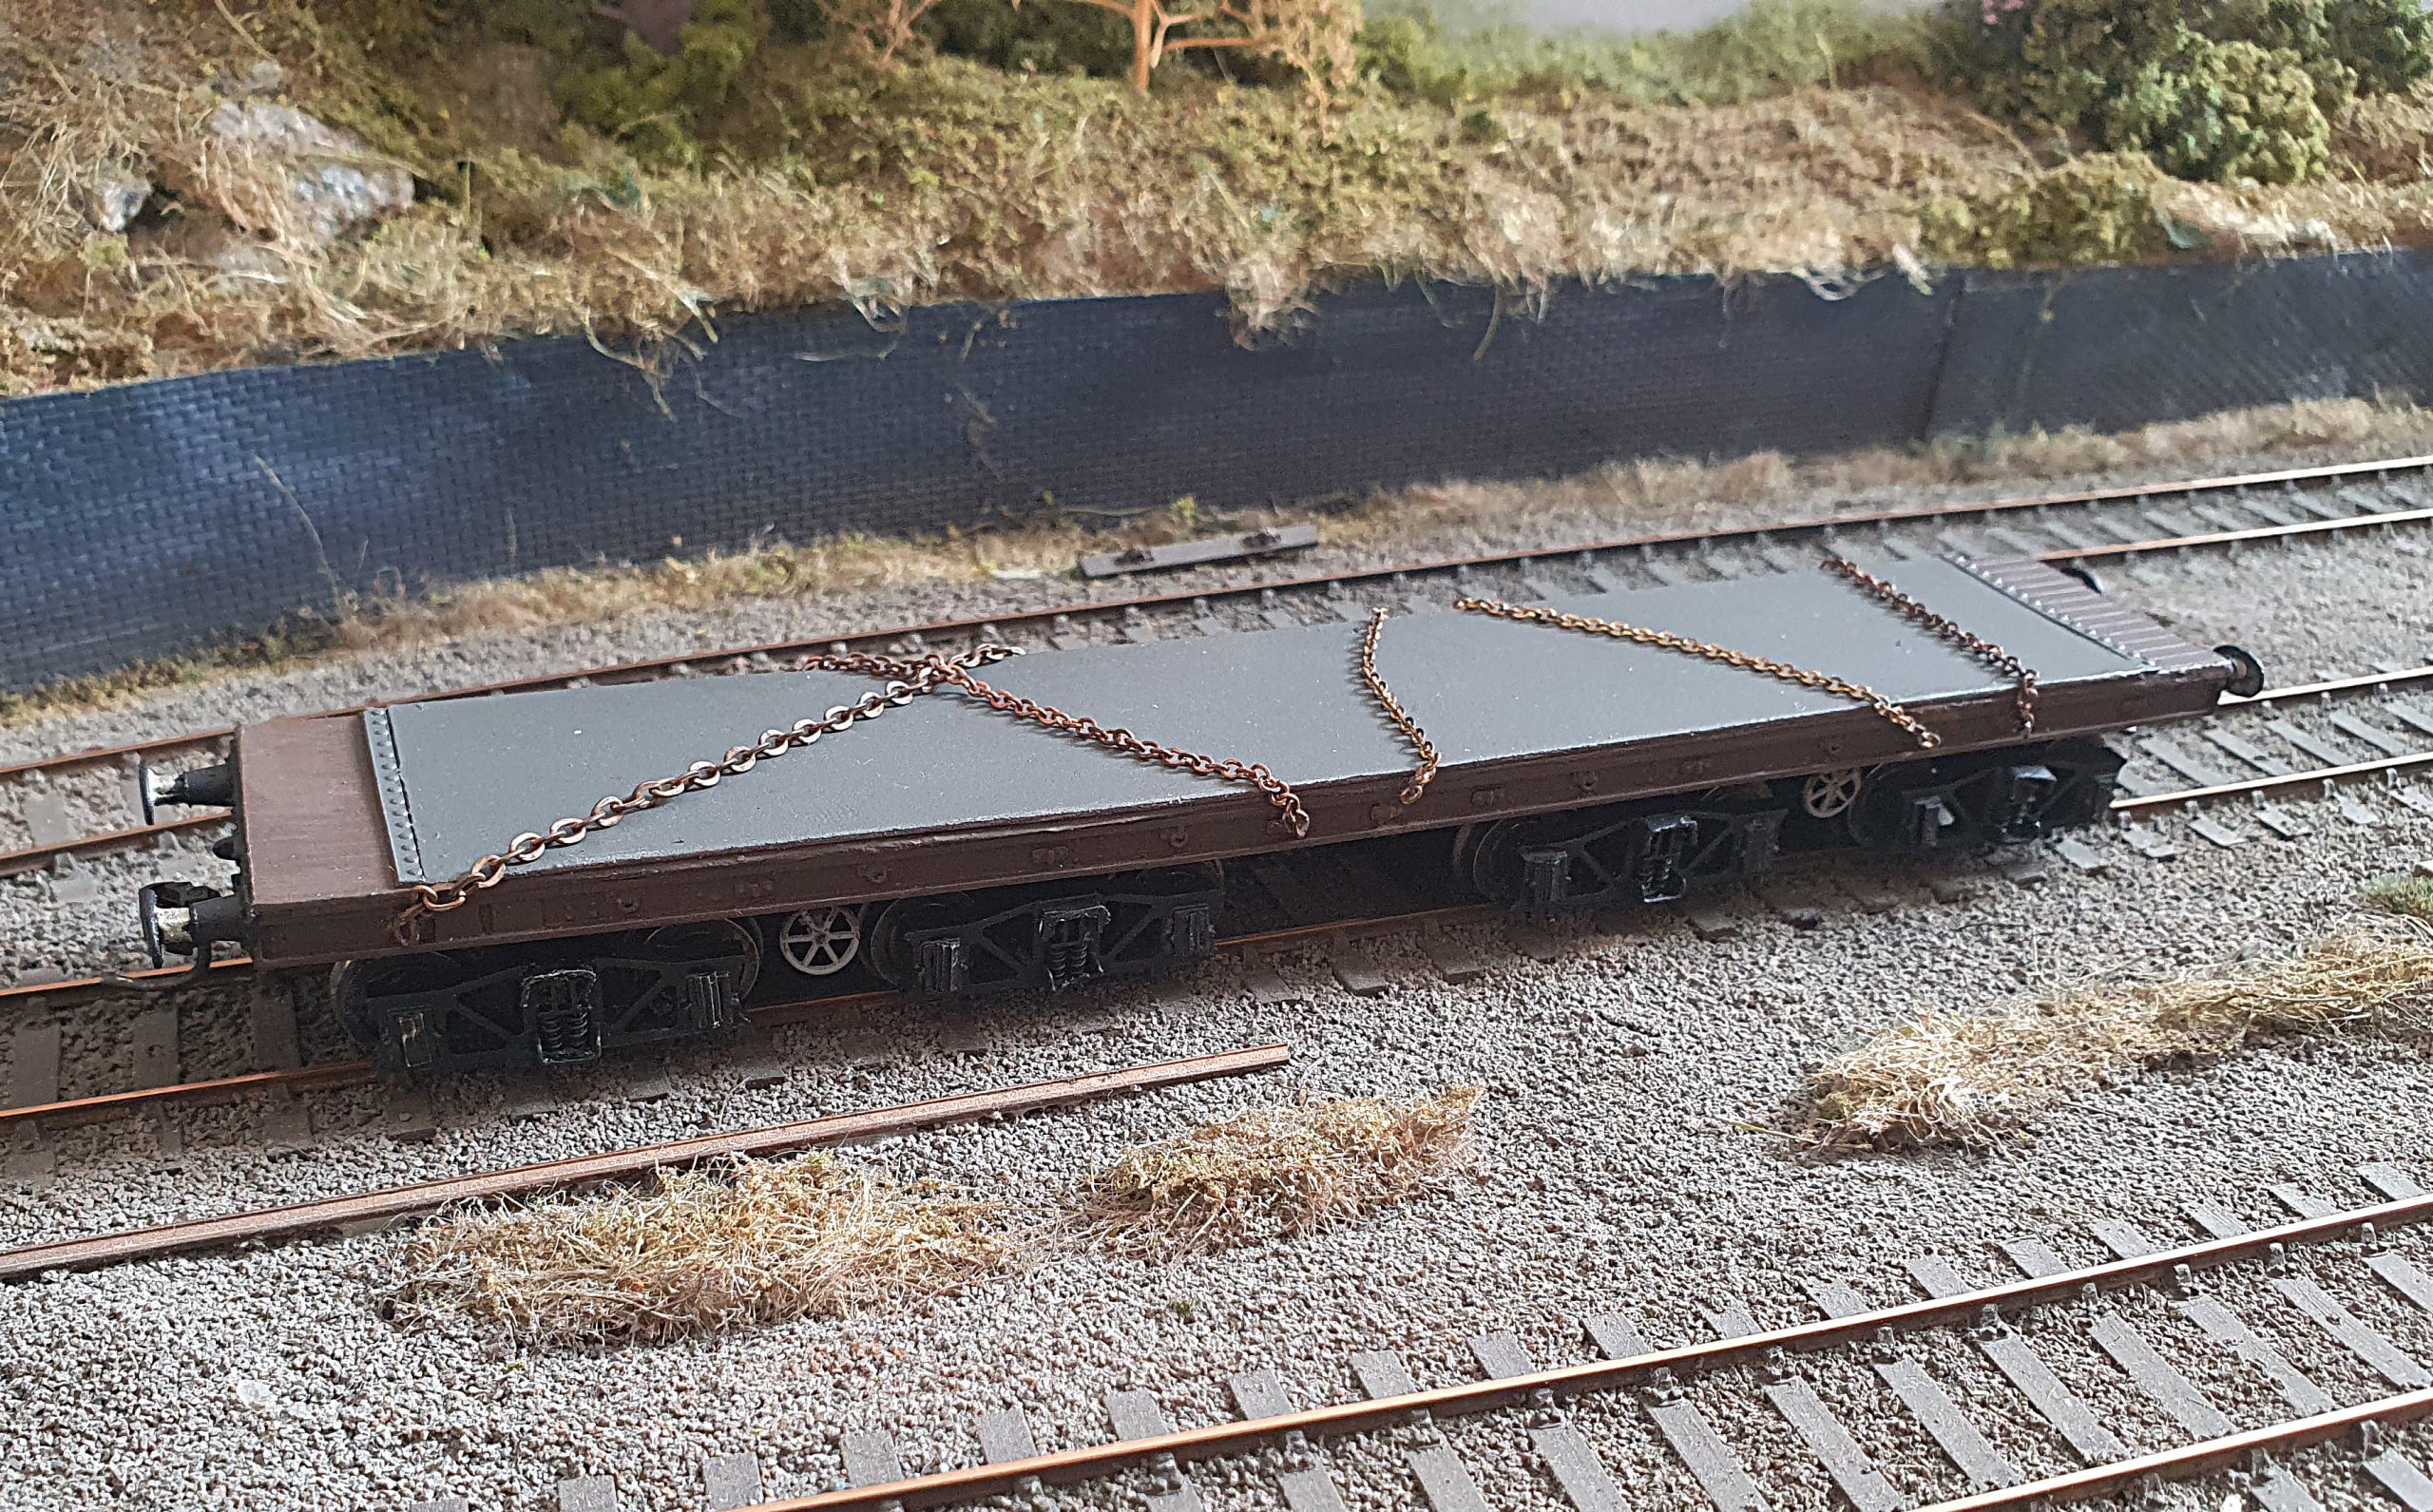
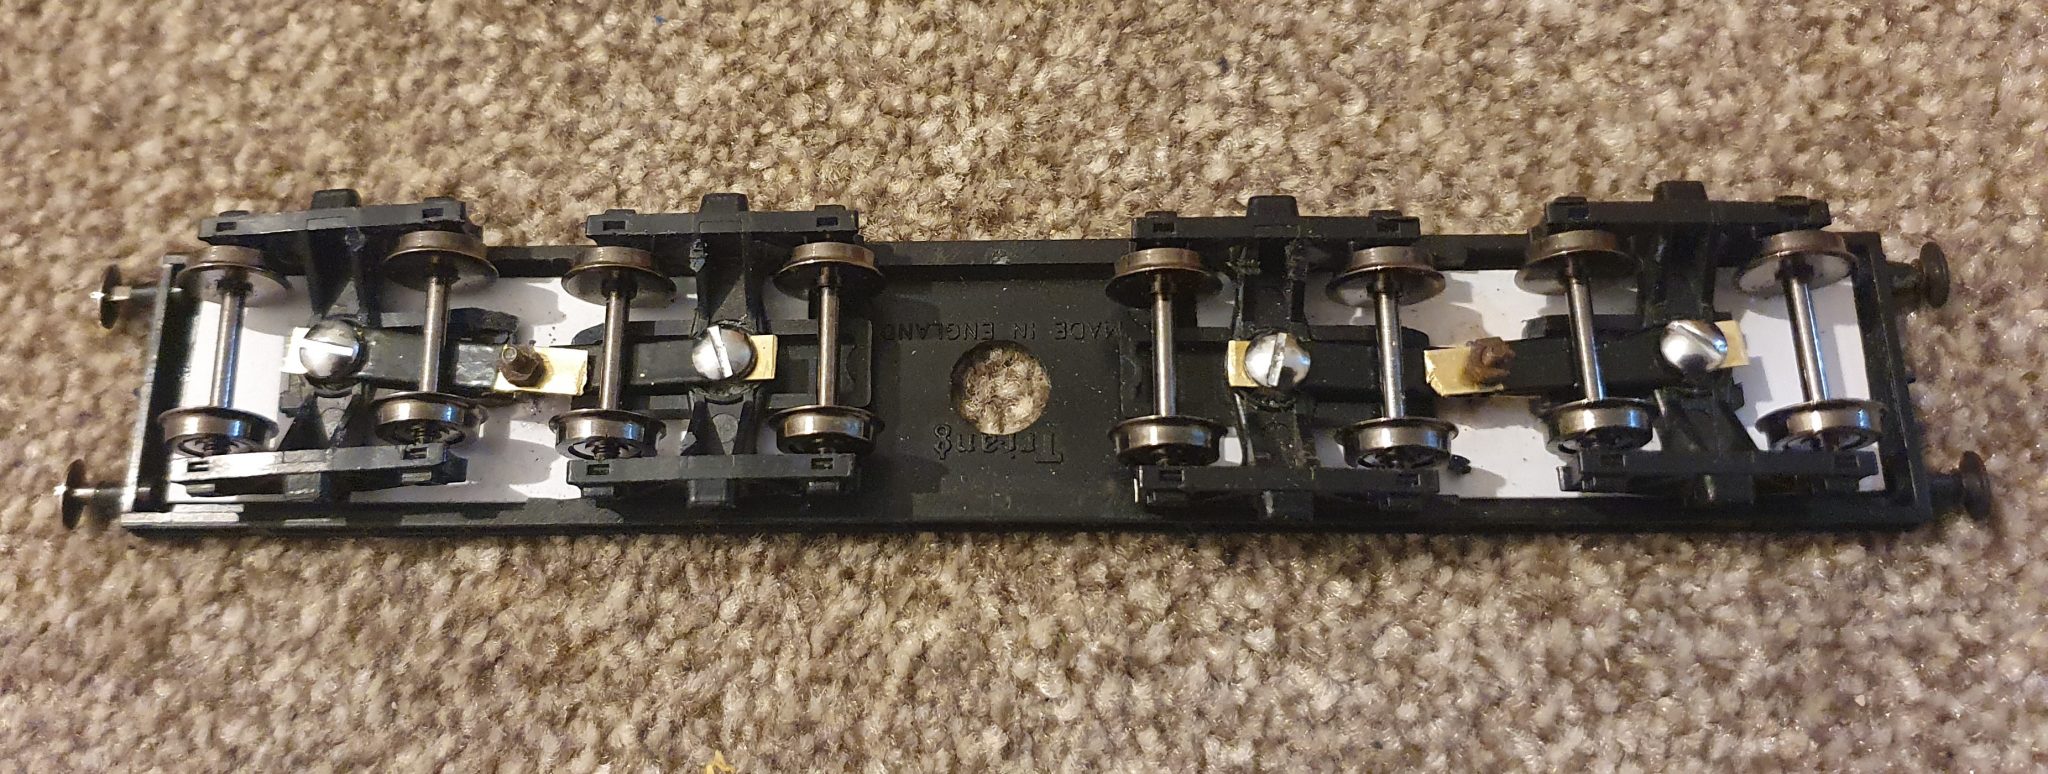
Oval buffers from the spares box were fitted and the new bogie pivot centres were marked out. The main centre pivot is 42mm in from the wagon end and each inner bogie centre from the centre pivot is 21mm. The bogie pivots were made from thin brass strip secured with suitable sized nuts and bolts as the photograph shows. It is advisable to put a small washer between the two bogie pivots to prevent binding and friction.
Replacement 10mm metal wheels were sourced (Peters spares PS33) and are a direct swap for the original wheels but aid running qualities no end over modern pointwork.
If you are replacing the tension lock coupling remember to leave enough room when you cut the original couplings off to attach a replacement such as kadee/ narrow Airfix tension lock. I have use Kadees as standard and decided to attach the coupling to the bogie rather than the body on this wagon bearing in mind the excessive bogie swing.
Some time was taken at this point to ensure the wagon rolled and sat correctly, some minor tweaks to the brass pivot strip proved to be required. Also, it was found to be essential to add some weight to the underside of the bolster top to help balance and stabilize the wagon and to provide some much needed weight.
My wagon can easily negotiate Hornby and Lima 2nd radius curves that I set up as a test bed for this wagon.
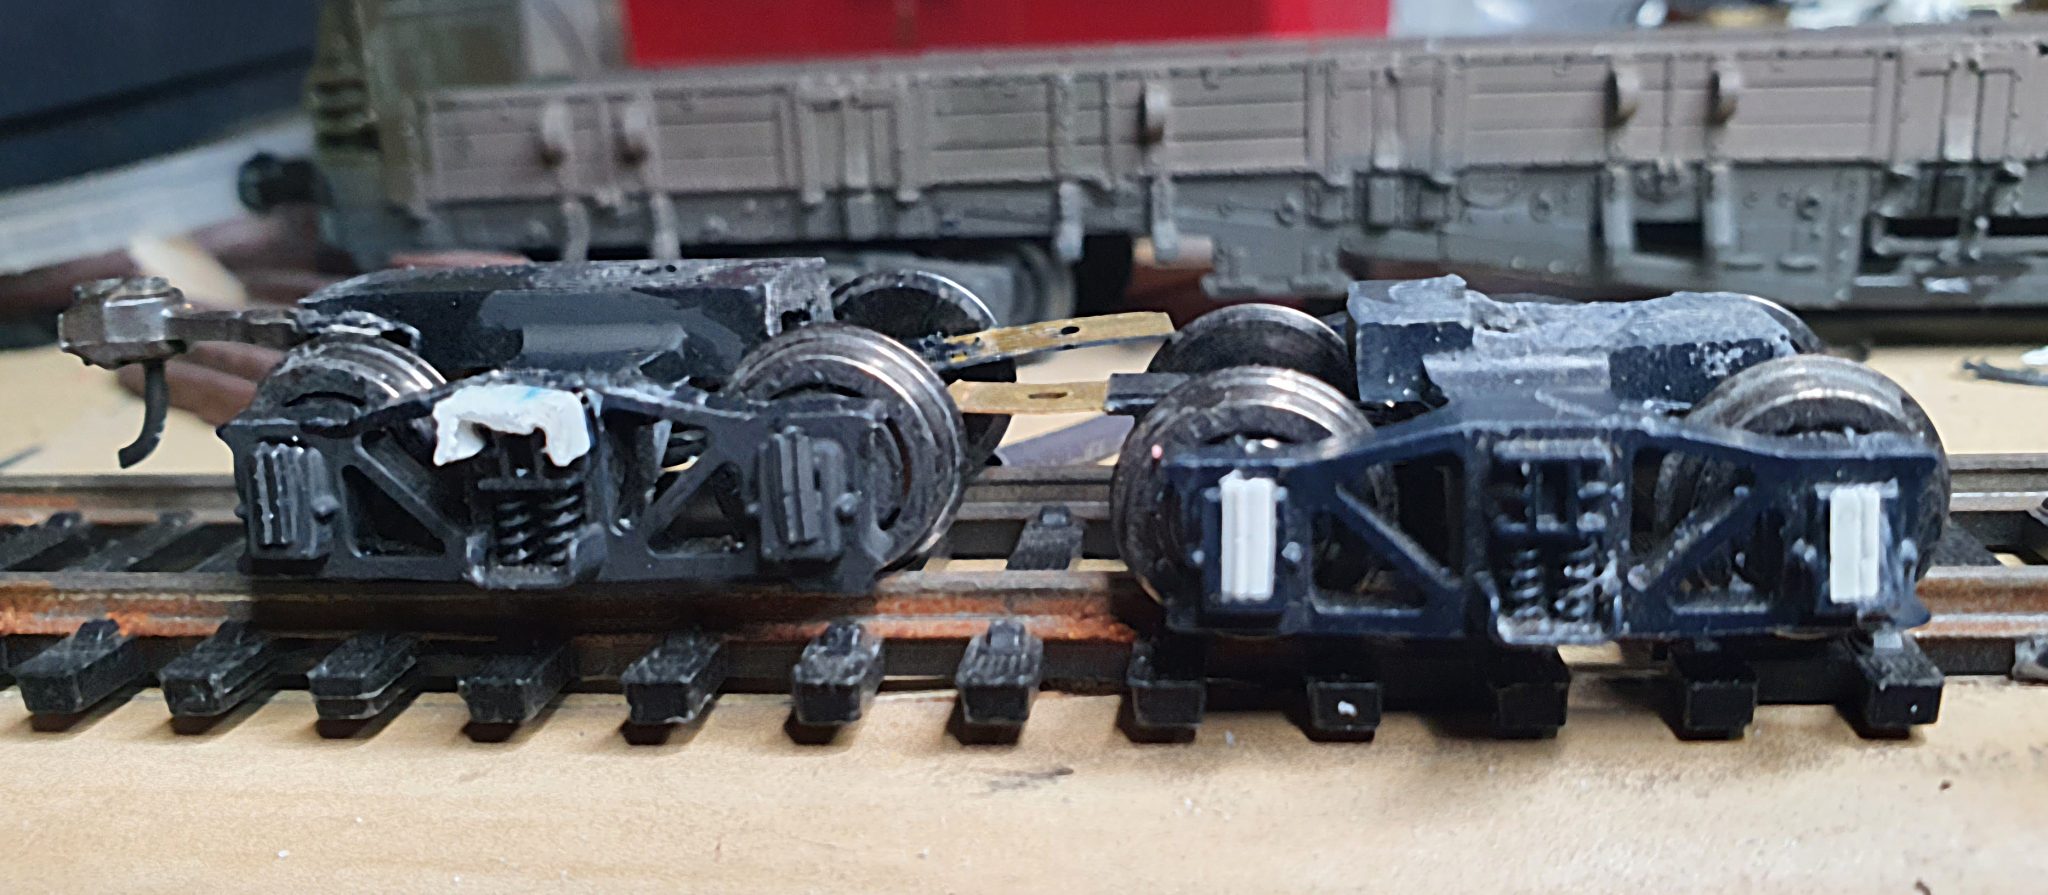
You will also need to fill in the axlebox covers with strips of plastic card, also adding a narrow ledge to the bogie frame above the springs.
The handbrake wheels between the two sets of bogies at each end (both sides) where fabricated from a little plastic strip drilled to fit over the centre pivot bolt and LIMA handbrake wheels (again from the spares box) were glued on to fit just inside the wagon body. A couple of fibre washers were used to gain the correct height using the photograph as reference. There are other sources of handbrake wheels available as spare/detailing parts too.
The wagon top is covered by 2 sections of planked plasticard section (one at each end) and a central section of slightly thicker plasticard. I did try using brass for the top flat section, but it seemed too heavy resulting in the wagon becoming unstable.

Painting – Bogies, buffer beams, buffers and wheels – matt black.
Handbrake wheels – matt white (In the photograph they appear dirty but to add a little colour to such a drab wagon I assumed that when new they would be white).
Wagon sides/planked top – weathered BR brauxite brown – hard to say what exact colour it was!
Flat top plate area – Humbrol Grey number 67.
Various pieces of chain were added to the deck using the photograph as a reference, remembering to line up the chain to the securing rings on the wagon sides!
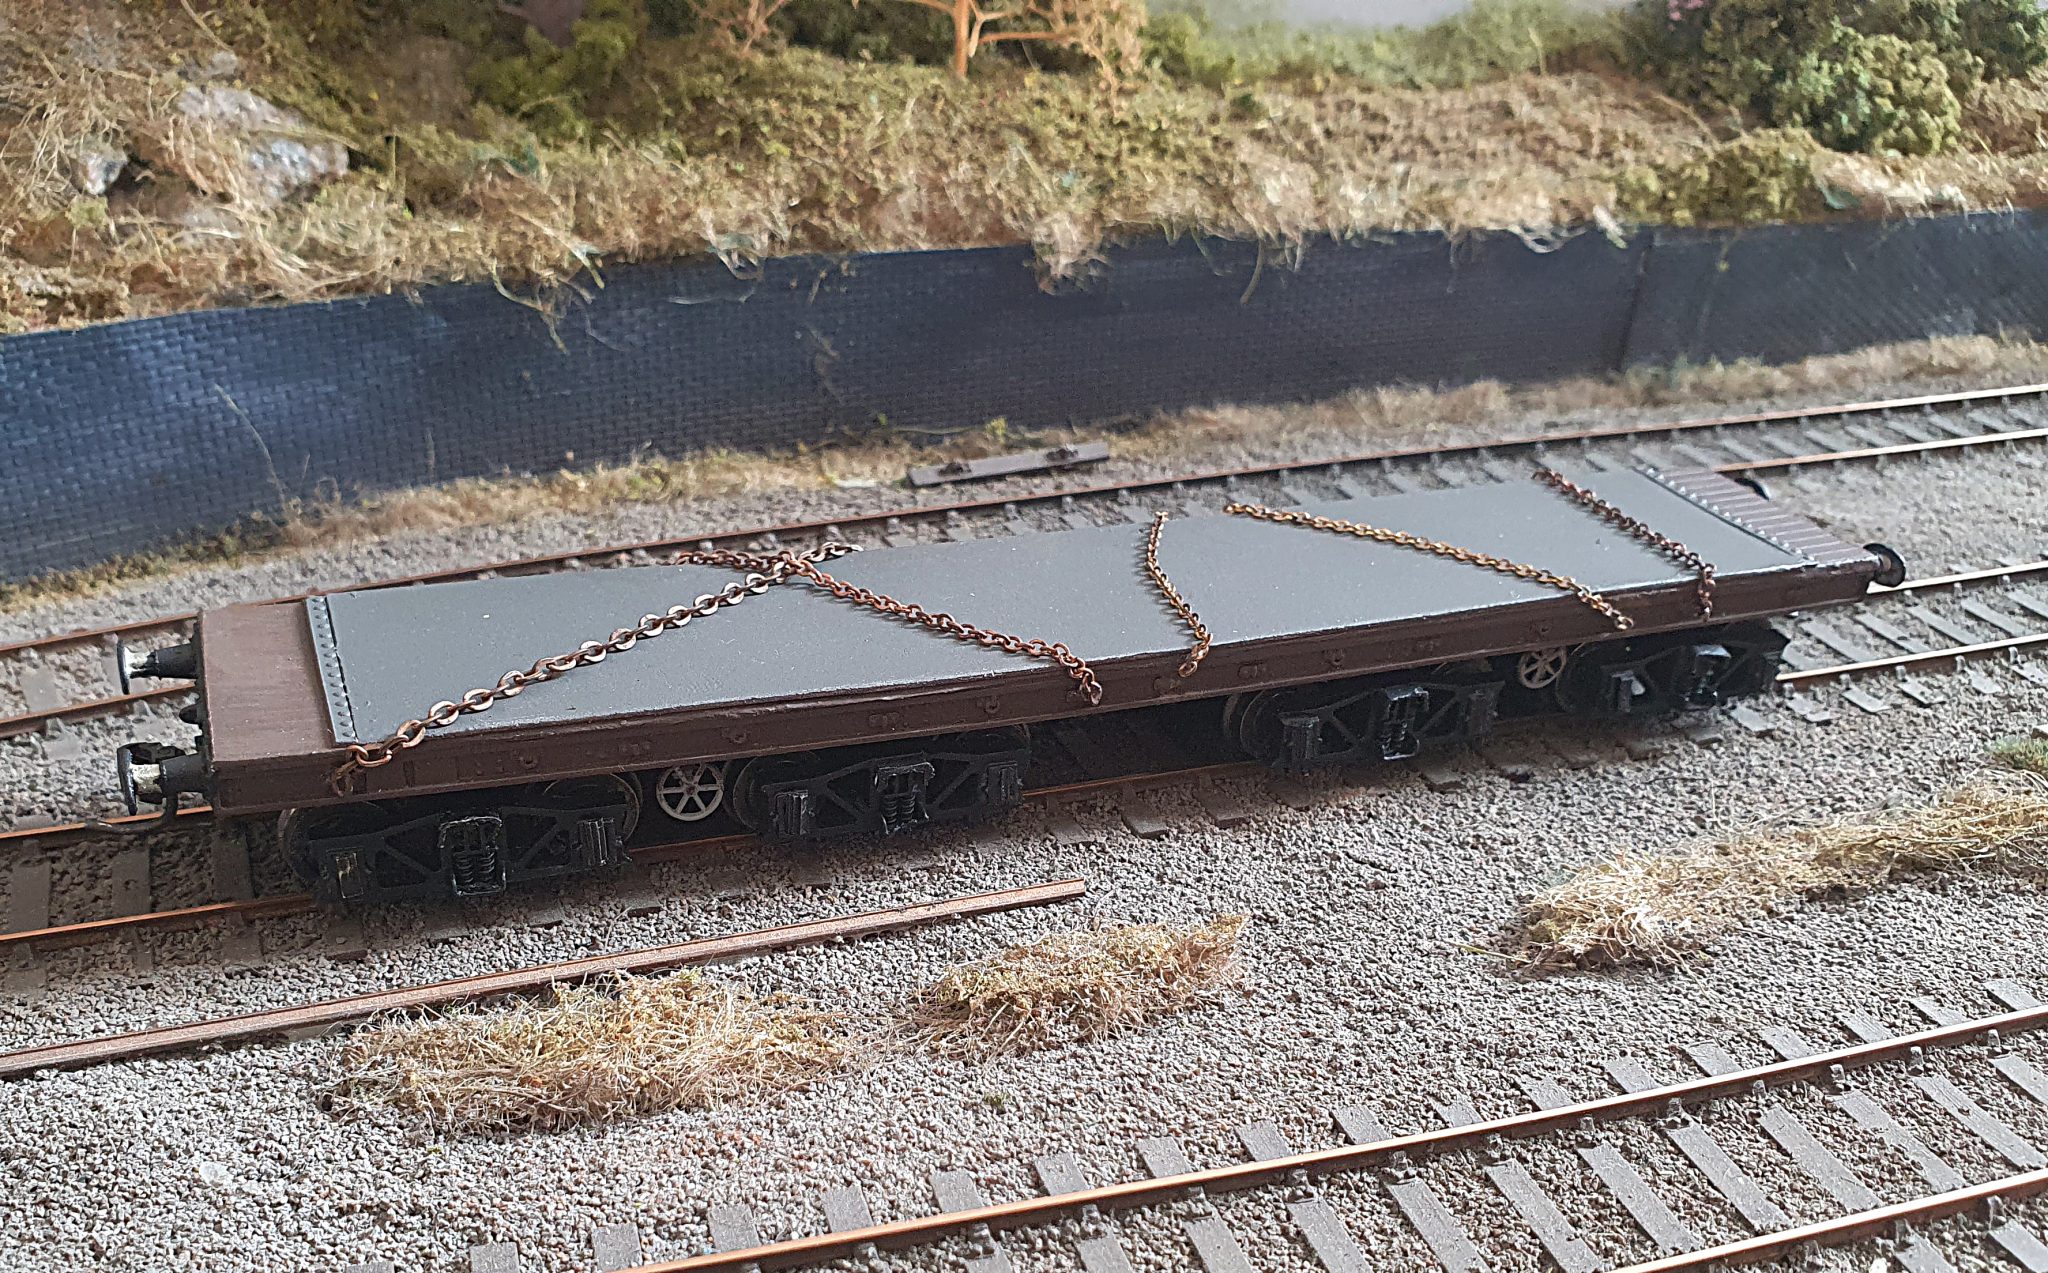
An unusual wagon and sure to be one that causes some comments at shows no doubt .


