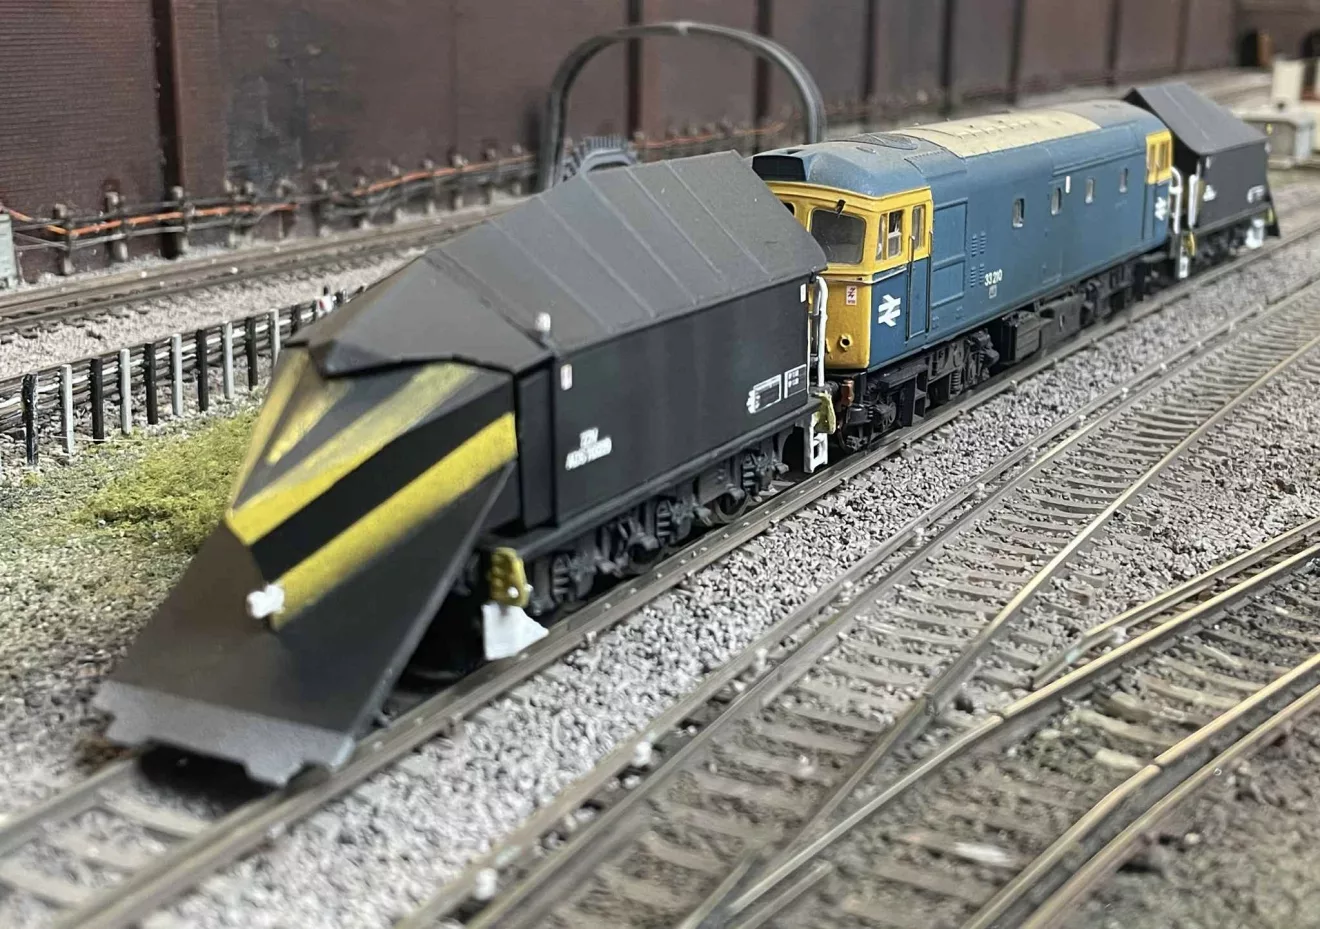

 Schools Tender Snowplough kit")
")
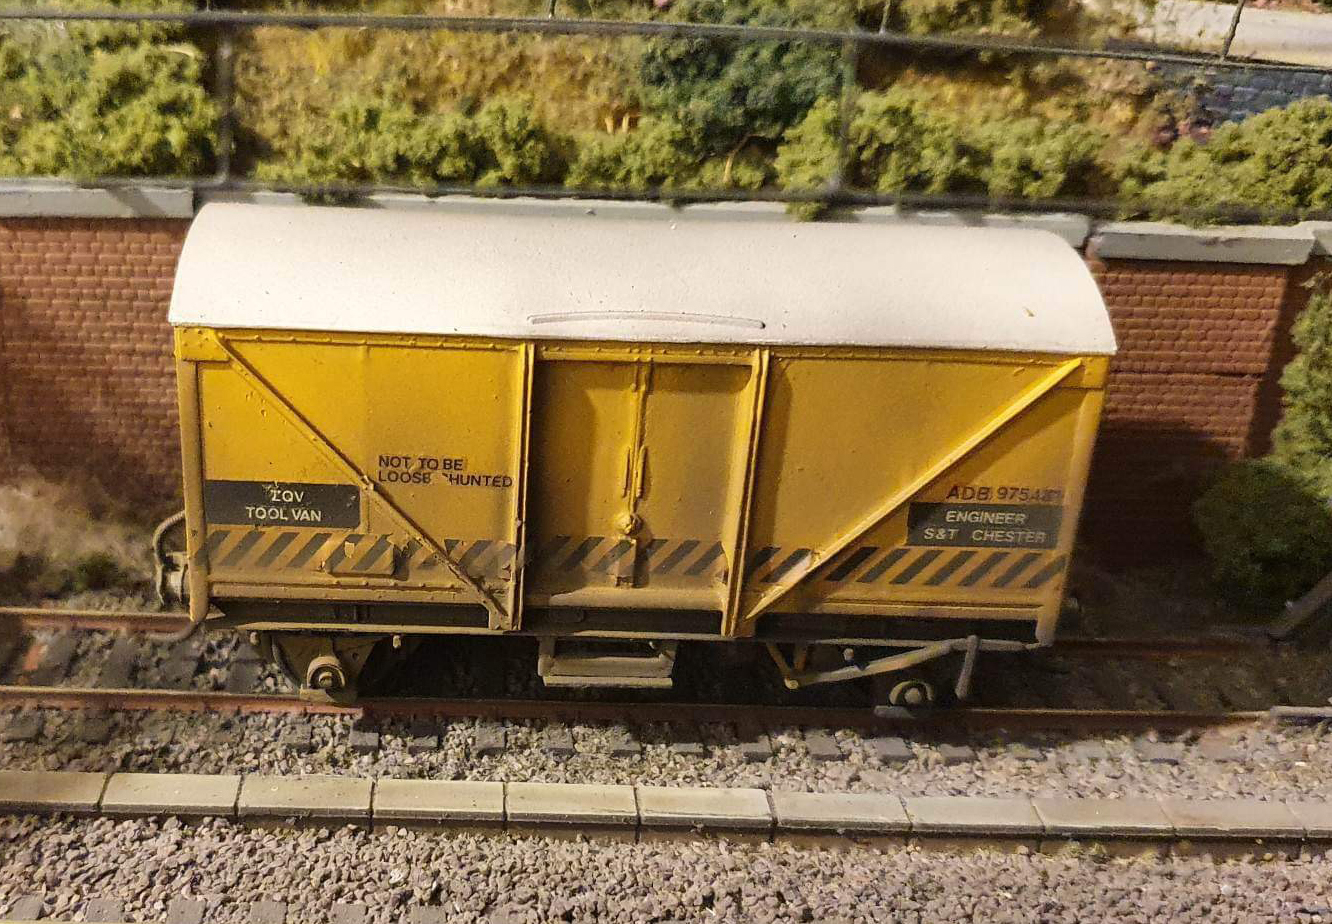
 Conflat D kit")


If, like me in the 1970s and 80s you had the usual Hornby/Triang train set with the ‘must have’ accessories bought as Christmas or Birthday presents, then more than likely one of these would have been the R413 operating mail sets which were released in an array of guises.
The transcontinental version was purely a makebelieve coach and the original Triang R402 one was quite a convincing L.M.S rendition but sadly very under scale. That said, I am still tinkering about with one of these in a cut and shut sense so maybe there will be an article to follow at some point if successful.
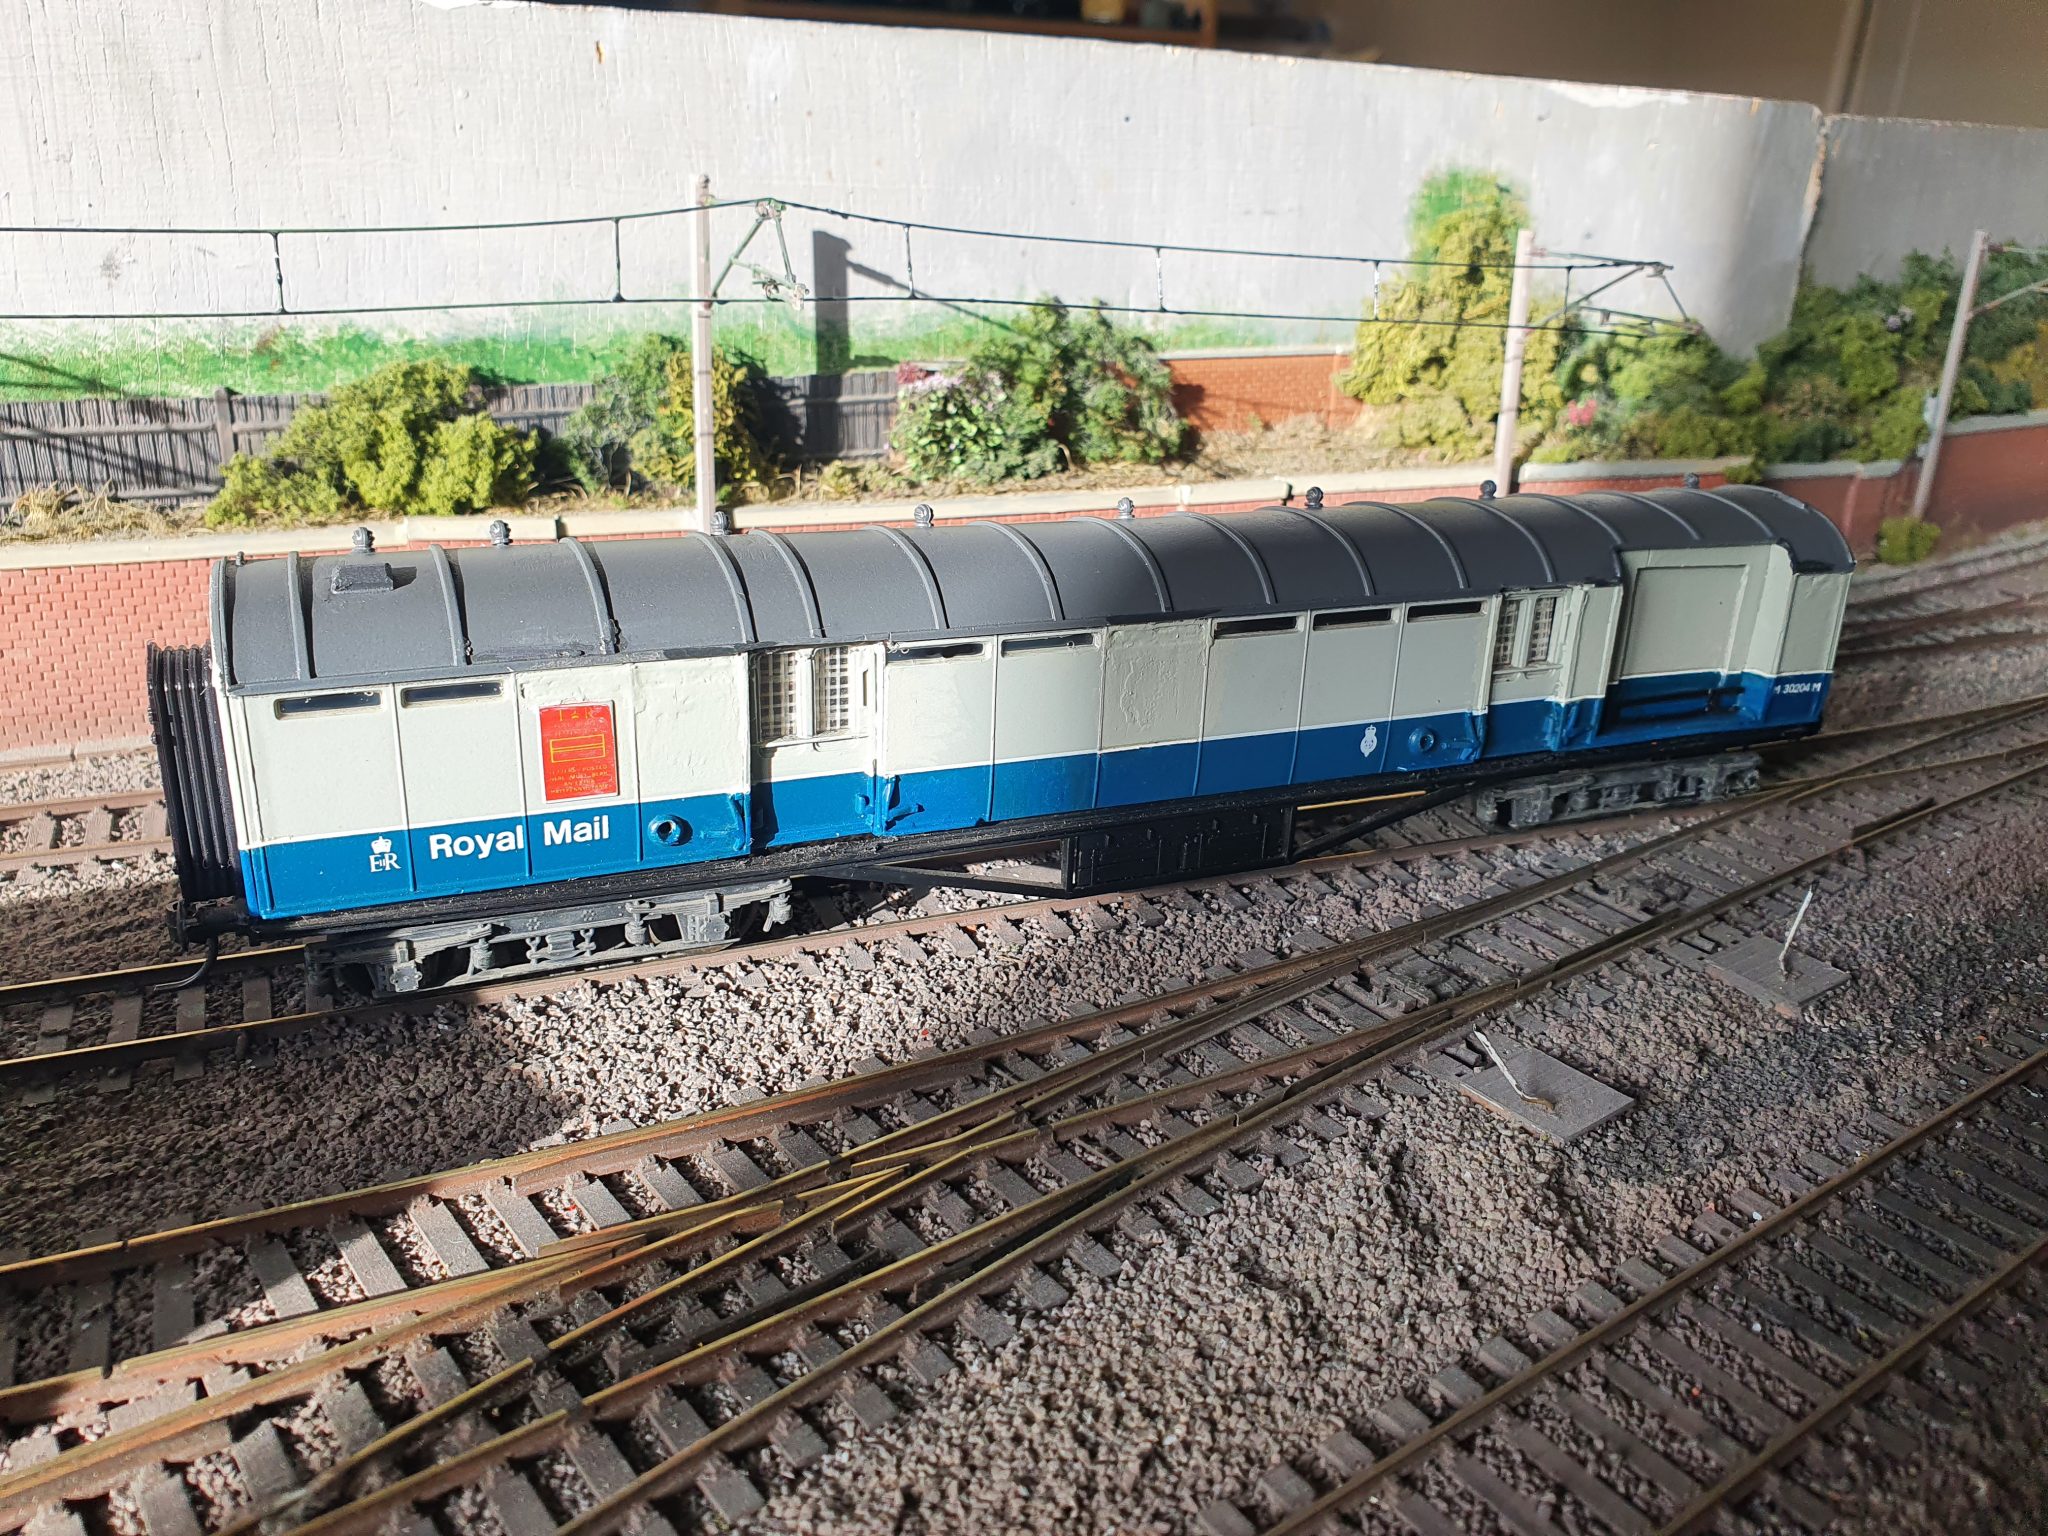
This article however focuses on the later Hornby LMS Stanier coach version , supplied in L.M.S/ BR maroon, Royal Mail red , GWR and BR blue /grey. Obviously for this site we concentrate on the BR corporate livery of blue and grey .
These coaches can be picked up quite reasonably at toyfairs and shows. Aim to obtain a Blue/Grey version otherwise a repaint is on the cards. Surprisingly, Hornby got it right with this one as Phoenix BR Rail Blue P132 1966-85 and BR Rail Grey post 1985 match perfectly , so no need for a repaint!
The bogies and the underframes are not going to be used. The Hornby underframe can be used for ease if you prefer but the operating equipment from underneath will need removing and the bogies replacing with LMS Stanier types, so if you have a spare Airfix Stanier coach chassis to hand with bogies this is perfect as with a little adaption it fits under the converted body very well.

Dismantle the coach by pulling down on the chassis holding the body top firm. It is held on by a number of clips along the sides. Dismantle and remove the operating door gear leaving a substantial hole in one side .Remove the glazing (this won’t be needed) and remove and pull down the ends.
I will break the conversion down in separate areas , Ends , Main Body, Rebuilding ,Chassis/Bogies.
Ends
File flat all the raised detail on the ends taking care not to chamfer the edges. Working on a flat surface and rubbing the plastic end across sandpaper/ wet and dry will pay dividends later and yield good results. It can take a while but be patient. Once flat and you are happy, the two small holes left where the corridor connector was will need filling and if using an Airfix chassis the two chassis locating clips will need removing. Once filled and flush and you are happy, give them a coat of white primer and put to one side.
Main Body
This is the main part of the conversion. The non ‘ operating door side’ can be left alone for this conversion.
Either with a sharp razor saw or mini drill with plastic cutting disc (I will leave this to the builder’s choice but beware, You only get one chance!) cut down either side of the double side doors ( the ones with the spotlights either side) as these should be recessed back 2mm. Take care not to damage the window/ frame area as it gets very close when cutting. Score lightly, repeatedly along the topside of the door with a sharp knife to eventually push the door piece inwards and it will come away from the main body cleanly. Repeat on the other door and clean up the areas with a file. Take care as this side of the body is getting quite weak now with 3 holes!
With small slithers of .75mm plasticard either side of the doors and the top edge of 2mm deep, build up the door frames. The plasticard will replace the width of the saw cut. If using MekPak or indeed any glue take care not to get any excess on the paint finish. Repeat with the other door and leave to dry fully.

Now to the main door recess. With 2 thin sections of thin 0.50mm plasticard glue to the coach recess sides and shape to the profile of the coach. The recess section should be 4mm. Fill in the gap on the floor in the recess taking care not to drop below the level of the coach body. I used some thicker plasticard here to put some strength back into the side.
I must stress that the Hornby model has many compromises and matching it up a specific coach has proven difficult, so the end result is more a good representation rather than a 100% accurate model. There are expensive brass kits on the market for LMS T.P.Os if you wish to persue that route.
The closest example I could find is Diagram d1908/1792 so this is how I will base the model. This example had a solid covered recess, whereas others differed in the size of the recess hole, and one type had a window in it. You will also note some of the side windows on mine have been filled. Refer to the photographs of the one you are modelling as again, there were differences.

The recess hole is 22mm long x 22mm in height and 2mm deep. All this being made from suitable plasticard pieces held in place with MekPak. A frame was built around the recess section to give the depth of 2mm so it is advisable to make this section a little larger to compensate for this. The door apparatus brackets that seemed to remain in place after conversion were made up from pieces of microstrip, sprayed black and put to one side for fitting later once the body is painted.

The side spotlights (2 of) can be drilled out if required to provide a little more depth. A 2.75mm drill in a hand twist drill is sufficient. Remember later to paint the inside of these rail blue. With the removal of the pick up apparatus the sighting spotlights were disconnected, I can only assume the glass was left in situ, so these will need glazing later.
Chassis
Metal wheels and couplings are a matter of choice to the builder so I will not cover that here. There are a few adaptions required to make the Airfix chassis fit however. Offer up the chassis frame to the body underside and mark out where the 2 door recesses and the main recess will be. Cut these sections from the chassis frame and allow 3mm depth. Also, on the chassis end the 4 step like pieces on the four corners of the chassis will need to be filed back. A test fit with the body until you are happy is the best approach to stop any body lean or mis fitting. Note that the buffers should be round, not oval as on the Hornby Chassis. Using the Airfix chassis also improves the ride height that Hornby models tend to suffer from and the underframe detail is much nicer. A dynamo and an extra electrical box were added to the chassis underframe. Something that I have started doing is to put a weight (the old Triang Hornby ones are ideal) over each bogie rather than in the middle of the coach. I find it helps keep the coach on the track better as the weight is over the wheels rather than in the middle of the coach.
Ends(2)
Back to the ends. As the clips have been removed the ends need to be glued to the bodyshell ensuring a good clean fit with no gaps. I used a small slither of filler to seal the gap in places.
When the ends are in place continue the gutter line from the coach side across the ends and fit communication equipment (made from odd brass parts, a Peco track pin and plasticard scrap pieces) but do not fit the end corridor doors yet until after painting.

Roof
The roof has had the rather uninspiring roof vents removed and replaced with white metal LMS types readily available from model suppliers. Again, refer to photos for location as they differ from coach to coach. A radio roof communication pod was fitted in later years, and this was made from a shaped piece of plasticard at one end of the roof .


Repainting can now begin. The roof can be masked off and sprayed Humbrol Matt tank grey or a similar colour if you prefer. Mask the end roof profile to ensure you get a clean edge. Phoenix Rail Blue, as mentioned earlier, is a near perfect match for the Hornby finish, so with care a full repaint can be avoided. A few light coats will be required over the white plasticard pieces and sections, but well worth the effort once complete. Phoenix Rail Grey lightly thinned is applied to the necessary areas around the doors, recess and ends. It is advisable to mask the blue areas to avoid paint bleed however, remember the white lining to be applied soon can help disguise any wobbly line areas!
The white lining I used was HMRS pressfix. This can be used with relative ease and works particularly well around curves and door areas with a little care when applying. Lightly press the lining in place then dab a little tepid water using a paintbrush over the backing paper. Leave for around 30 seconds and gently remove the backing paper, the lining at this stage is still quite pliable in order to get a clean egde/ straight line. Once satisfied lightly press the lining again and leave to dry thoroughly (a minimum of 24 hours). Patience is key here, ideally working in small sections.
Once the lining is dry, I lightly spray varnished to seal to avoid damage. Now the offset corridor doors can be fitted. Again, refer to photos for correct position. The ends off the Airfix coach used for the chassis are ideal for the new ends but will need trimming slightly. The ones I used are from the vast array of spares I have obtained over the years!
When numbering, again refer to the photo/diagram you are working from remembering the extra M at the end of the numbers. Some nicer colour Royal mail transfers will be added when I order some. I believe RailTec do them.
Glazing comes next, the top, narrow windows are reglazed with liquid glue and glaze and gives a nice flush finish. The security bars on the door windows are formed from clear security tape on clear glazing sheet. Alternatively, white lining or a bow pen on clear glazing could be used.

All that is left to do now is to re-assemble. If you have used the Hornby chassis this is a straightforward process. For the Airfix chassis you will need to ensure you are satisfied with the fit of the ends on the chassis and carefully remove any more plastic from the chassis sides/ends. It will be easier to adapt the chassis to fit the body rather than the other way around.
I am currently working on another coach to a different diagram and will post a similar guide once complete.
Happy modelling…..