Schools Tender Snowplough kit")
")
 Conflat D kit")


The Hornby Sentinel 0-6-0 is a lovely little model which performs very well for a short wheelbase shunter. However, on point gaps and dirty sections of track its running qualities on DCC operation can be improved further with the addition of a small stay-alive unit.
Buyer Beware – Hornby only state in their promotional blurb that the loco requires a 6 pin DCC decoder. What you don’t find out until you open the box and read the instruction sheet is that they mean a 6pin decoder on a harness. Presumably, looking at the diagram included, this is so you can tuck it away on top of the motor inside the very narrow (but quite tall) space in the long bonnet section.
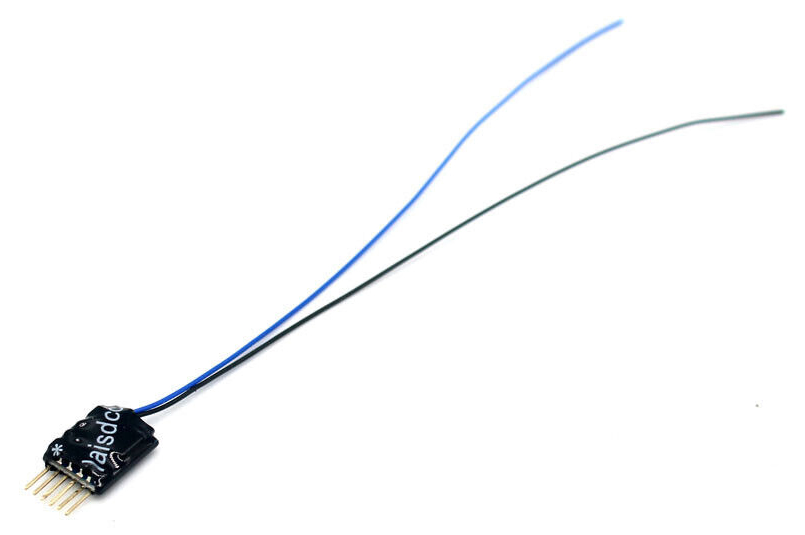
As it comes, the 6 pin blanking plug for DC operation is tiny, and plugs in to a flying lead, sitting right up against the nose of the bodyshell. It will soon become clear, as it did for myself, that despite the Lais decoder being tiny, there is no way this will fit in that space, let alone have space for a stay-alive capacitor bank.
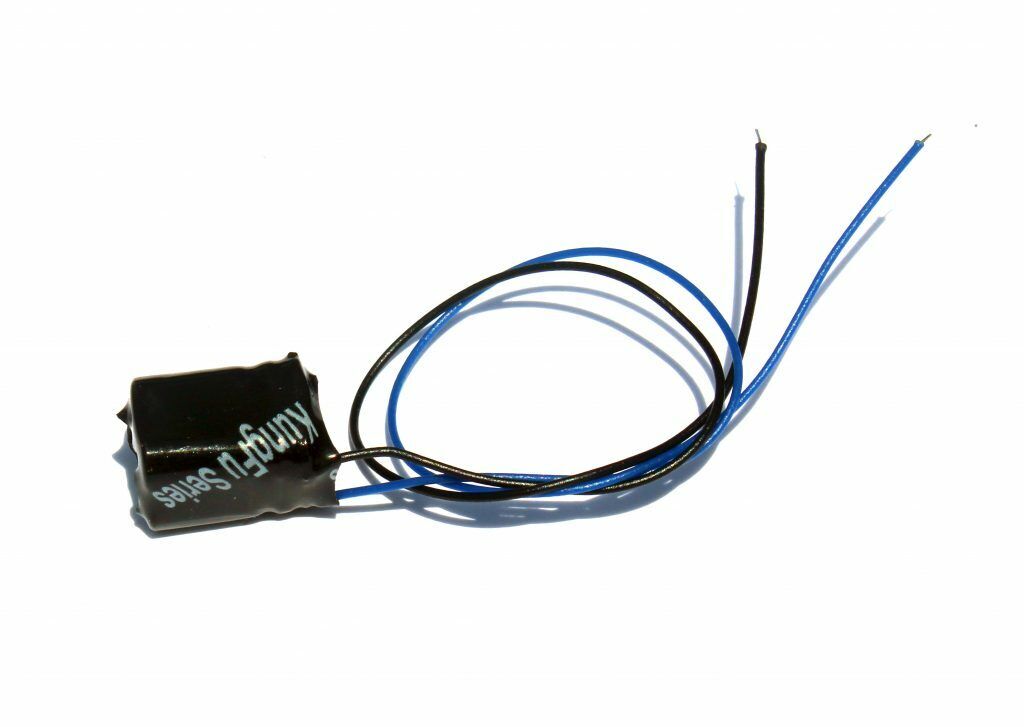
For this conversion, I had already committed to the Lais 6 pin decoder and Small Kung Fu stay-alive. All is not lost, we can tuck the smallest stay-alive Lais have to offer inside the cab space, quite discreetly.
I began by separating the body and chassis using the screws just behind the bufferbeams. I then put the chassis to one side. Turning the body / running plate upside-down you will see three tiny crosshead screws. These fix the small bonnet section, the drivers console, and the long bonnet + cab section to the running plate. I removed the one securing the long bonnet / cab section. A gentle pull on the cab will see it freed from the running plate.
In front of the driver’s console you will see a raised piece of cream colour plastic which sits inside the contours of the long bonnet. I removed this so the stay-alive wires can pass through from the decoder in to the cab.
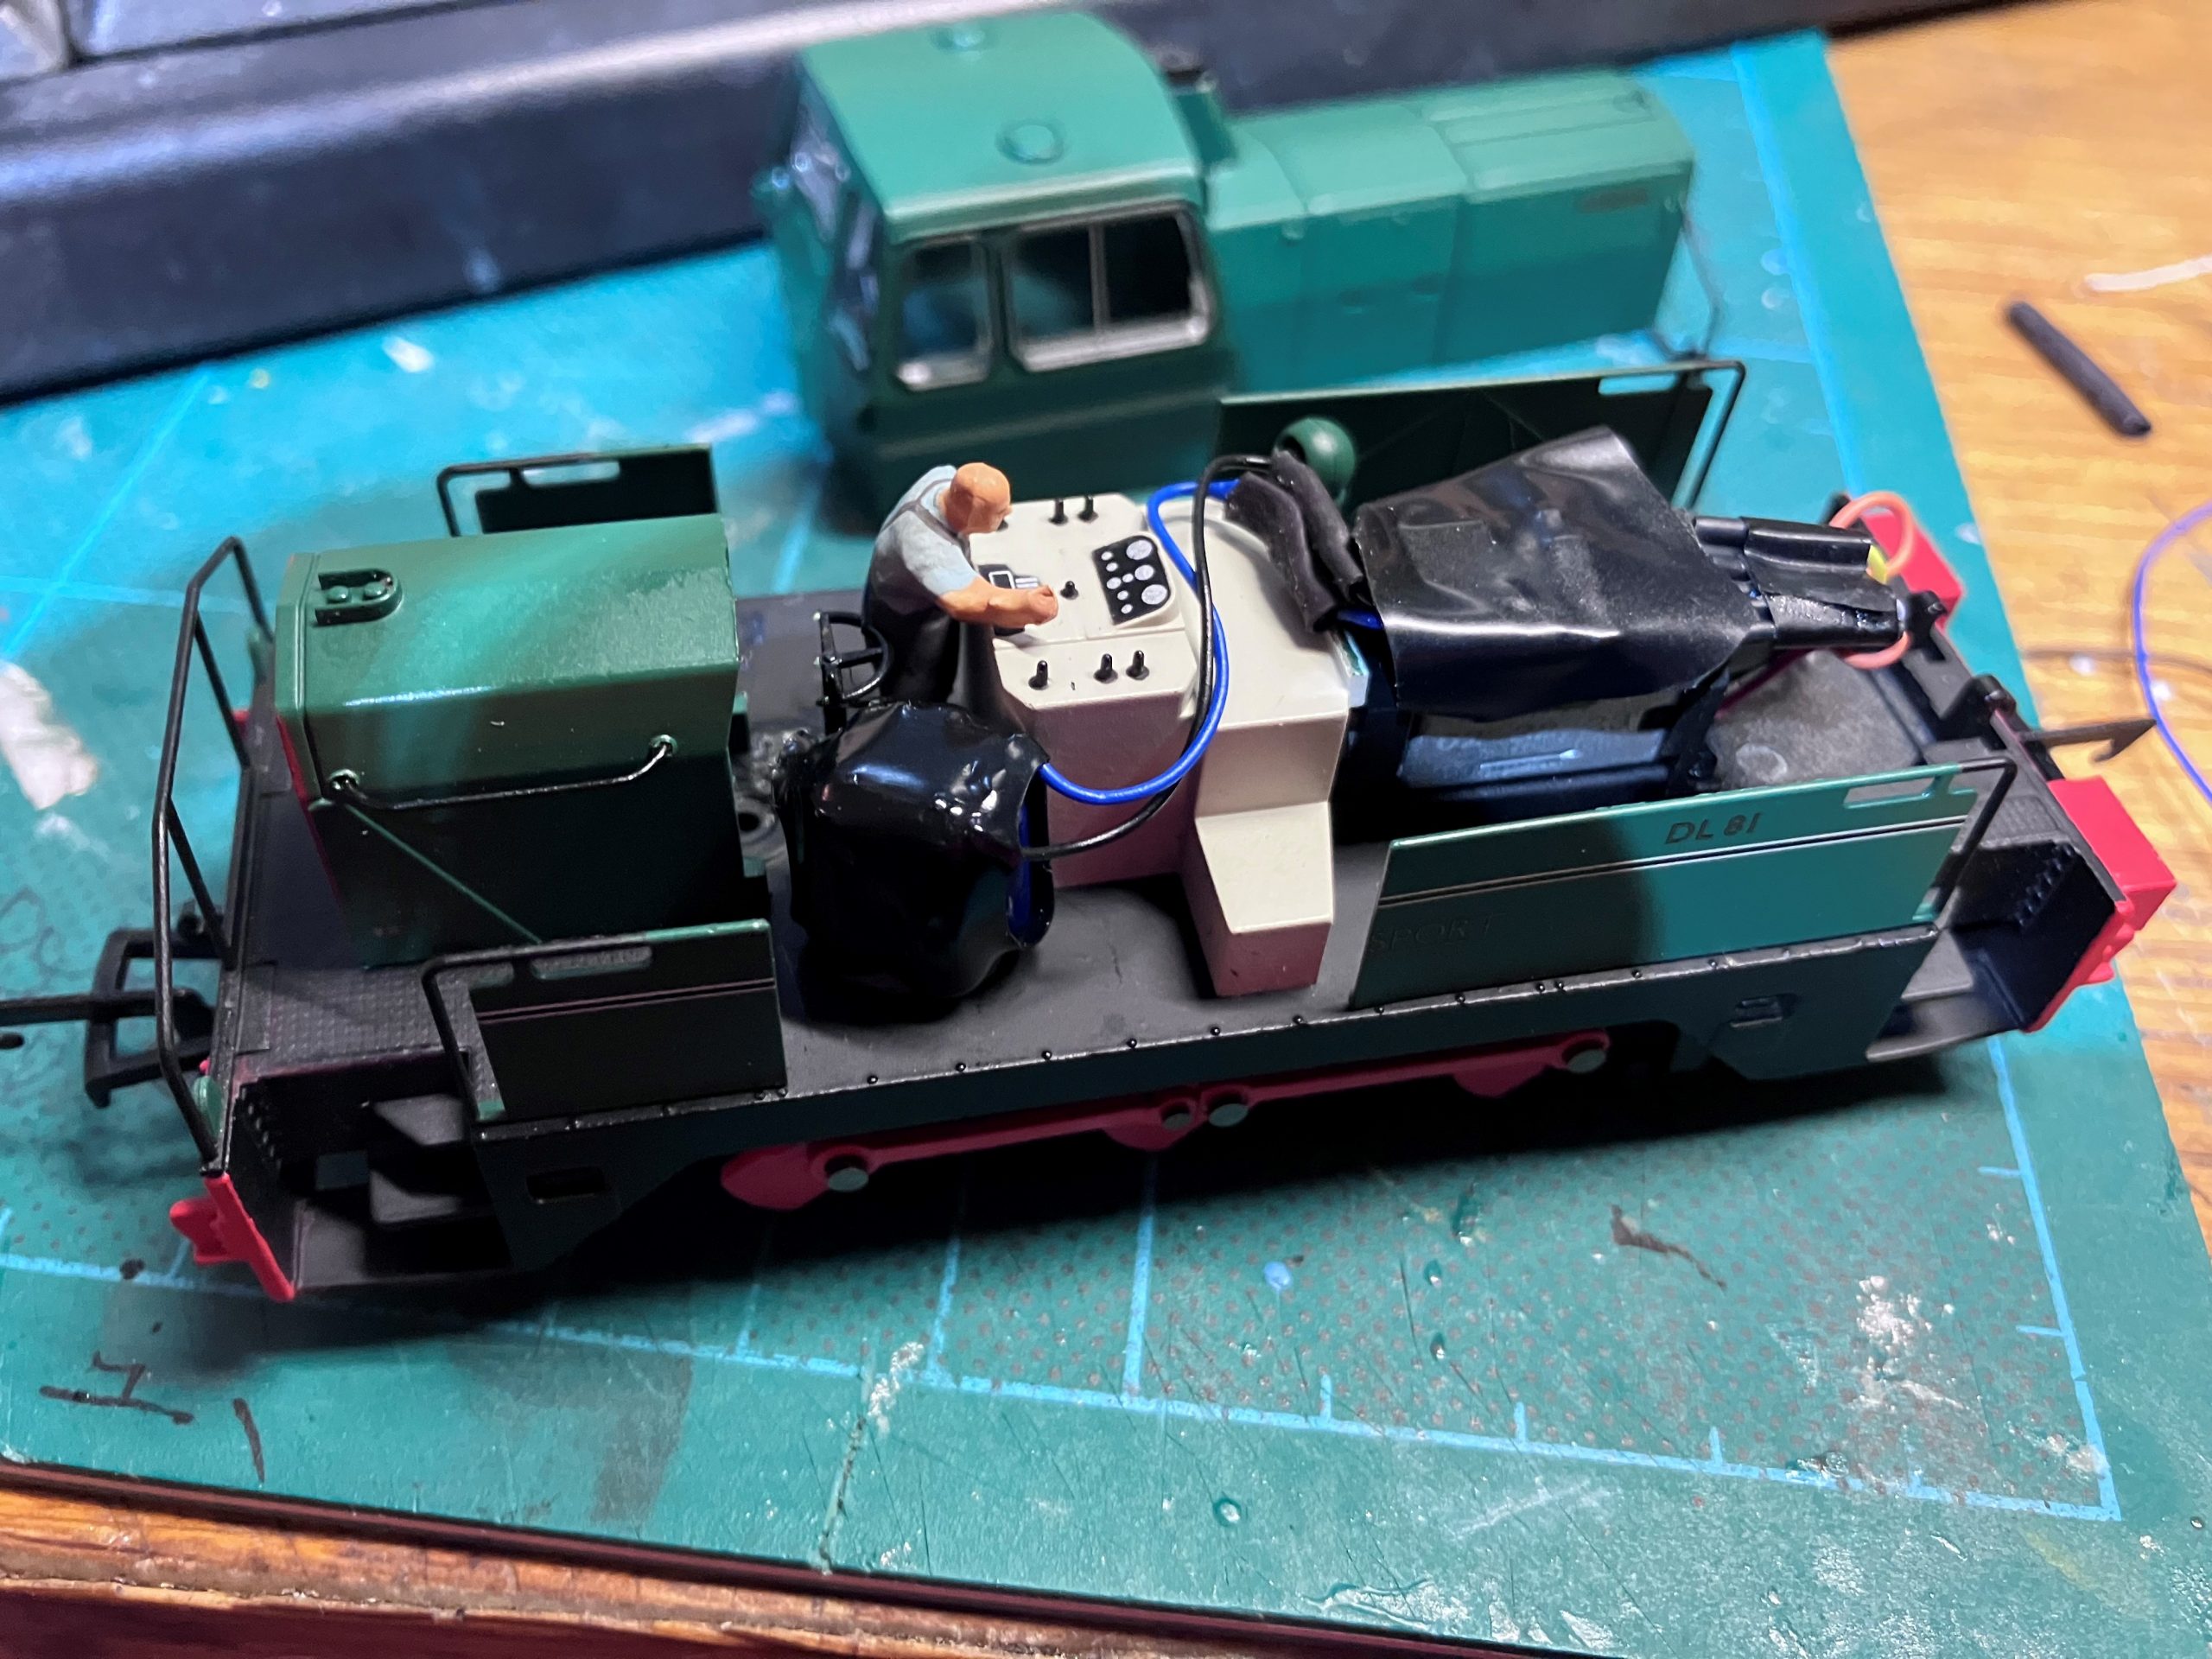
At this point I plugged the decoder in to the flying lead, taking care to align pin 1 with the motor wires (grey and orange). Introducing the chassis back in to the footplate, I fed the decoder through the rectangular gap in the footplate and then secured the footplate to the chassis with the two screws removed at the start. You will note now that you cannot gain access to the screw that holds the cab + long bonnet section on. Fear not.
I then insulated the decoder with black electrical tape and fixed it to the top of the motor with a tiny blob of blacktack. I also trimmed back the blue and black wires for the stay-alive as these are (usually thankfully) generous.

Turning to the stay alive, this was soldered to the leads from the decoder and the soldered joints insulated with heat-shrink tubing. I always find the heatshrink Lais include to be far too wide in diameter so some thinner tube was substituted. The stay-alive was then blacktacked to the cab floor and a driver figure added to distract viewers.

All that was left to do then was to refit the cab and bonnet. There is a moulded profile on the cab face which sits inside of the small bonnet section. I found it easier to locate that first and then lower the cab + bonnet assembly down on to the footplate. The bonnet then clicks nicely in to place at the bufferbeam end.
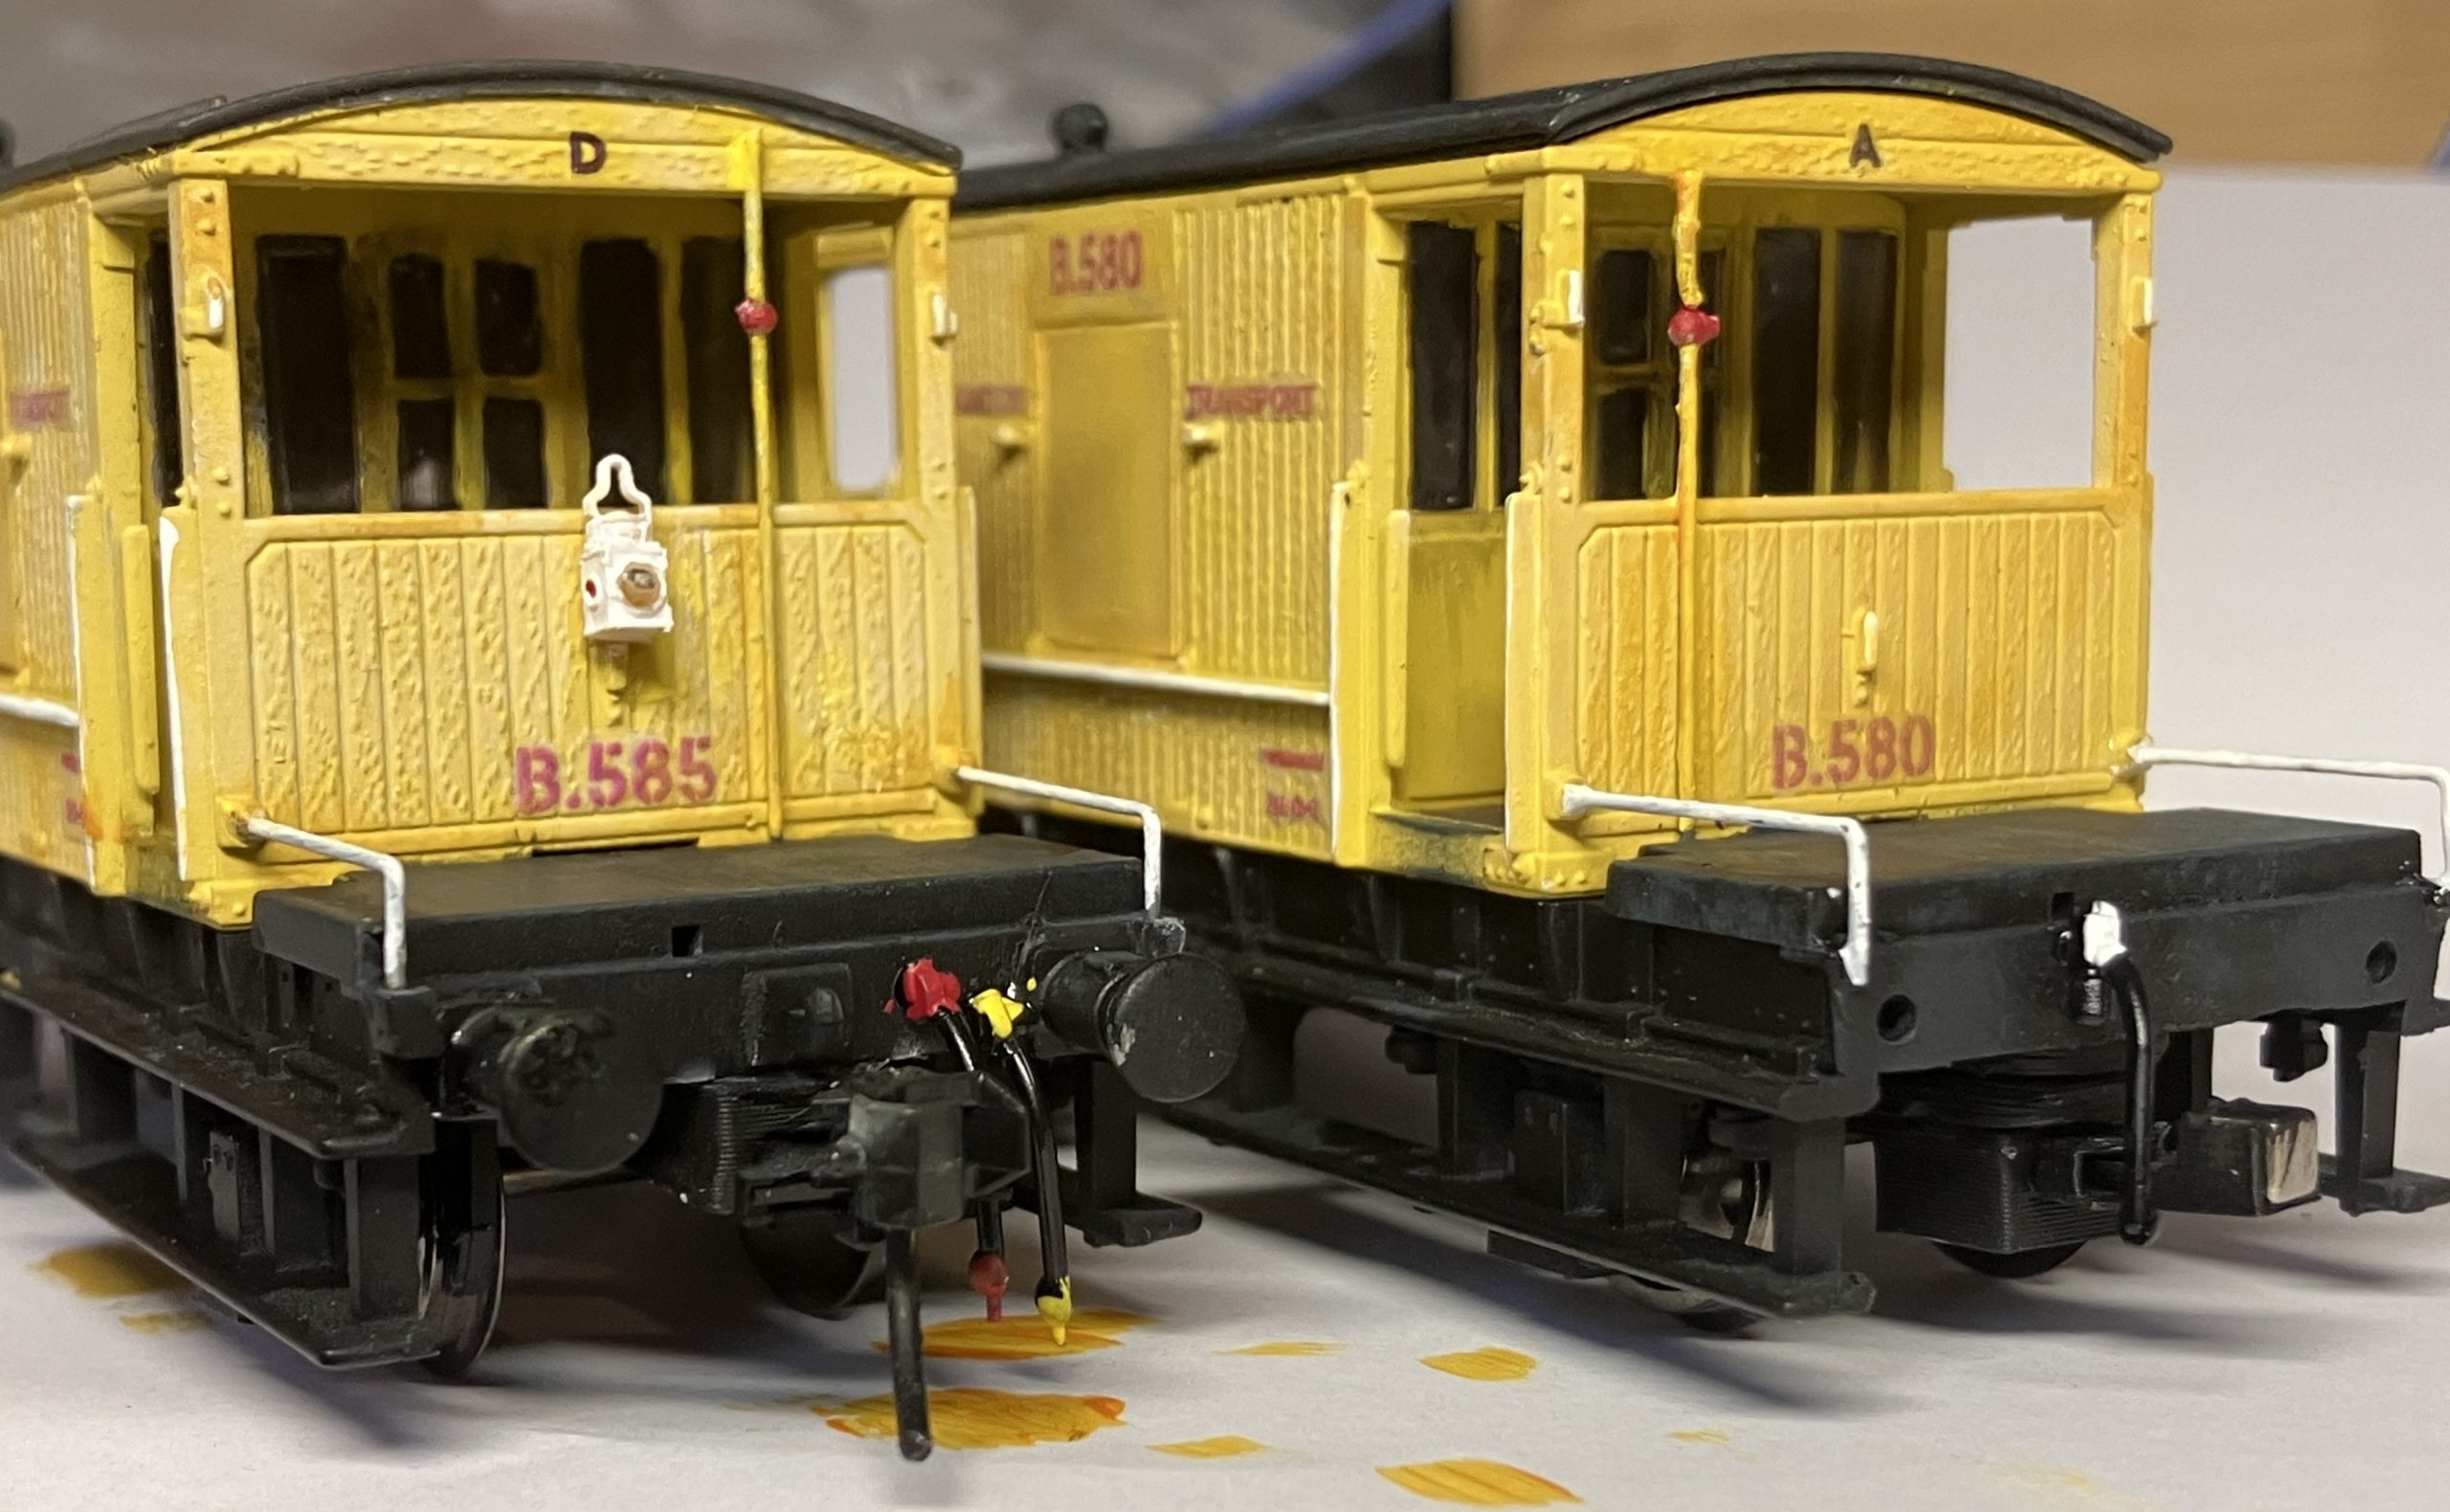
All in all, a very simple and quick upgrade for a beautiful model. I’m quite shocked and surprised how well Hornby have done with this. Its rather gorgeous and runs really nicely. It will be a staple shunter on Atherstone Court on the District Line side of the platforms. Off to the paint shop for a very light weathering as it would appear LT looked after this one rather well.