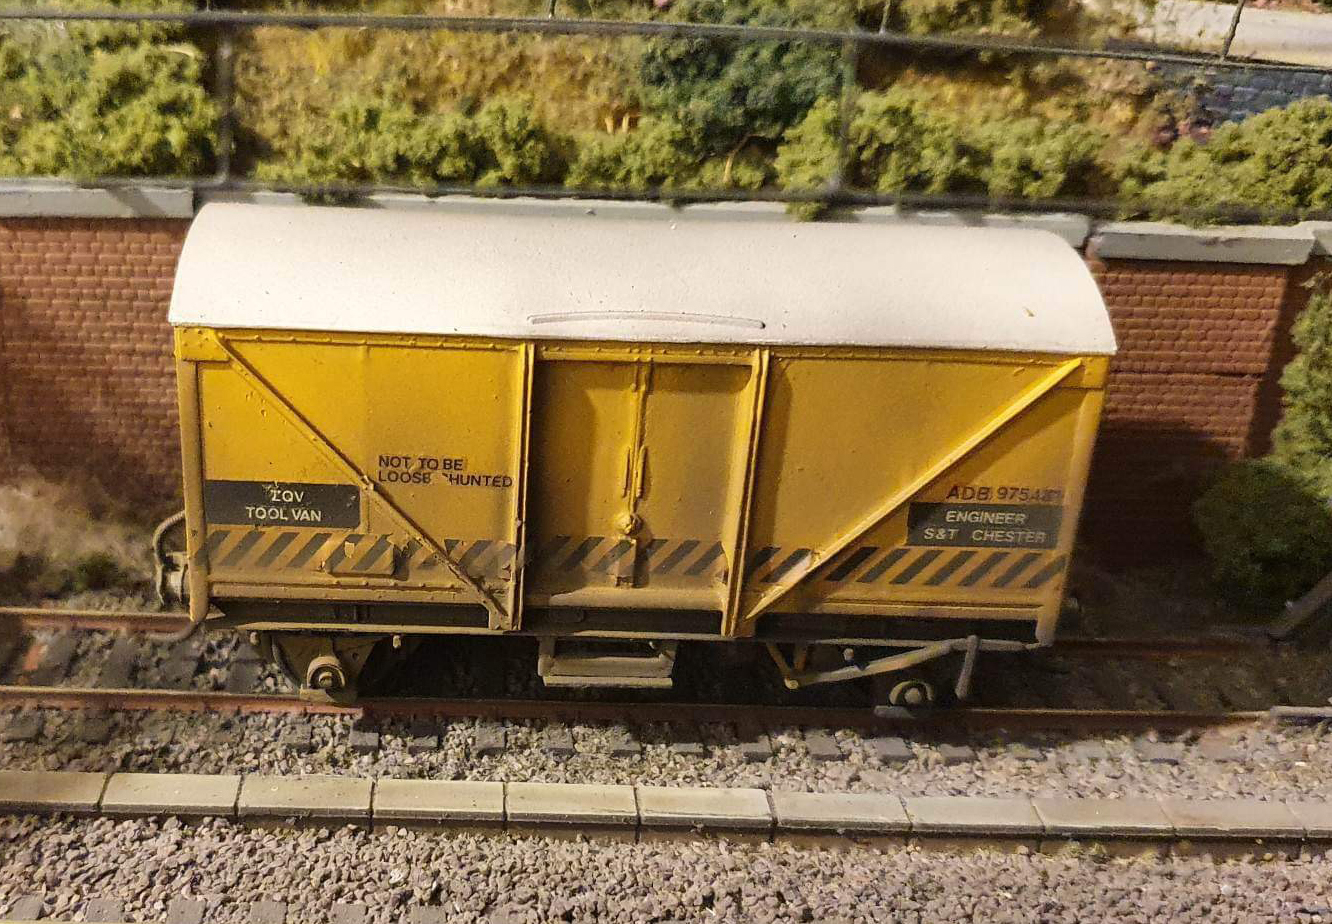
Schools Tender Snowplough kit")
")
 Conflat D kit")


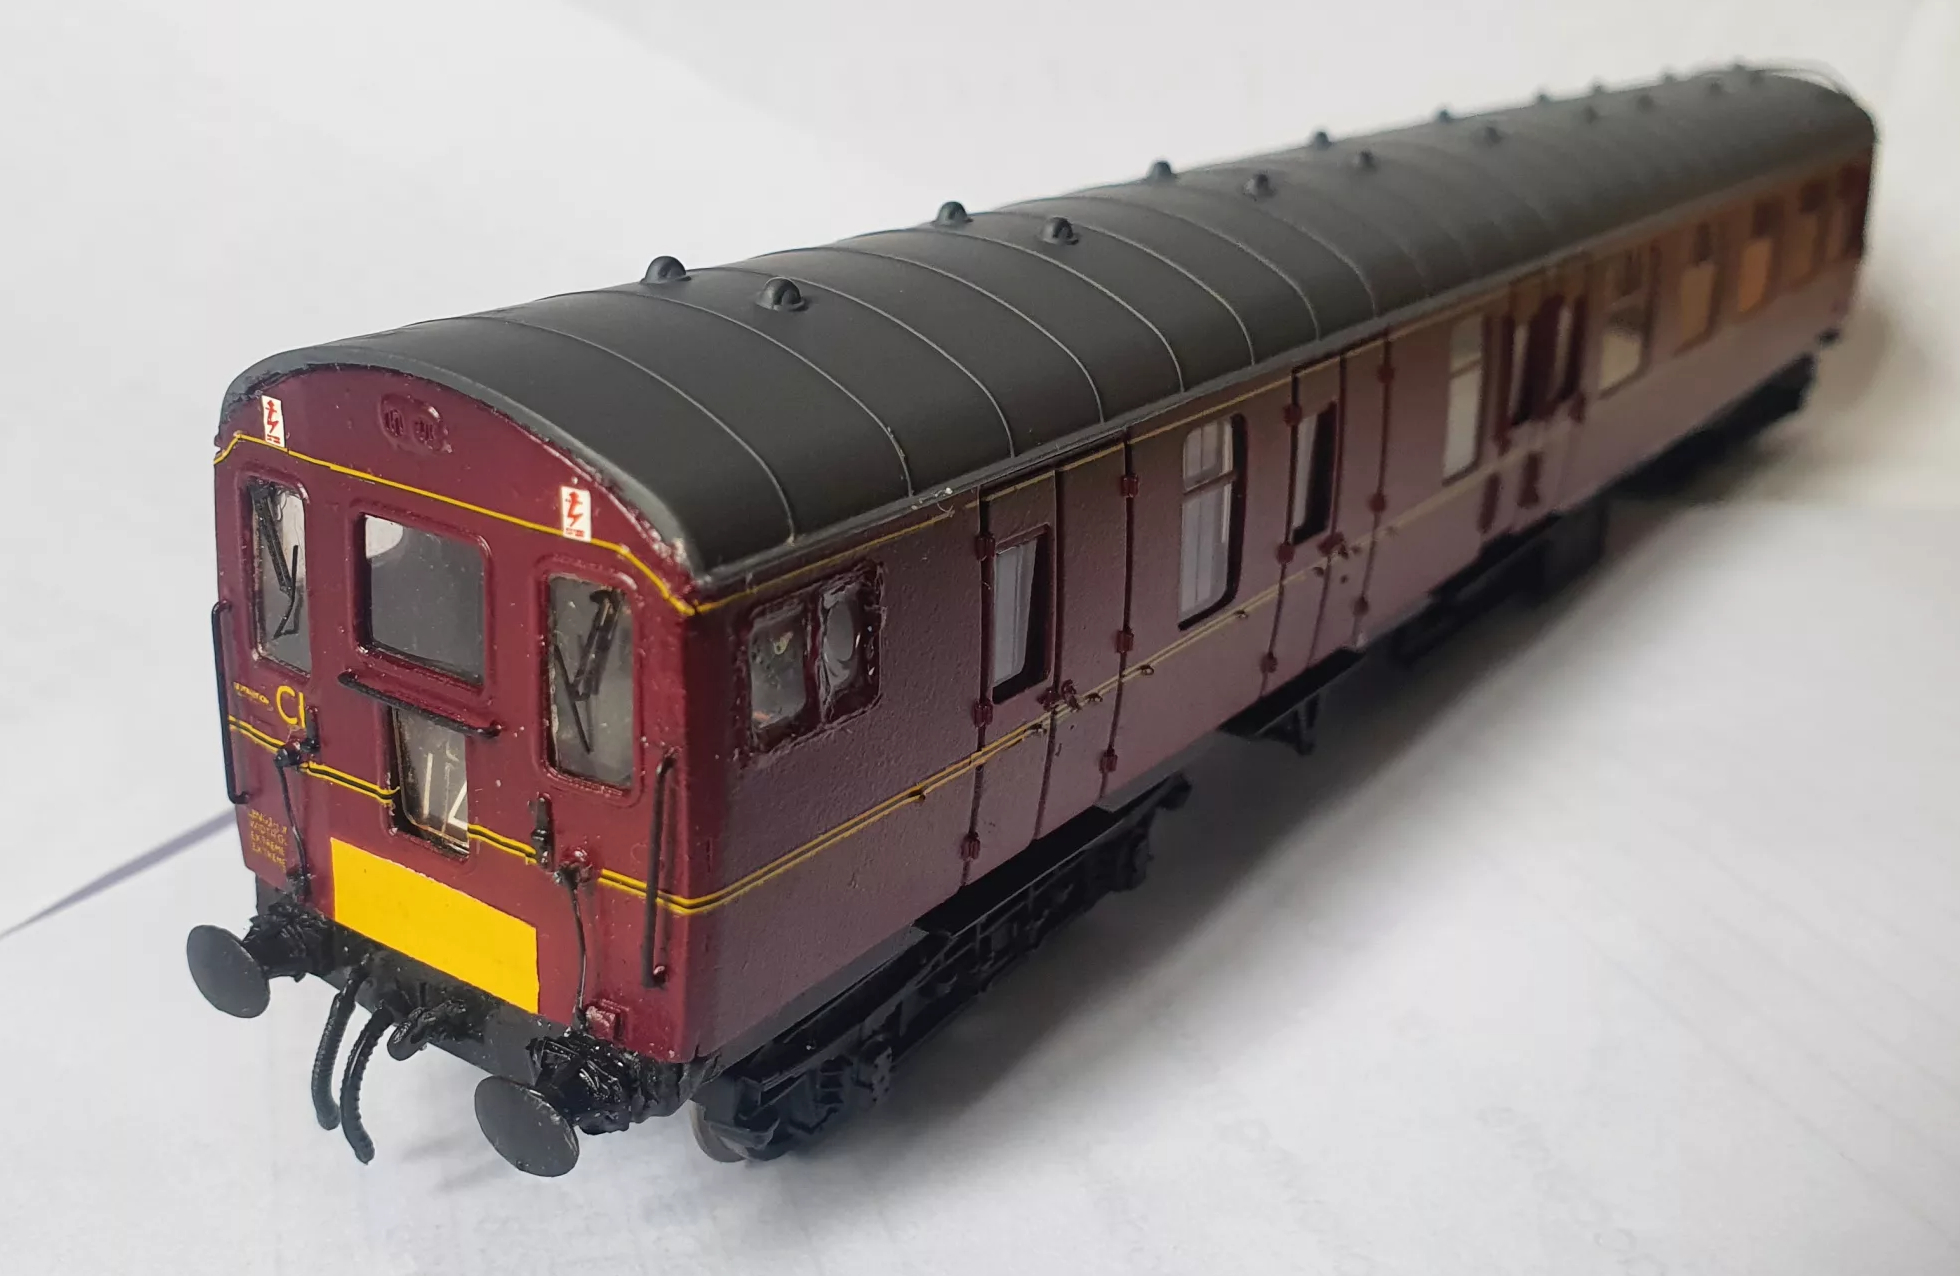
I had for many years lurking at the back of a cupboard, a Bachmann MK1 BCK coach in BR maroon livery, a remnant from my steam-era modelling phase.
Every time I went into the cupboard it would be there catching my eye, and everytime I saw it, I would have one of those “I must do something with that” moments.
Well, I have finally gotten around to doing something with it.
Whatever I decided to do with the coach, it would require at the very least a repaint, and not having the confidence to do a dual coloured paint job with lining, a search through BR’s departmental fleet for a suitable prototype ensued.
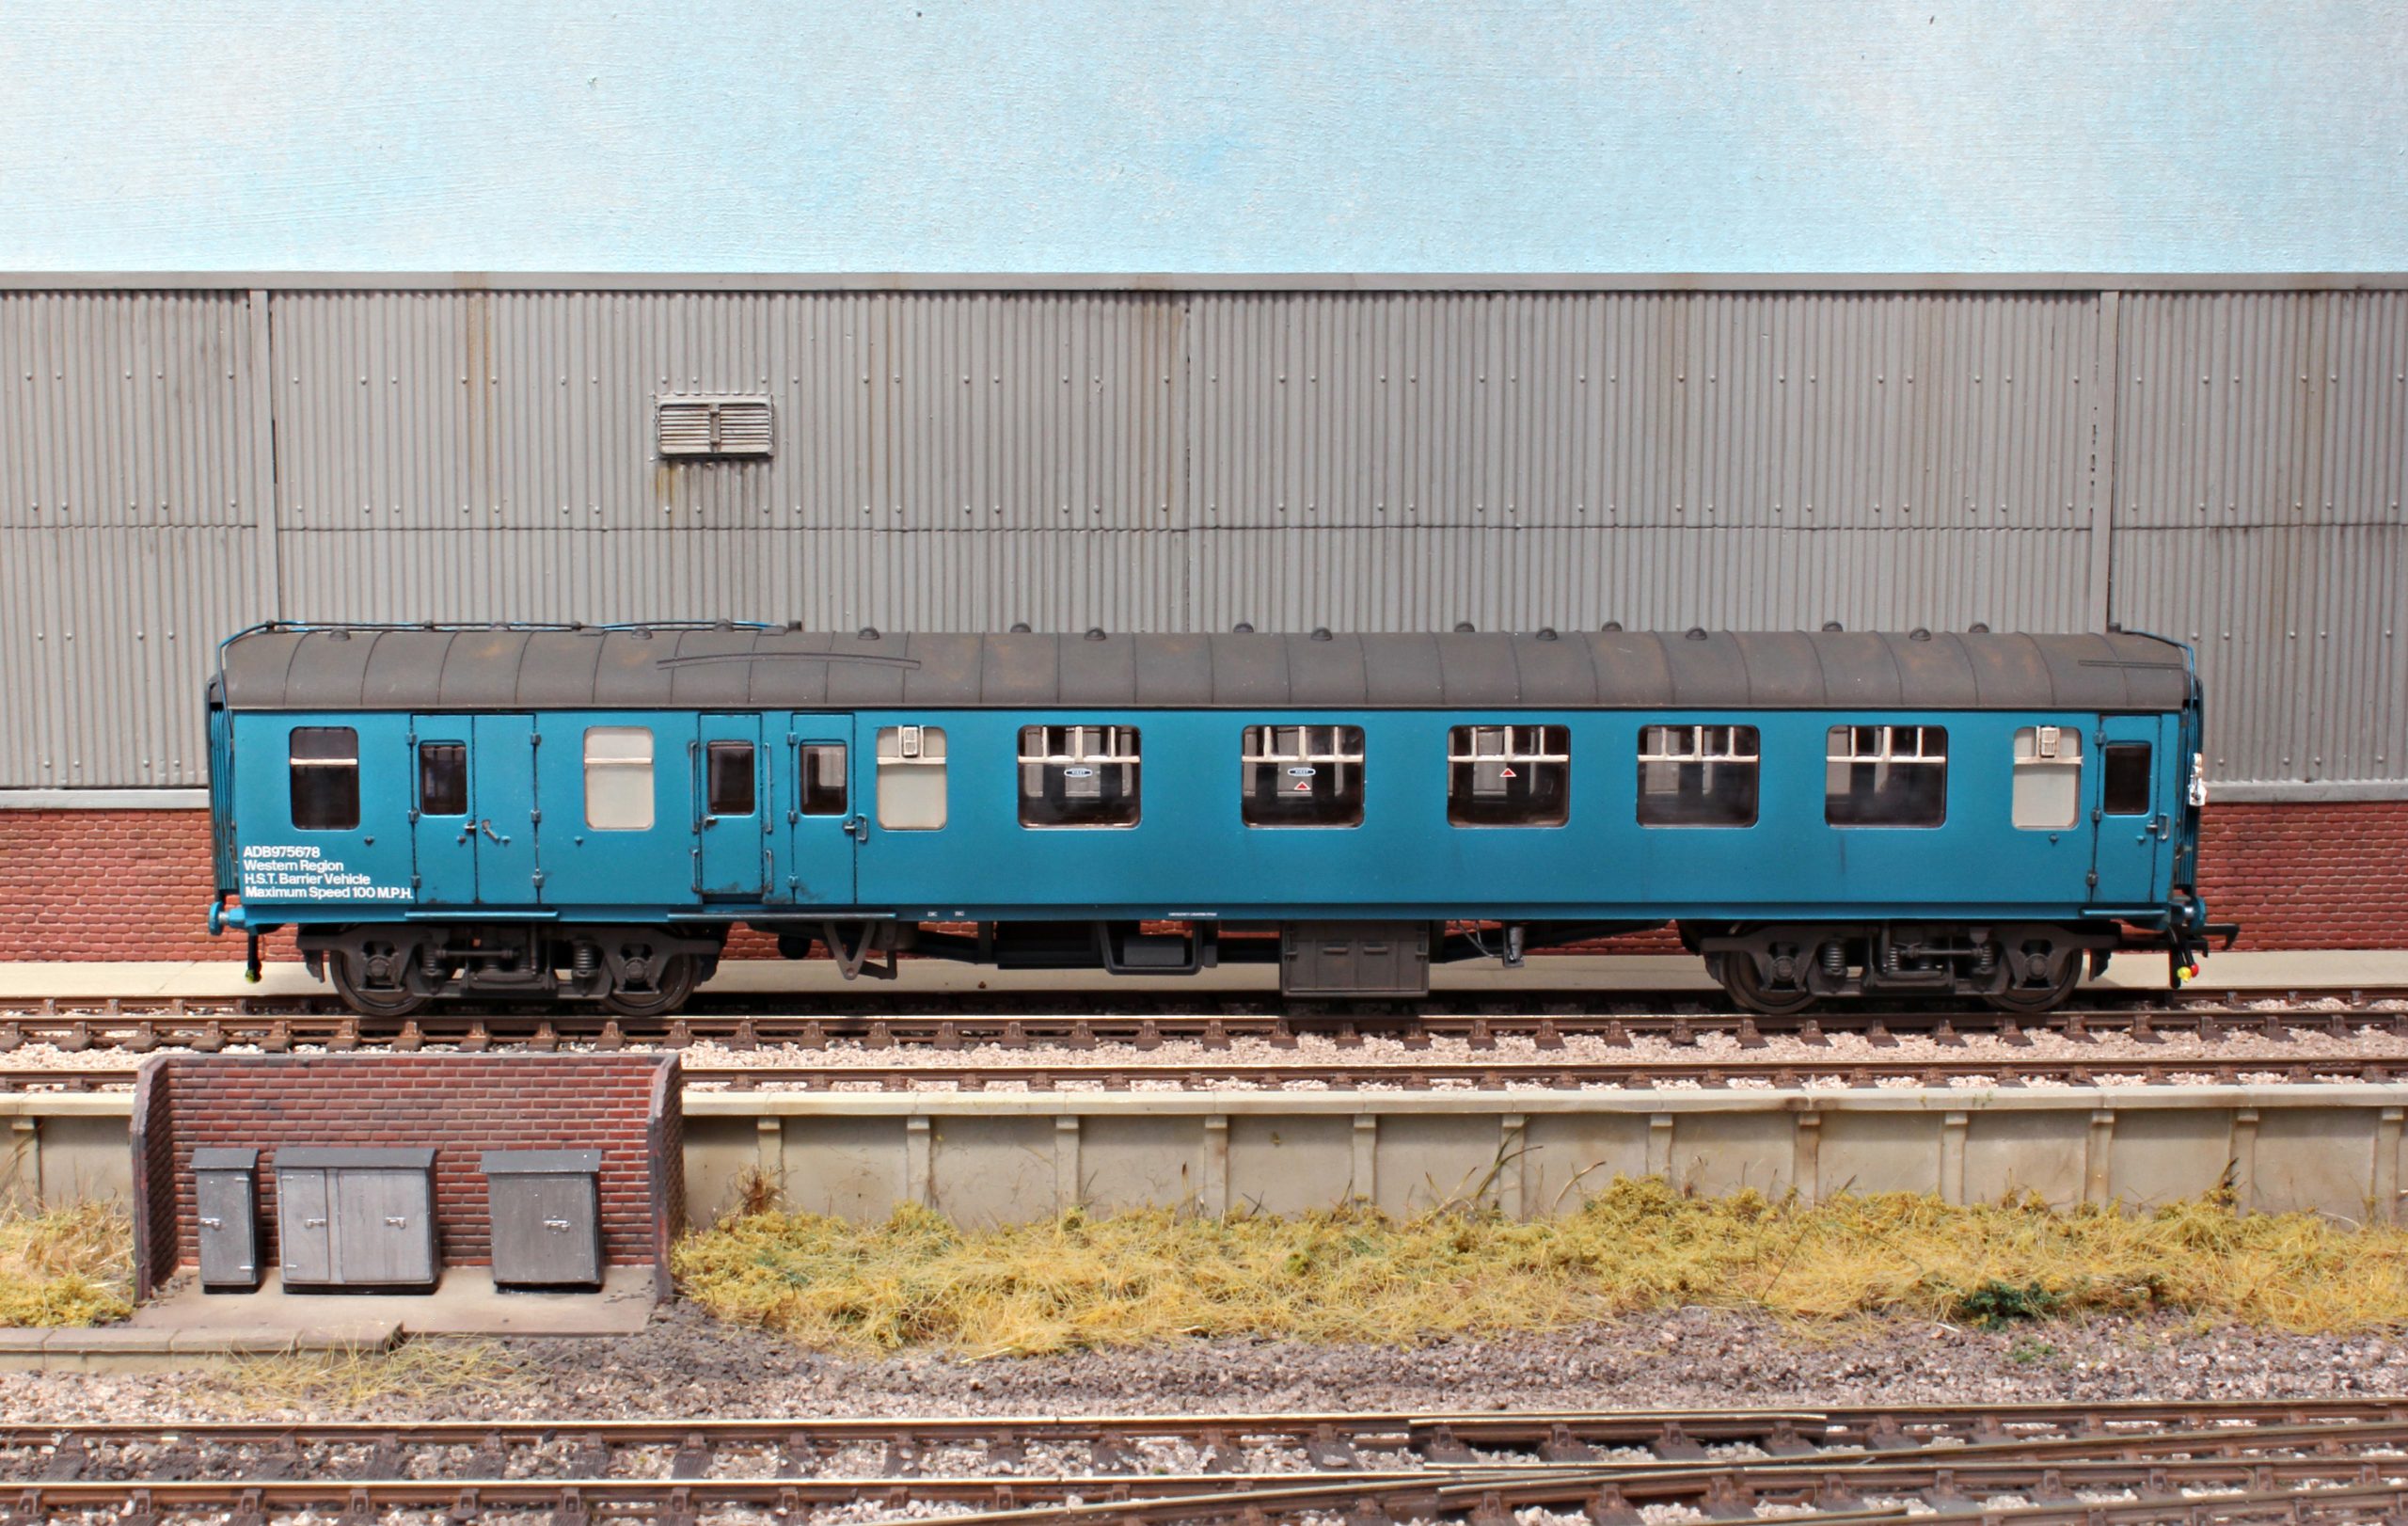
A look through Paul Bartlett’s photo website came up trumps, with a HST Barrier Coach ticking all the boxes for me.
HST Barrier Coaches
With the introduction of the High Speed Train in 1970s, a need often arose where a Power Car could be required to venture out onto the mainline on its own, either as part of a depot transfer, a visit to works, or merely to be turned via a triangle of lines.
If for any reason that Power Car failed, it would need to be assisted by another train.
If the assisting train came from the front, this would not be too much of a problem as an Emergency Bar Coupling, stowed in the Power Car brakevan would be used.
If, however, in the more likely scenario, assistance would come from the rear by a following train, the two would not be able to couple because of the HSTs lack of buffers and screw coupling hook (HSTs being fitted with a fixed Buckeye coupler only).
The solution to this, was to have a dedicated fleet of HST Barrier Vehicles. Incidently, any Buckeye fitted coach could be use) purely to provide a compatable coupling to the rear of the train.

HST Barrier Coach ADB975678
The prototype for my model was built at Swindon works in 1962 as a MK1 BCK, built to diagram 171, Lot No. 30669, and numbered 21251. It was converted to a HST Barrier vehicle during 1978, painted in all over rail blue and renumbered as ADB975678.
As of August 2023, this vehicle is still in traffic (much modified!) with R.O.G and numbered GSA6340.
Onto the model
Firstly, the model was broken down to its component parts. Having never dismantled one before, a referral to Mark Pearson’s description of dismantling a Bachmann coach came in very useful (RTC Tribometer Auto Trailer conversion).
The most daunting task to this conversion was to repaint the window vent detail from BR Maroon to Rail Frey, which is moulded to the glazing. All I can say is, a great deal of patience is required for this.
Two coats of enamel Rail Grey were used. I found that any stray paint could be immediately removed by using a white spirit laden paintbrush to soak the affected area, and then using a dry paintbrush to lift the paint off by capillary action, then following this a white spirit laden cotton bud is used to buff the glazing clean – like I said, a lot of patience is all that is required to get a good finish.
The next task is to strip the bodysides of their factory paint finish, and to prepare them for a coat of faded Rail Blue paint. Of late, if modelling a weathered vehicle, I opt to apply a faded coat of paint to the model, as opposed to painting an ex works finish, and then weathering it down. Usually mixing a couple of drops of white paint to your chosen colour is enough.

The coach ends require a little butchery. As was the case with most service MK1 coaches, the upper footsteps were removed from the ends. This was achieved using a sharp modelling knife to remove the steps, then file the area to a smooth finish using an emery board (normally used for filing nails and available from most chemist shops). The ends were then painted in the same faded blue as the bodysides.
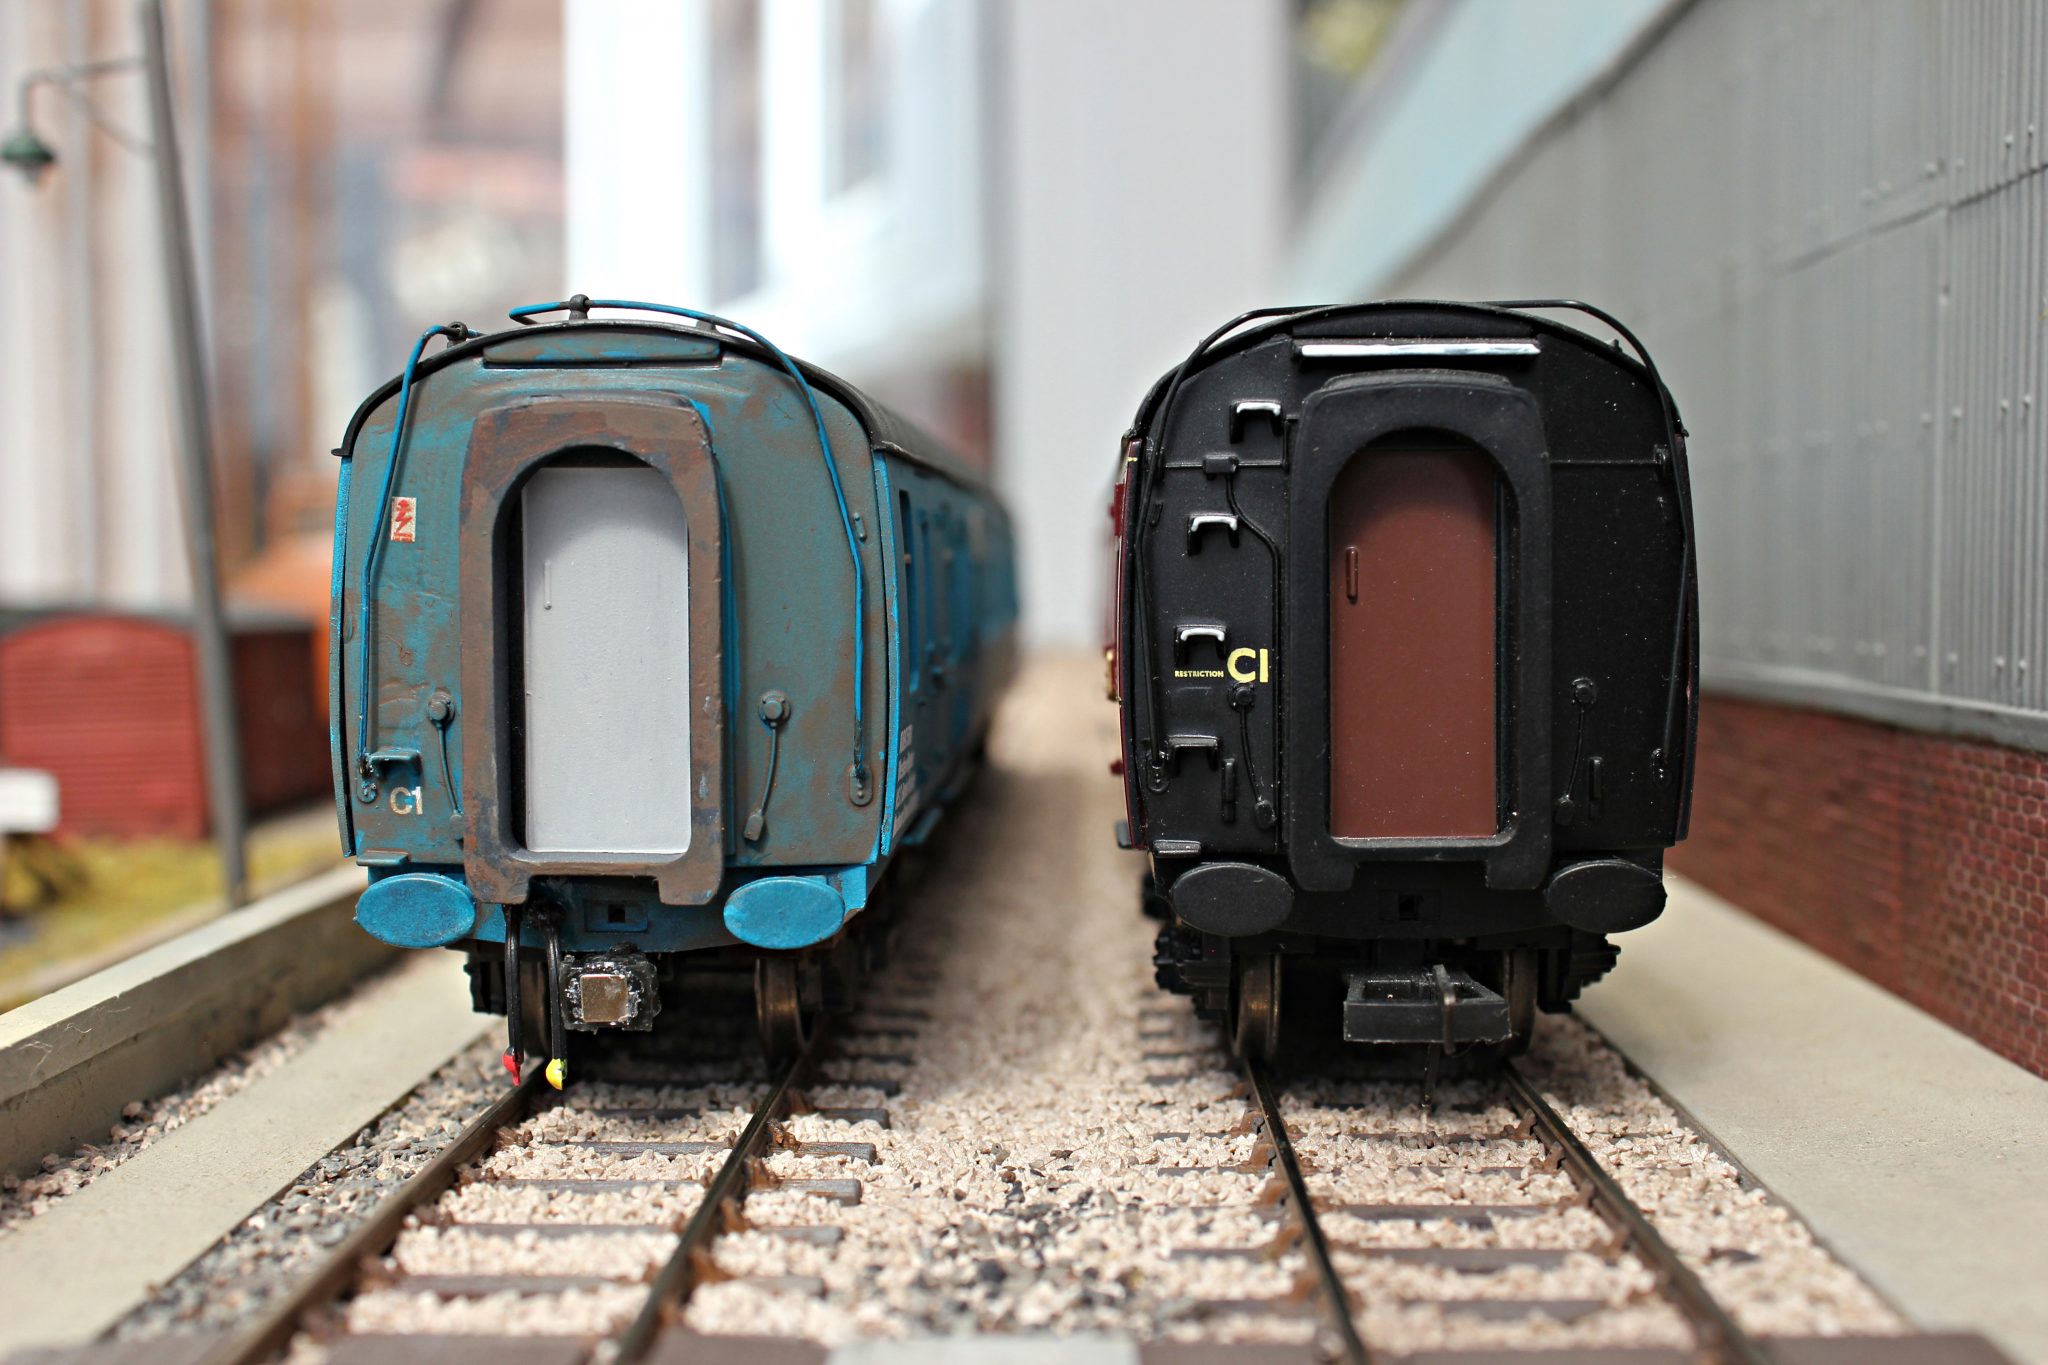
The roof was the next area to be tackled, which was simply a case of removing the periscopes situated above the former Guards compartment area. A couple of coats of Humbrol Matt 67 were then sprayed, and left to dry thoroughly before weathering.
My model BCK was fitted with BR1 bogies, incorrect for the prototype being modelled, so a pair of Bachmann Commonwealth bogies were substituted (readily available as spares).
An air brake distributor was fitted below the solebar (liberated from a scrap Hornby HAA hopper wagon). The bogies and everything below the solebar were treated to a couple of coats of Halford’s Camouflage Black spray and then weathered, with the solebar itself being picked out with the faded BR Blue.
The model was now ready for transfers to be applied, these being supplied by Railtec Transfers, then a coat of Humbrol Matt Acrylic Varnish was applied using a spray rattle can.
The model was then re-assembled, and following a further dose of weathering put to service on my layout.

Conclusion
This was a pretty straightforward conversion – more repaint than anything. I now know how to dismantle Bachmann coaches, and have a vehicle that is a little different from the norm.

One area I was unsure about, due to being unable to clearly see on photo’s of the prototype, was whether the vacuum brake cylinders below solebar level were removed or not, upon conversion. These have been left in situ on the model, it being deemed easier to remove them at later date, than to refit the detail, when undoubtably evidence will surface now the model is completed!