

 Schools Tender Snowplough kit")
")
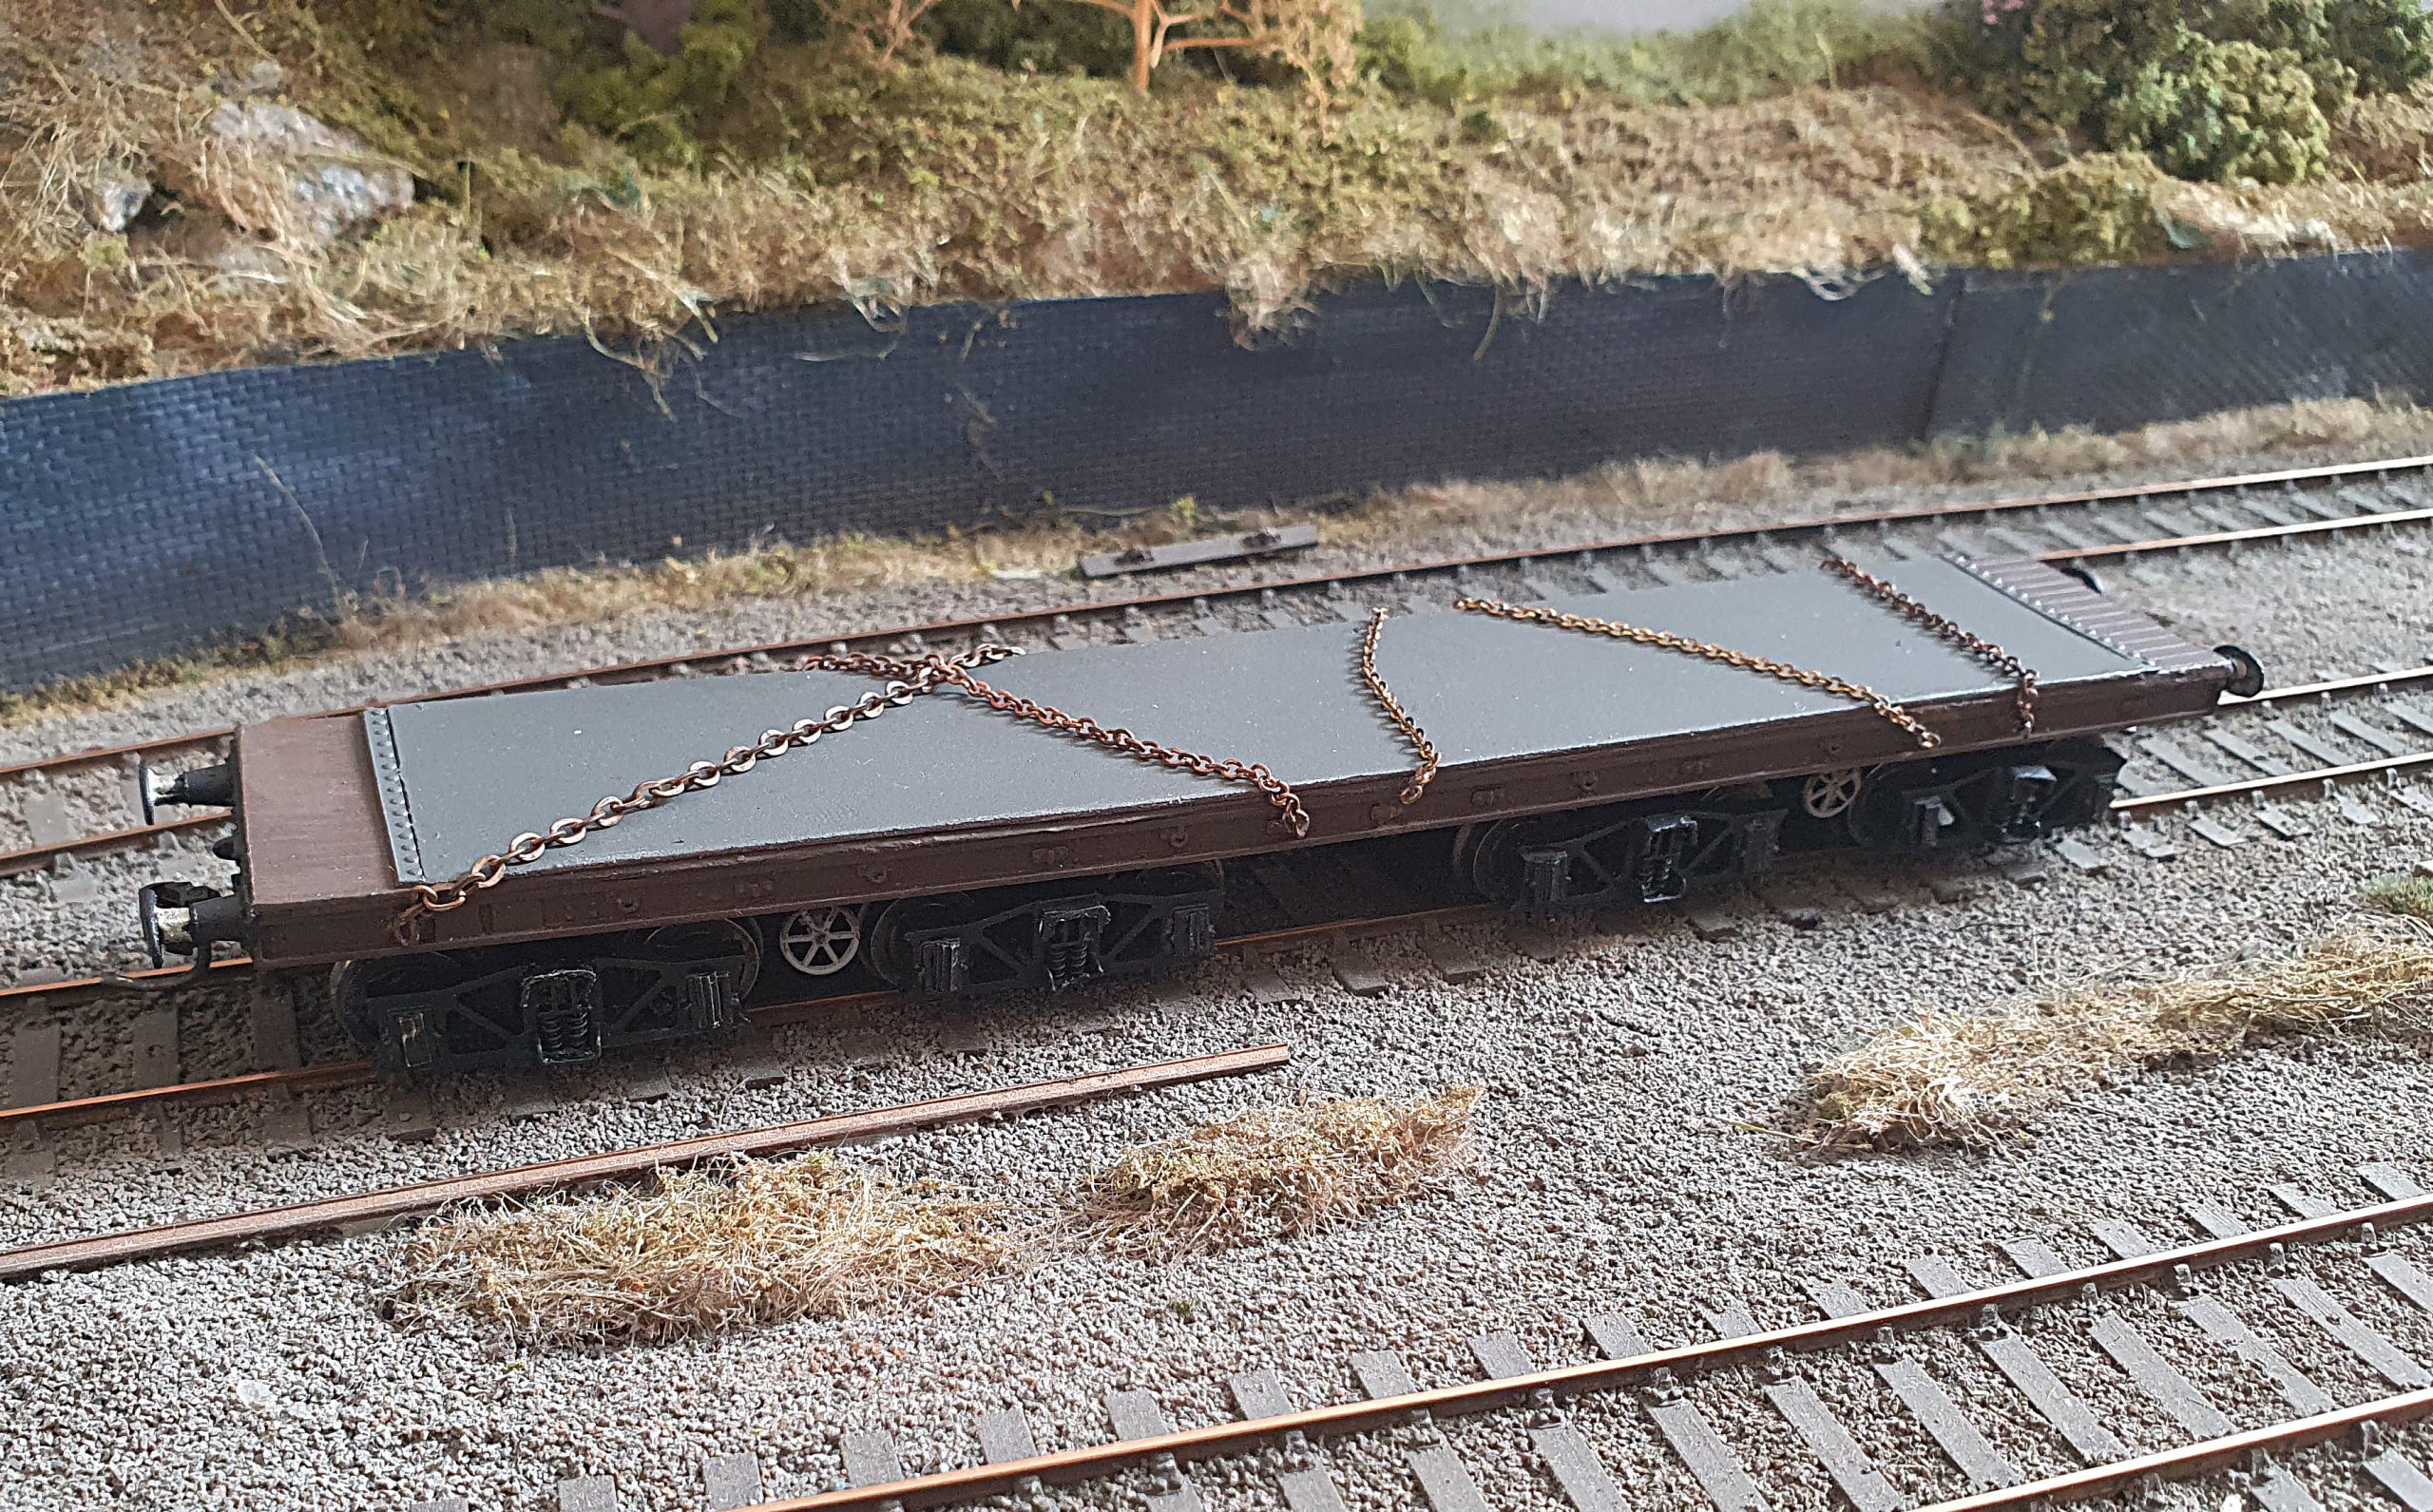
 Conflat D kit")


Sometimes while browsing books or trawling the internet for reference material, one can stumble across a photograph or an article that causes an itch that one just has to scratch! While searching for images of Chipman Weedkilling trains on Paul Bartlett’s incredible photo site, I accidentally found myself looking at photographs of DB975807, the QXW BR(S) gauging van, affectionately christened “The Hedgehog” due to it’s rather spikey appearance.
Originall built by the Southern Railway as a BY parcels / guard’s van and numbered S603, it was converted sometime in the 1970s to a gauging van.

Image © Paul Bartlett
Gauging trains were widely used on the network to check clearances between trains and the infrastructure around them, such as bridges, tunnels, masts, posts, buildings, and boundaries. As I had just built two BY’s from Parkside plastic kits about two weeks prior, the prospect of building another wasn’t a problem as they are superb little kits and very reasonably priced. It just so happened that one came up locally on Ebay for £12 so the donor kit was sourced and thoughts immediately turned to how to approach this build.
The first part of the build was to build the chassis as this would remain largely unchanged from the BY original. The major changes on this build are all around the body. I always build chassis on a piece of clean 3mm plate glass in order to ensure the build is flat and that all wheels are in contact with the deck to avoid wobbling. It is also crucial on long wheelbase rigid chassis like this one to ensure the wheels are perfectly straight and in square alignment across the chassis, as if not, the flanges will foul and short the frogs on electrofrog pointwork. I’ve never been one for compensating wagons or coaches. Locomotives, yes, but life is too short.
With the chassis assembled I then gathered reference photographs ad set to work with the razor saw shortening the body sides and roof. Observation window apertures were carefully marked on the “cage end” and cut with a drill and scalpel. Luckily, in the Parkside kit there are two guard’s partitions included and they even have an access door moulded. Perfect for the new end panel which sits behind the cage, about 1/3 of the way along the van.

In order to facilitate painting, I decided to make the cage unit completely separate from the completed chassis and body. The completed unit was set aside and attention turned to creating the cage in CAD.
The method of producing the metal “feelers” or “spikes” was something I deliberated for a while. Printing them with the cage out of resin was not a viable option as they would have been too brittle and fragile. In the end I blagged a tin of brass dressmaking pins from my mother-in-law, shortened them with end cutters, and superglued them into the hollow sleeves on the cage.

Mesh access gates for the crew were cut from A1 Models Class 60 brass grille mesh and glued to the recesses in the cage at all four corners. Two coats of red primer and three coats of Halfords Camouflage Black paint followed, to give a really matt finish.
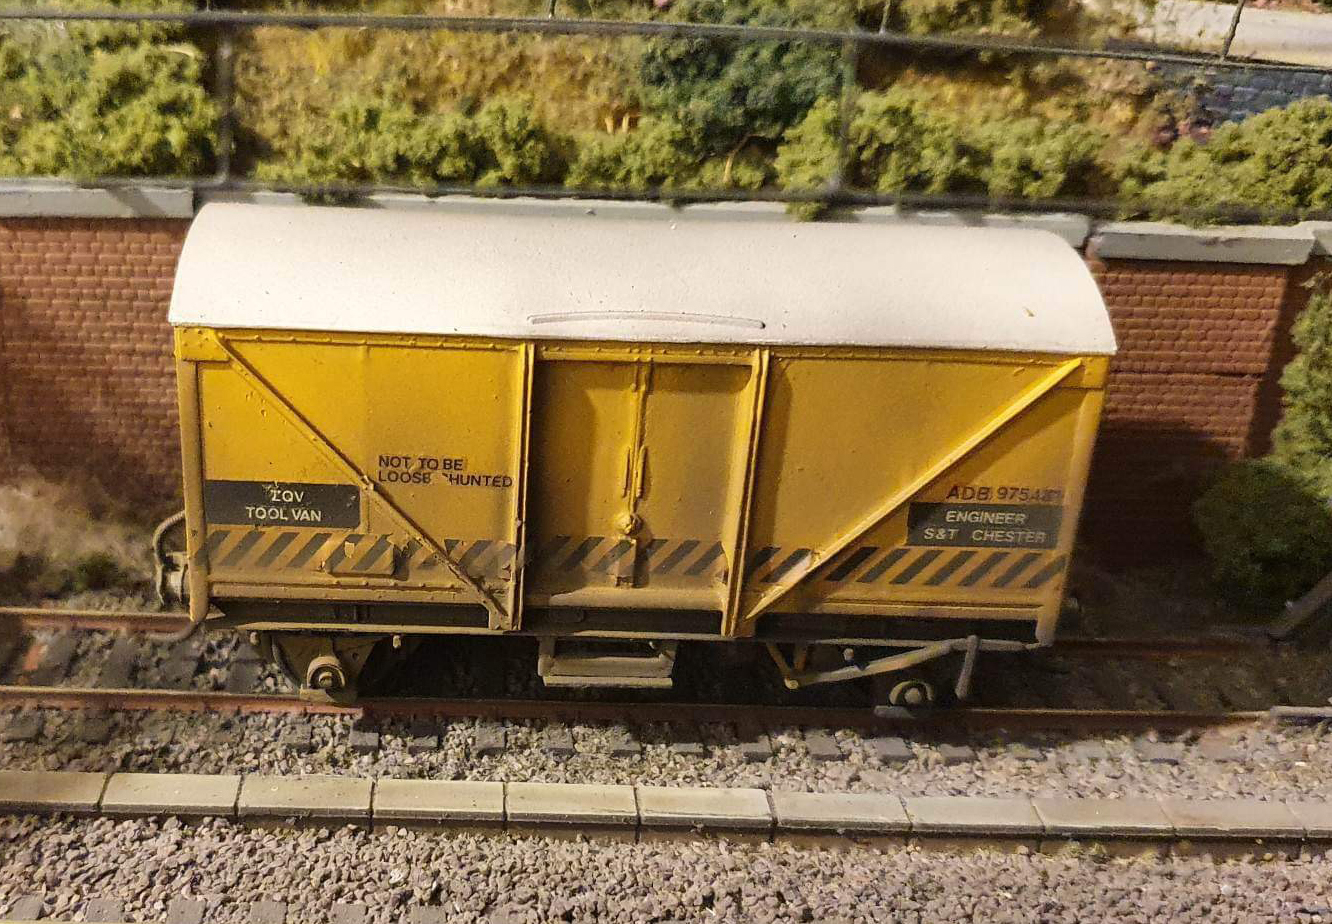
At this point, the body also entered the paint booth and given a coat of white primer followed by three coats of Fiat Golden Yellow.


Pickups were added to each axle using the tried and tested brass tube method, as I wanted to add a working fluorescent flood light over the forward facing window. This was made from a bright white LED mounted in a lightproof box in the body, with fibre optic cable run to the light position. One of my homebrew Stay Alive units was fitted between the LED and the pickups in order to avoid light flicker on dirty track sections. Oddly, there is a weird effect going on with this where the light bar fades in when the wagon starts to move. It looks deliberate, and I wish it was, but it’s the result of some kind of fault on the capacitor. The light bar is 3D printed from transparent PETG with a triangular infill to refract light and I’m very pleased with the result.


Is the LED powered from a battery or track?
Hi Johnny. Pickup from the track on two wheels using the “tube on axle” method. The pickups are then connected to a stay-alive unit to try and avoid flicker.
That is something I may consider, though the cage isn’t exactly an easy print.