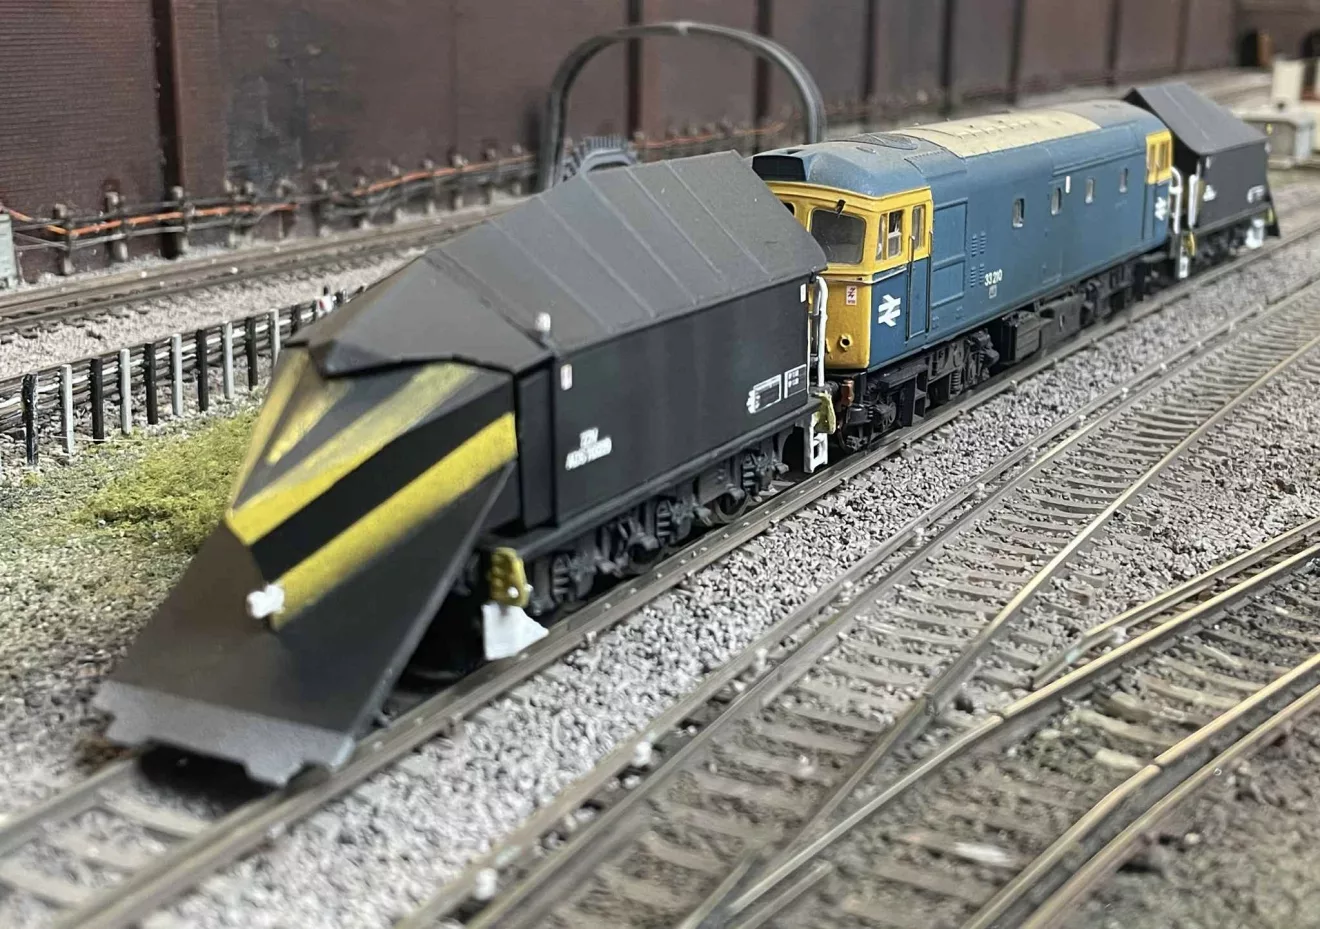
Schools Tender Snowplough kit")
")
 Conflat D kit")


With the ever increasing costs of new items maybe its time to turn our attention to some of the older, obsolete ready to run items. Many of these are still readily available at shows and toyfairs at reasonable prices and with a little work can still produce a good looking model.
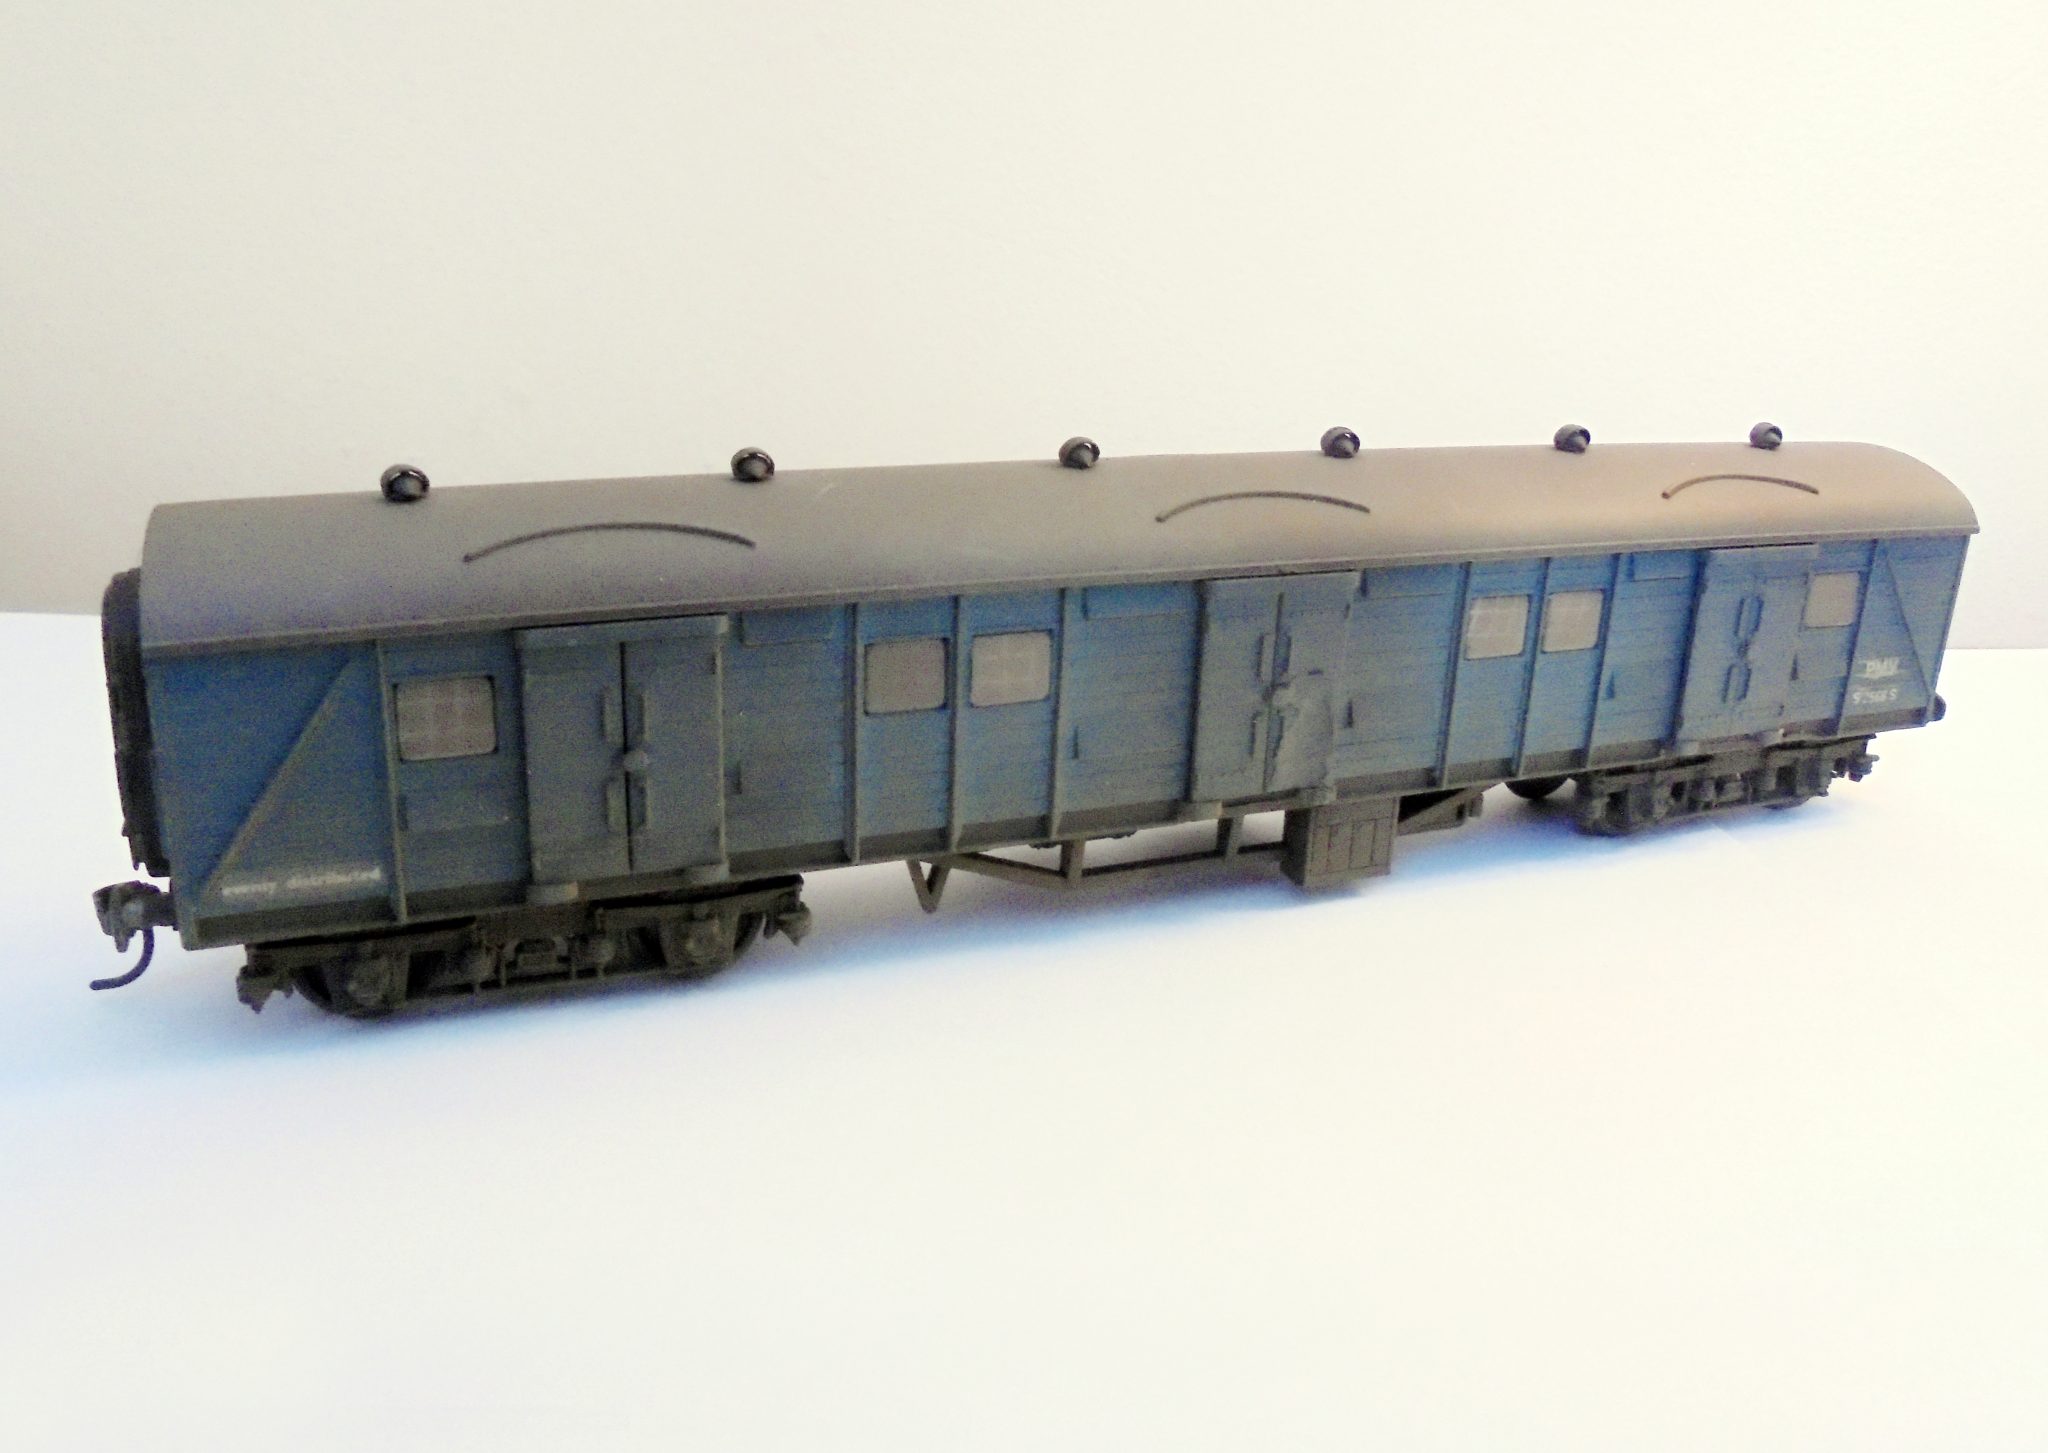
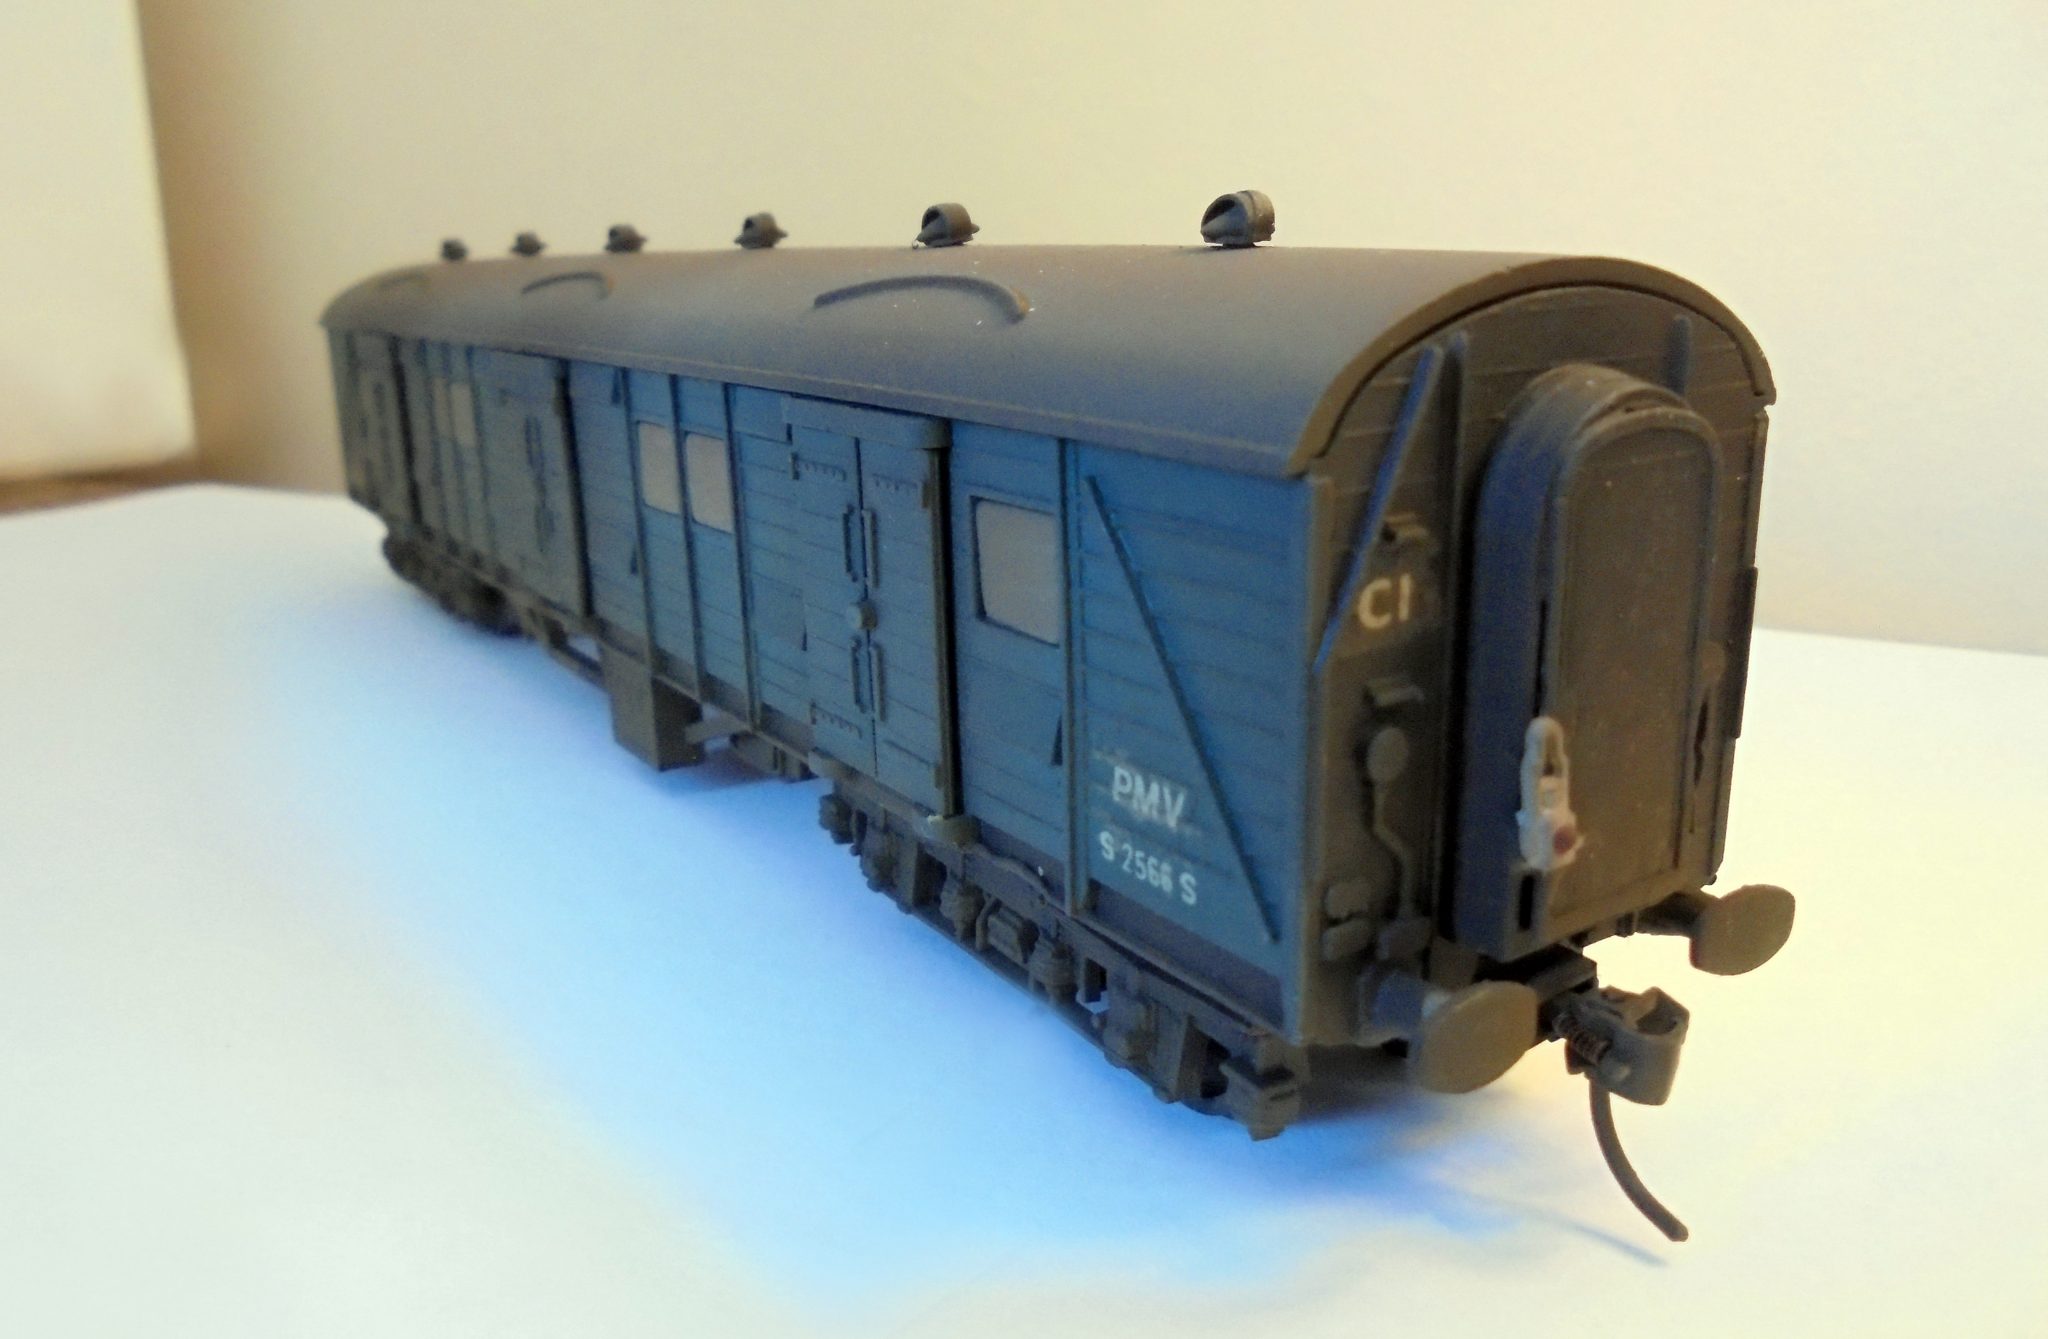
In this article we will look at the elderly Triang Southern bogie van . It’s been around more years than me, albeit with several re-inventions on livery and bogie/ coupling design, but with a few nights work can scrub up quite well.
I’m not the Southern fanatic on here, I’ll leave that to Kim. However, looking at ways to expand my parcels rakes cheaply I decided to give the bogie van a look.
Purchased for a fiver at a show some time ago, in a distressed state, painted unlovingly in a brown tar like substance I set to work. The body was dismantled by removing the screw underneath , the glazing with printed white bars removed, which was kept as it will come in useful later.
The primitive bogies, too small, approximate, and totally useless for today’s track standards were removed by slitting the brass collar in a X pattern in the INSIDE of the coach taking care not to damage the bogie pivot hole. I had a spare pair of Bachmann Bulleid coach bogies, again obtained by rummaging in the scrap boxes at shows for a few pounds. Although not strictly the correct pattern they are a lot more convincing than the original ones! Kim is probably shaking his head at this point reading this and my ignorance to all things southern!
(No you’re fine Mark, they were known as “SR steam type coach bogies” and were utilised under Maunsell’s and Bulleid’s tenures – Kim)
The addition of new oval buffers and Kadee couplings, and refitting the new bogies using my trusty nut and bolt method, using washers to obtain the correct ride height meant the chassis was finished. I know there are more elaborate detailing kits for these coaches from Roxey Mouldings but as I wanted this to a be a low cost project I will not cover that in this article – Kim plans a 3D printed detailing kit for this and the Hornby variant at a later time as he has a few to upgrade himself.

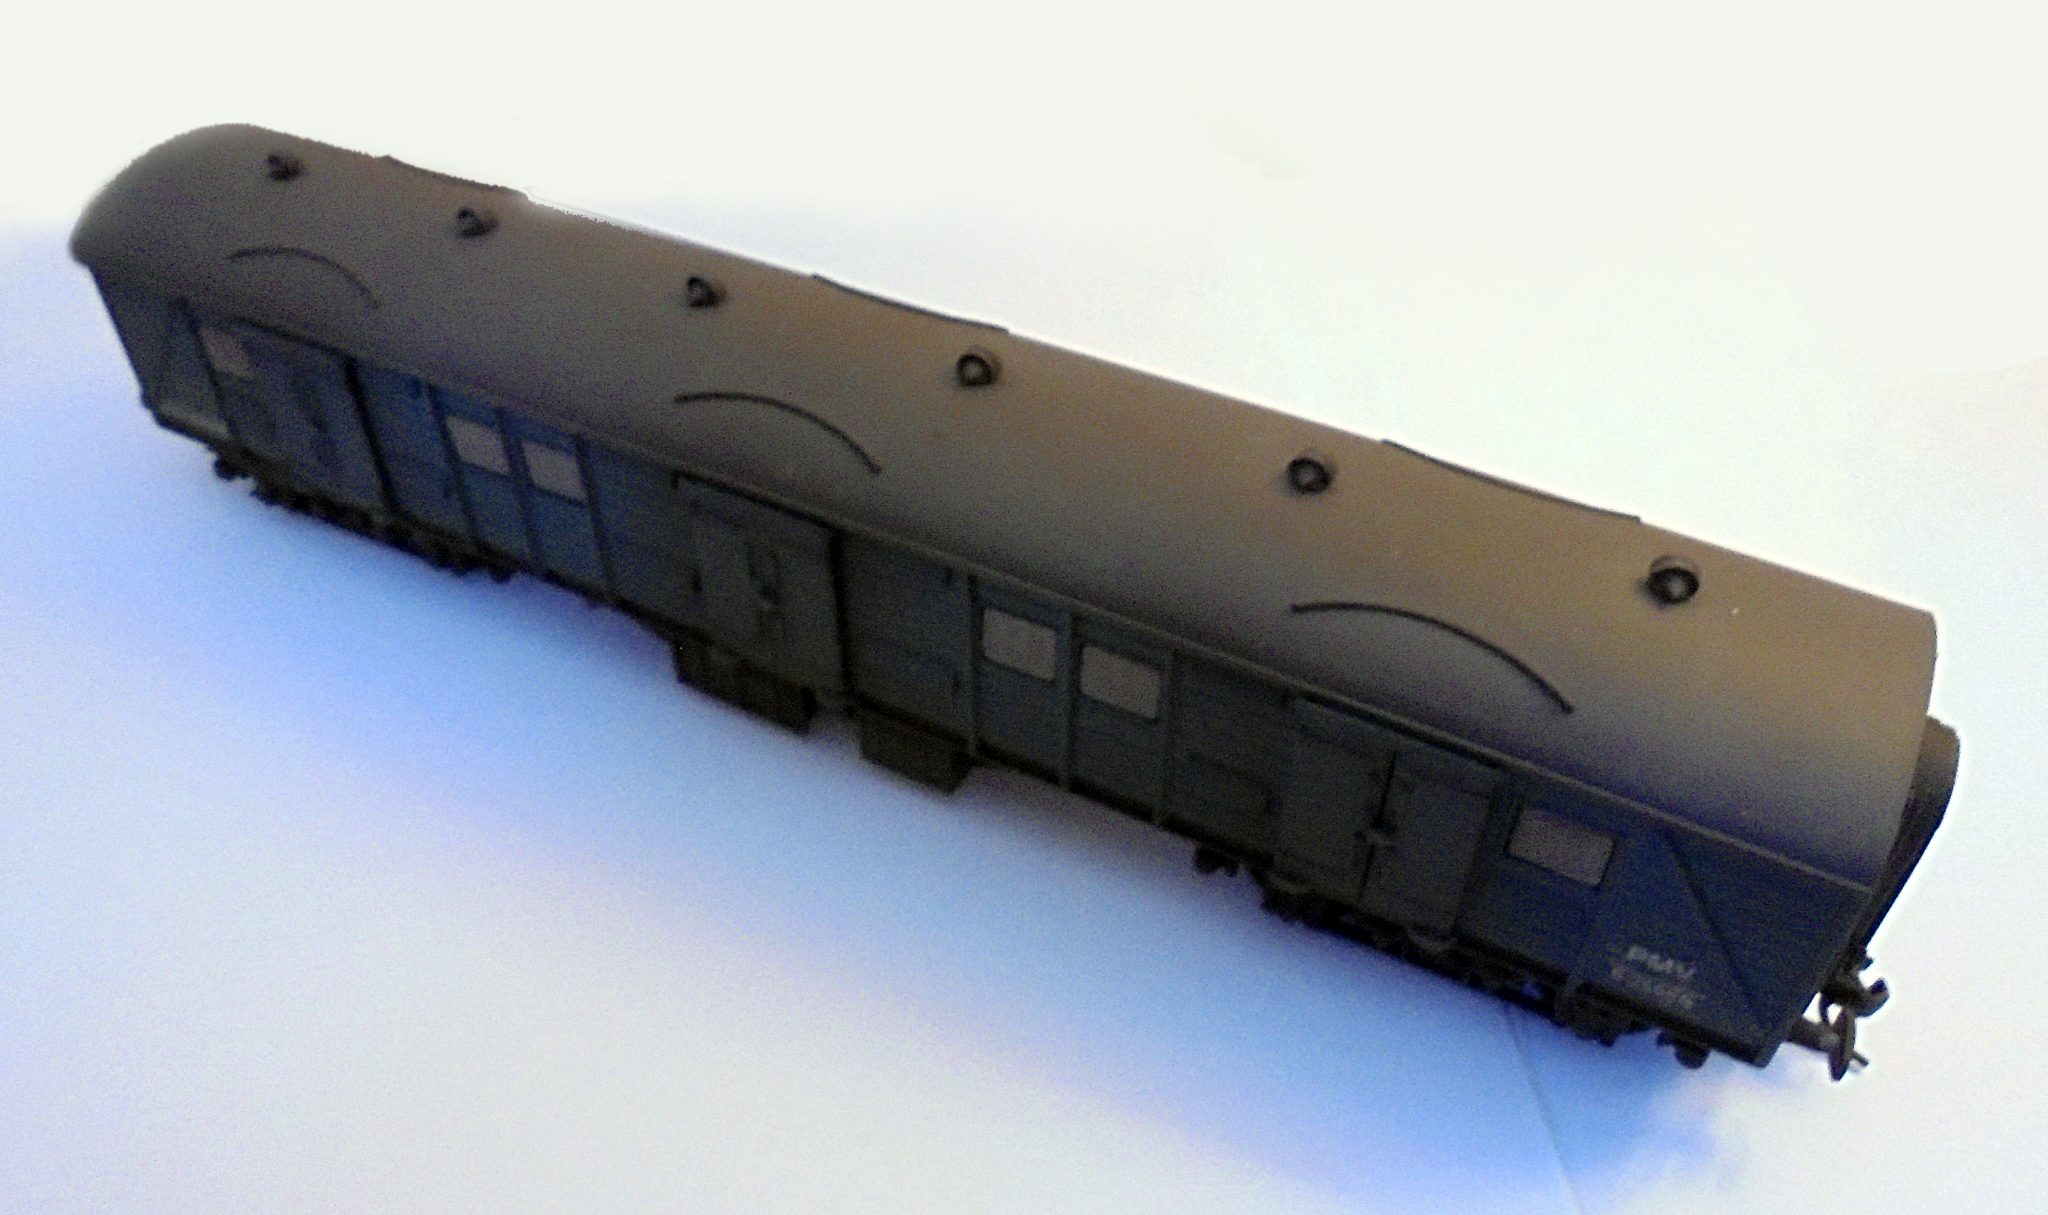
I removed the weak looking roof vents by gently filing them away. Once removed I replaced in a like for like position some new, more substantial looking white metal torpedo style vents. The roof was then given a spray over with my tried and trusted Humbrol tank grey colour and left to dry.
After being stripped in an isopropyl solution overnight to remove the poorly applied paint , the body was then airbrushed with 3 coats of Phoenix rail blue in a matt finish. It is worth noting that I had already glued up the ‘play value ‘opening doors and filed the overscale hinges down a little to remove a little more of the ‘toy like’ nature of the original model. Blanking plates were added to the corridor connections.
Once dry, re-assembly started. After obtaining a SE finecast Flushglaze kit (note, there is enough in one pack to do two coaches!), and after fitting the new glazing with “Glue and Glaze”, the original printed ‘bars’ were cut to shape and fixed behind the glazing (hence you need to keep them!).